
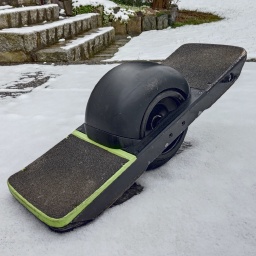
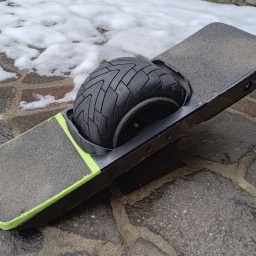
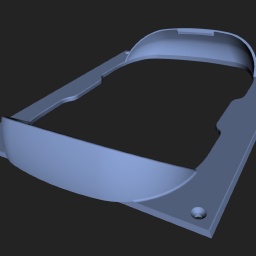
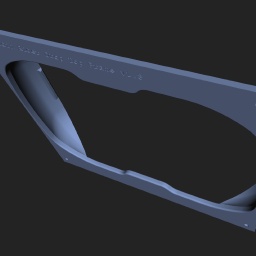
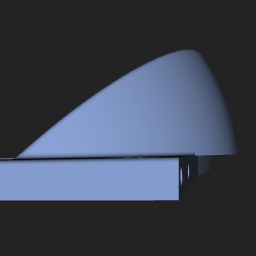
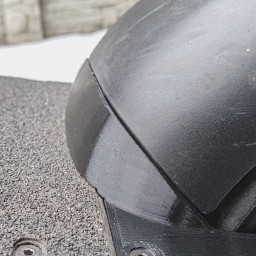
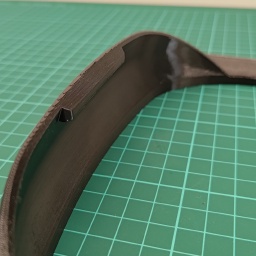
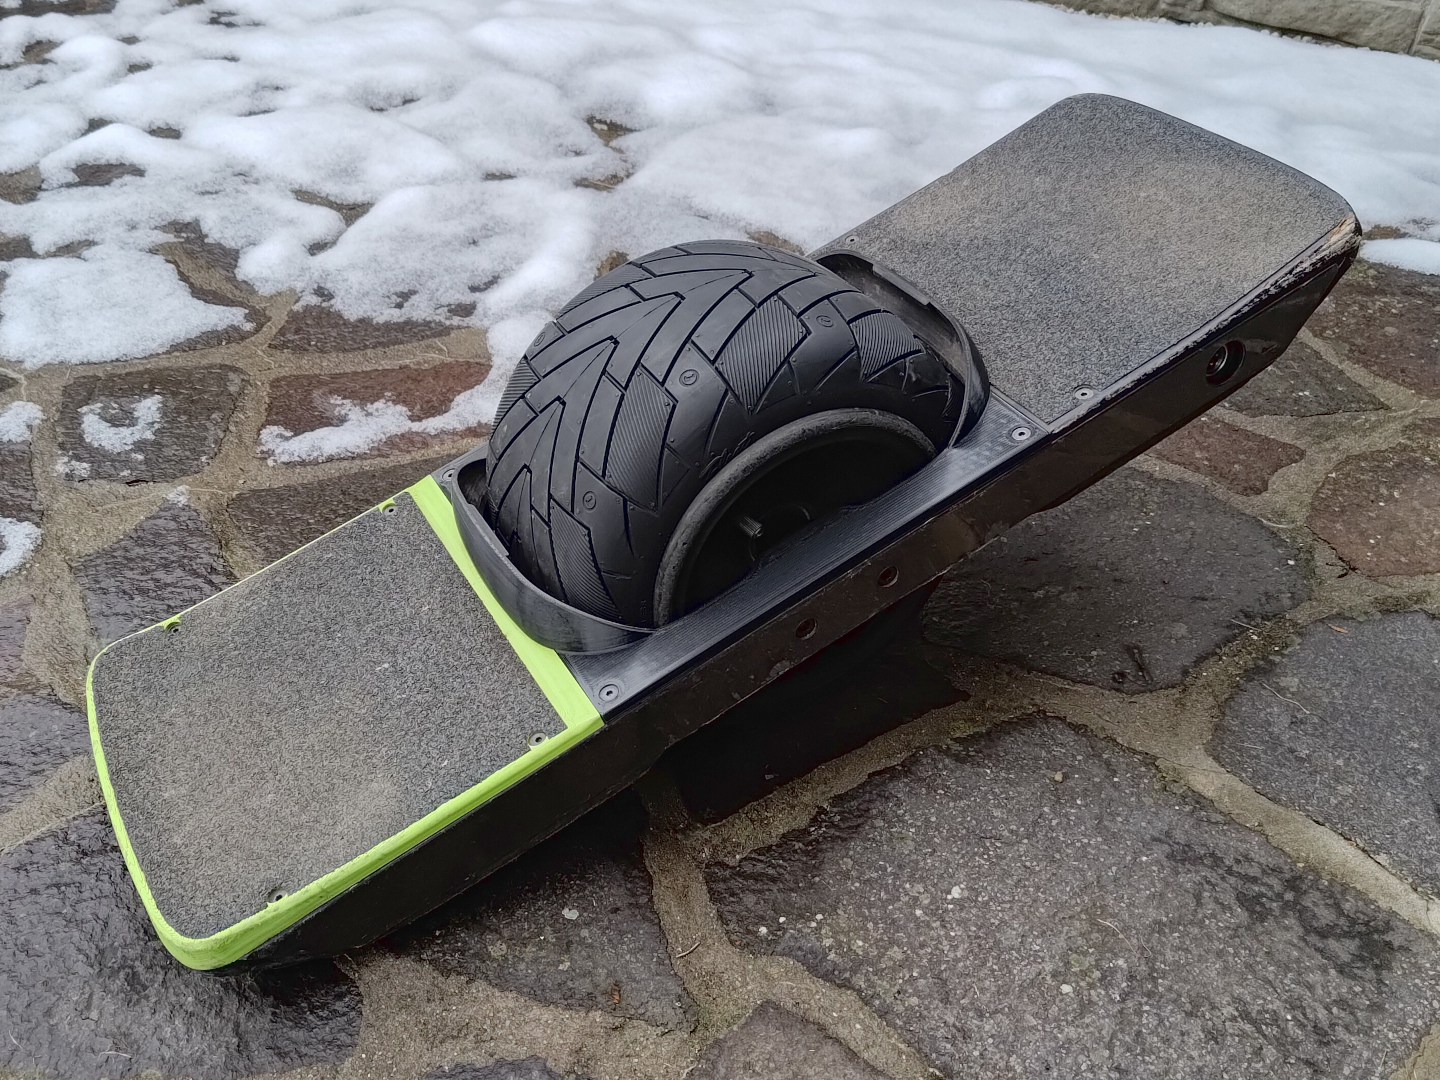
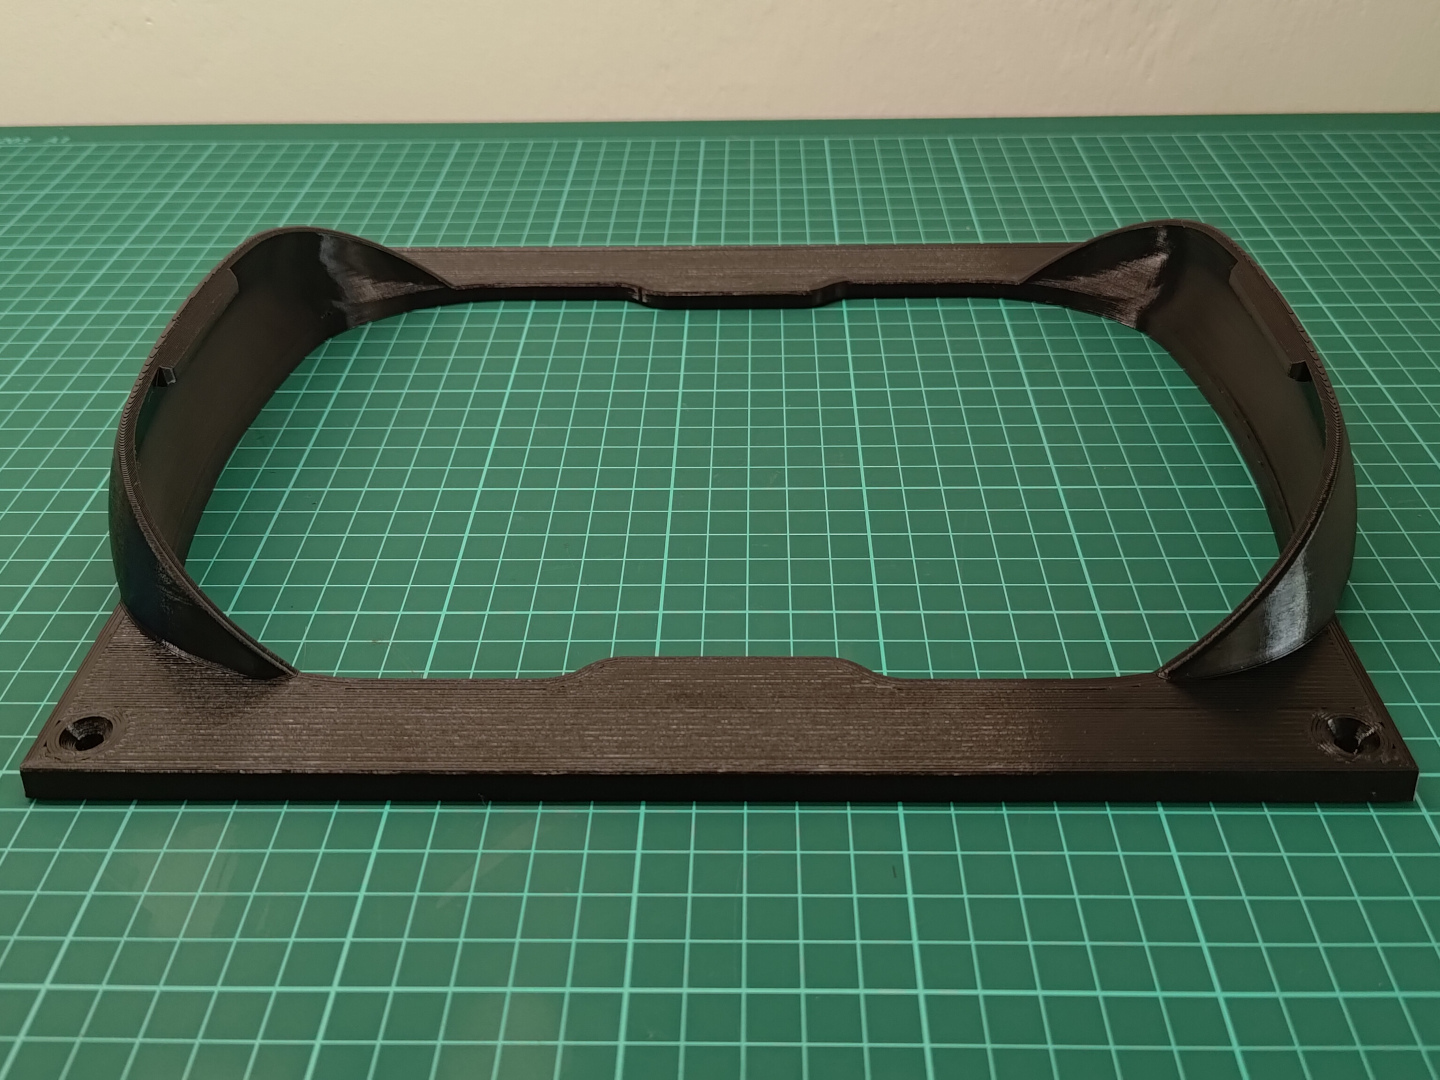
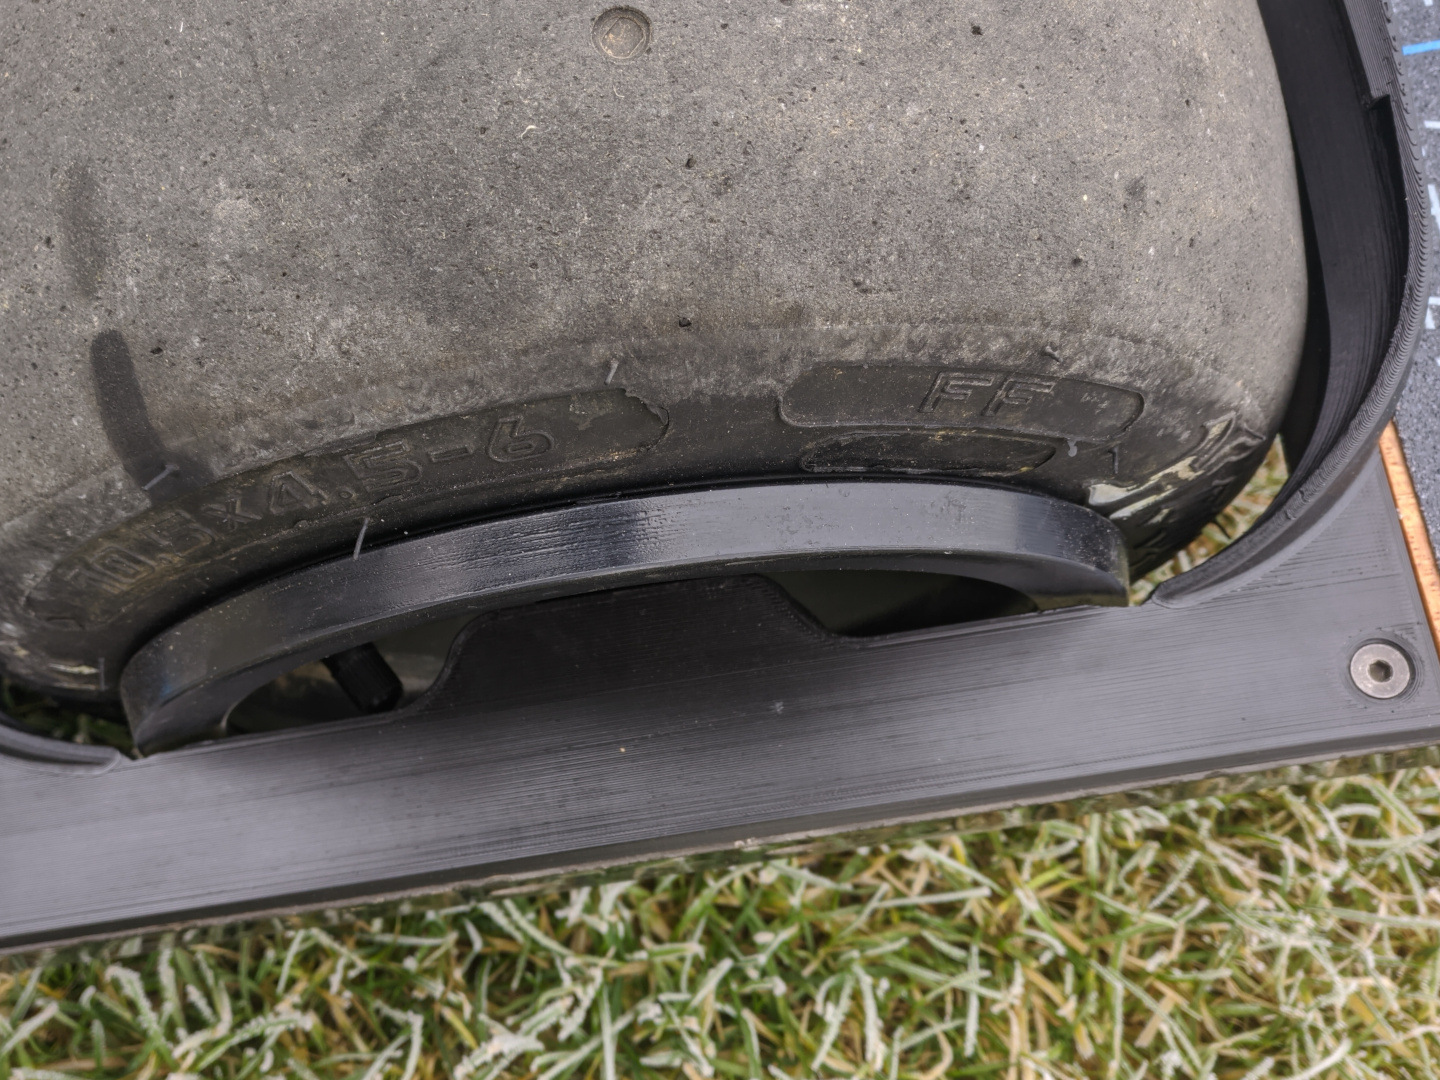
A 3D-printed frame for the Drop-Top fender for Pint by The Float Life, that fits on an XR Growler. Printed from flexible TPU, it’s sturdy, reliable and does an excellent job overall.
Intro
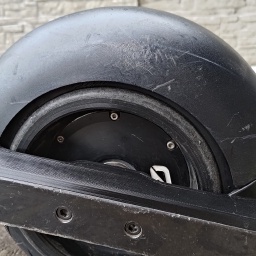
The frame is for the Drop-Top fender for Pint, which is being sold by TFL Europe and TFL Canada. It is unfortunately not available in their main US shop due to Future Motion patent trolling. The frame fits right onto an XR Growler (with the official TFL Growler rails), and then the Drop-Top fits right into it. I don’t know yet if the frame would fit the TFL Growler varials with the straight steeze, and it obviously won’t fit the W steeze (I might get those eventually and try to come up with something to make it work).
If you’re using the Life Savers, those won’t fit inside the frame, they’re too bulky. But, from my experience, they stand out like floppy ears with a Pint tire on an XR hub anyway. And you don’t want the girls to laugh at you because of that! Lucky you, though, ‘cause I’ve got all your Rim Saving needs covered :).
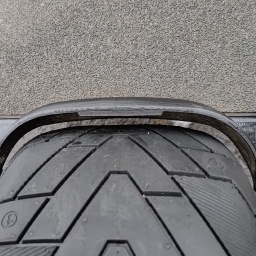
The frame should accommodate most common tires, though I’m reasonably certain the Hoosier 10.5x5.0-6 Treaded won’t fit (just too big) and boxy tires like the Hoosier 10.5x5.0-6 Slick may be tight in the corners.
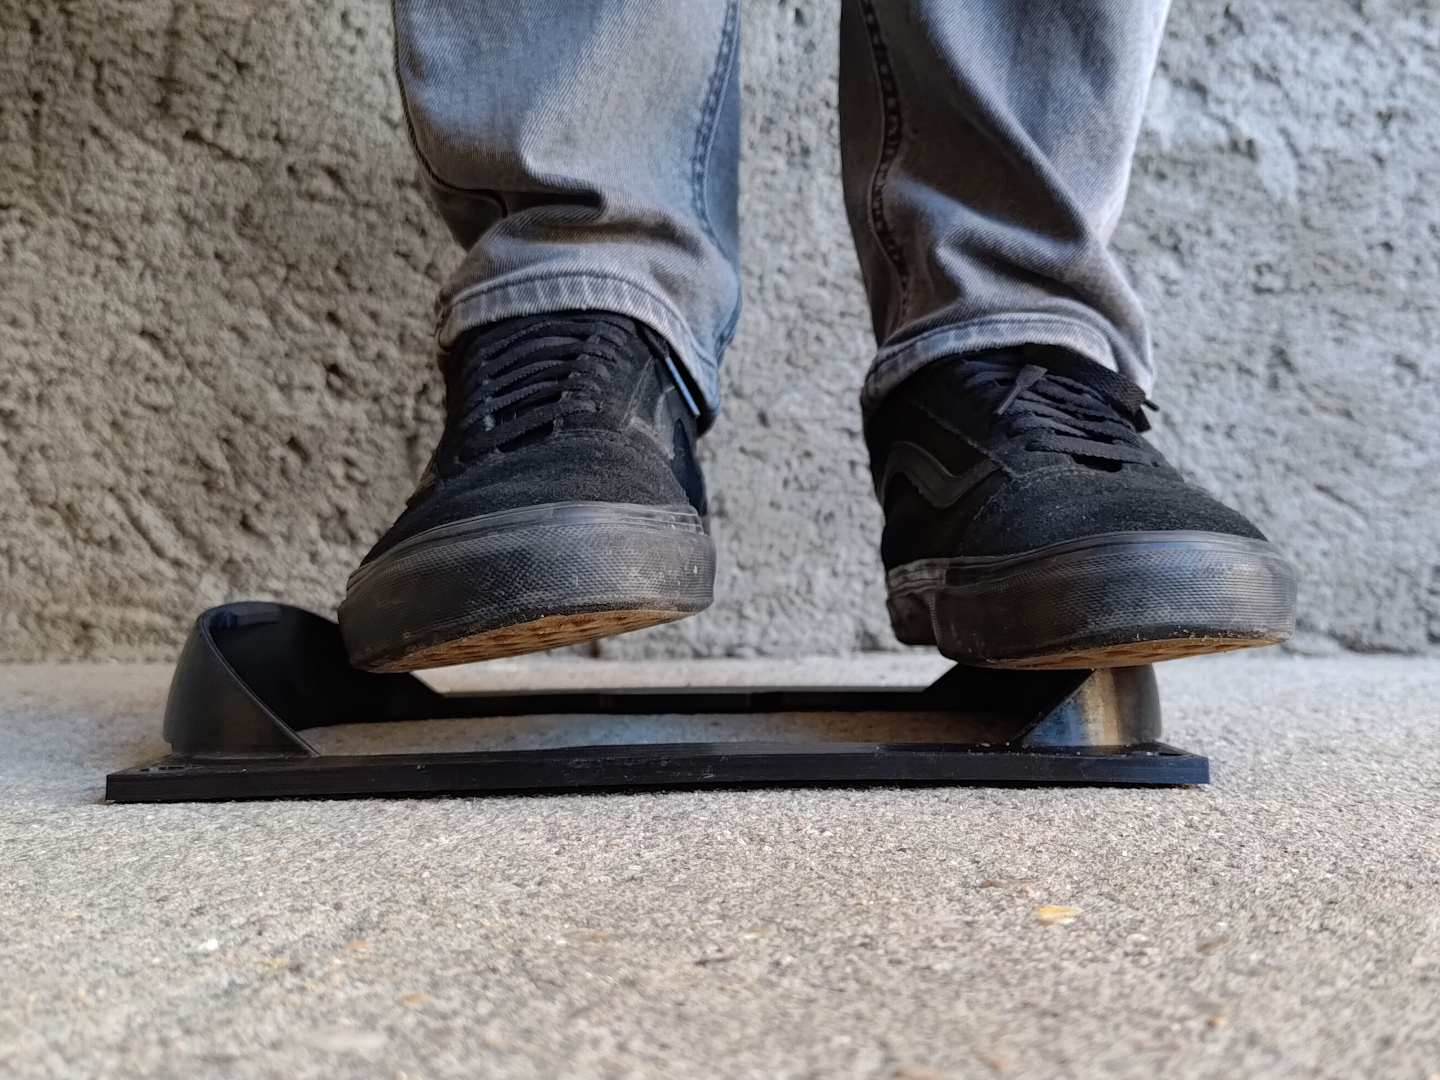
I print the frame in 98A TPU (a flexible material), which makes it practically unbreakable even though it’s 3D printed. I also like the damp soft feel when doing tricks and overall throwing the board around. That said you can certainly print it from a hard plastic.
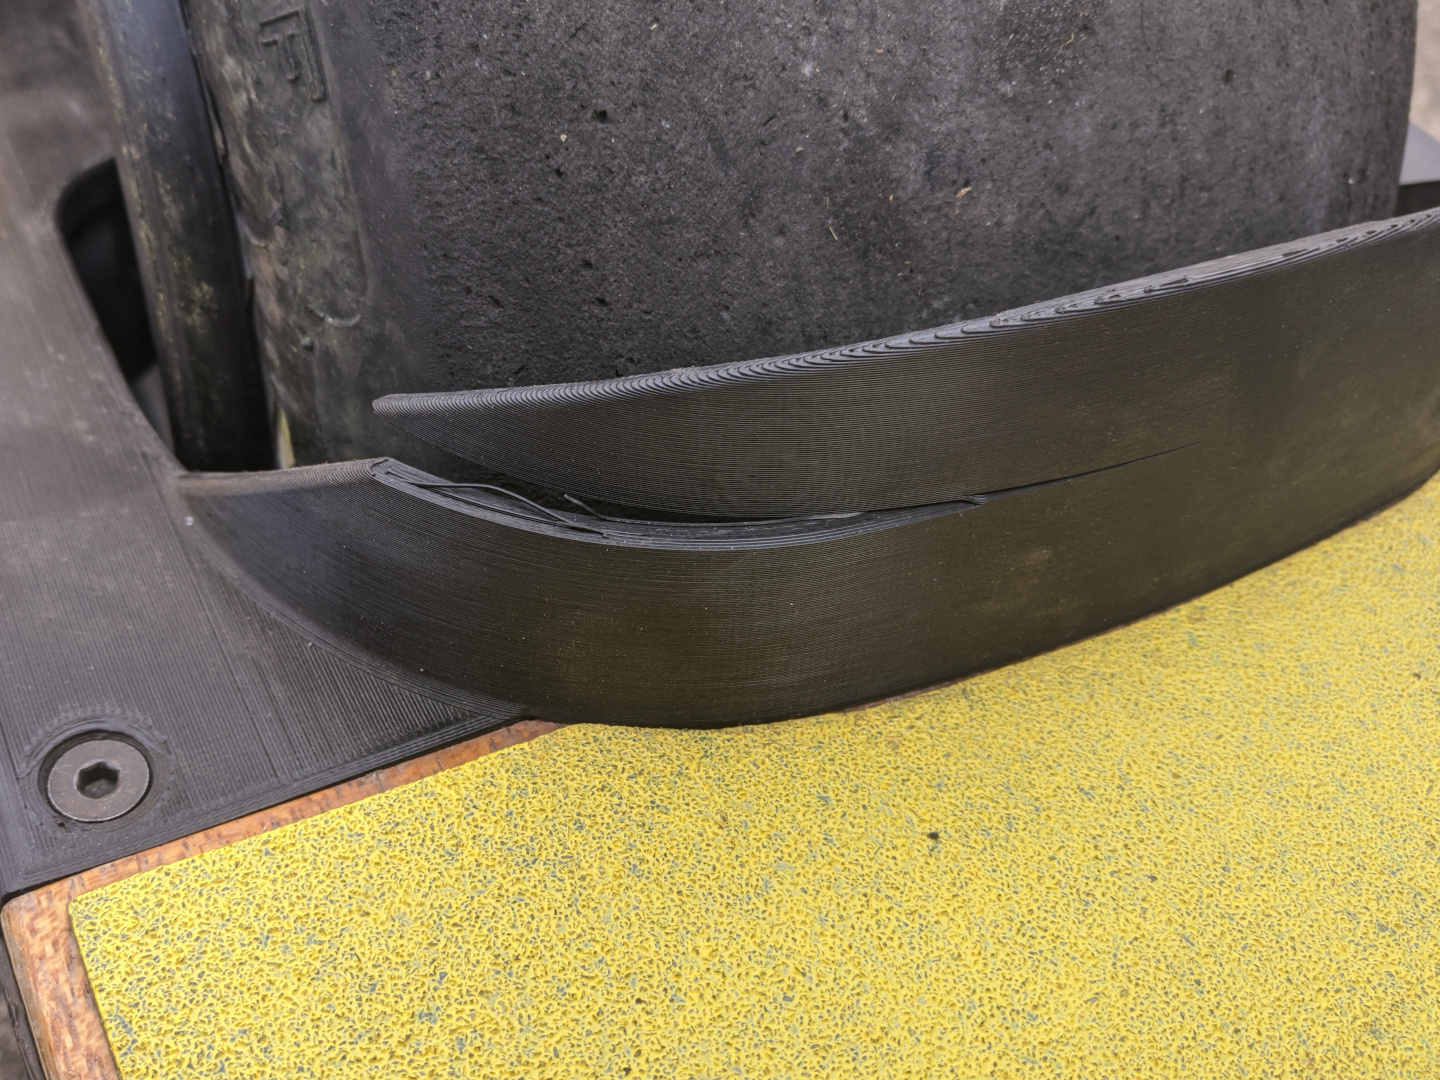
There are two potential drawbacks when printing from TPU. One is the fender top can shift out of position if it takes a hit on the side. That only happens on an impact, though, and you just need to snap it back into place, not a big deal. Second, if your TPU is too soft, if you stomp on the shortie frame fenders, you can press them against the tire and grind them down. The TPU I use, Fillamentum Flexfill 98A TPU, is hard enough this practically doesn’t happen.

Prerequisities
You’ll need a printer with a bed of at least 30x30cm (I use Creality CR-10 V3). With a skirt, the total print size can even get over 30cm. The real printable size on CR-10 is actually a bit under 31cm, so it can still fit, you just need to increase the limits in the slicer configuration. To find the real limits of your printer easily, move the print head manually via the controller and see when the nozzle crosses the print bed border.
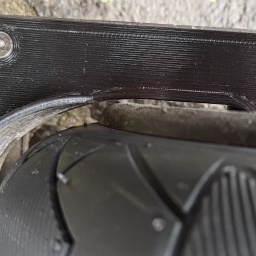
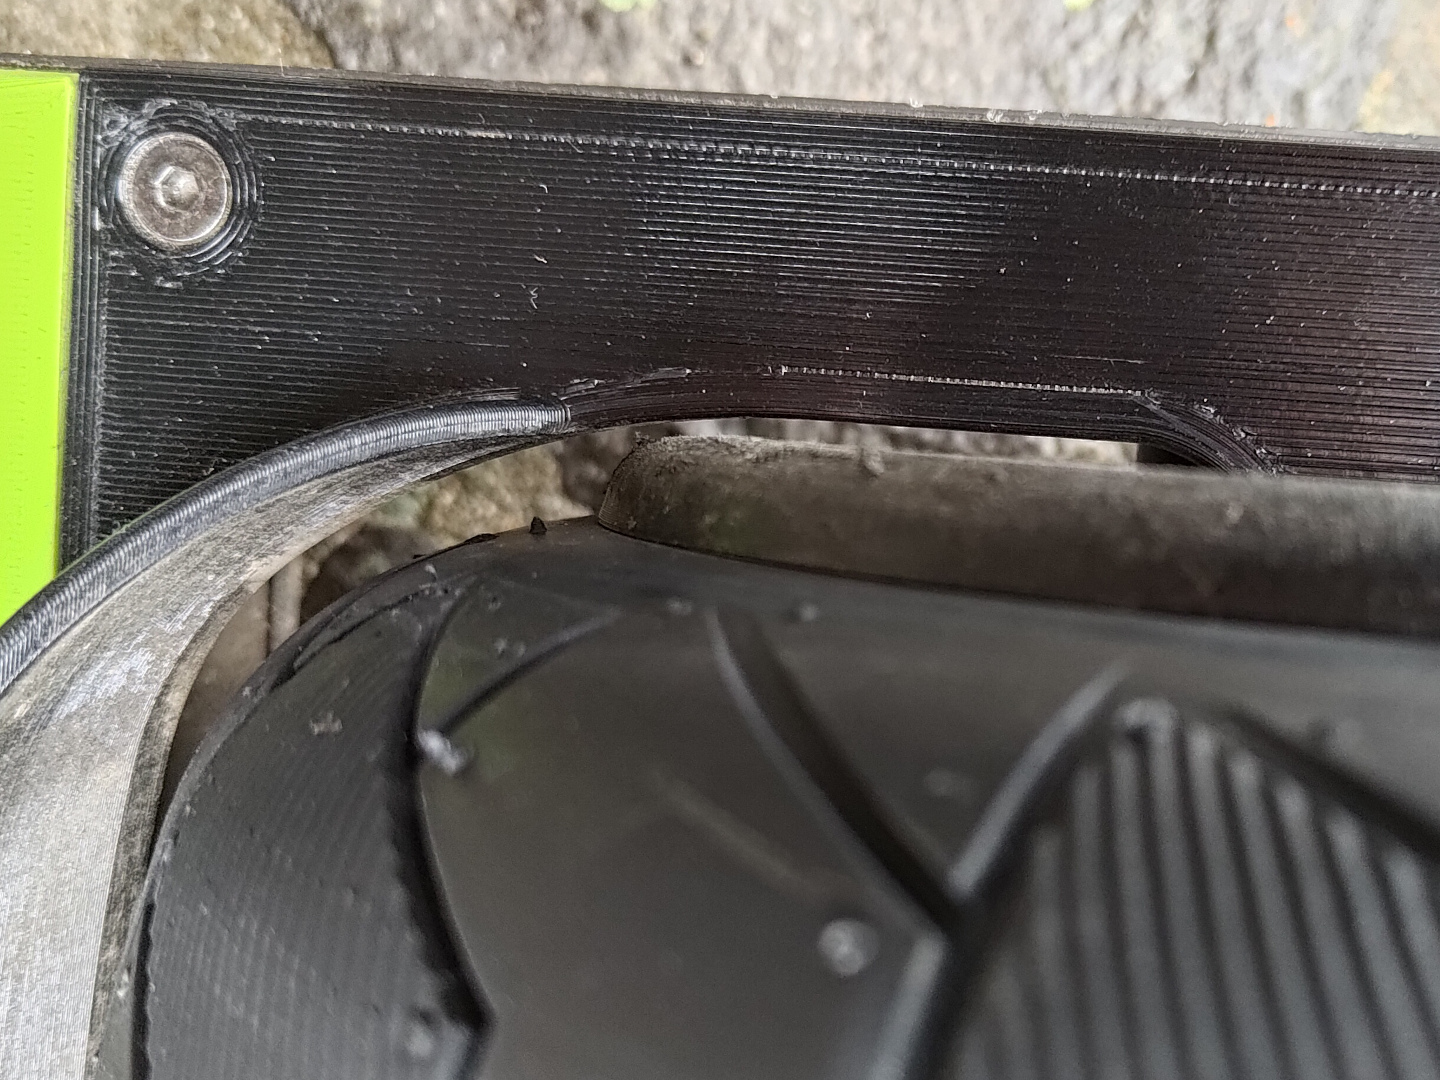
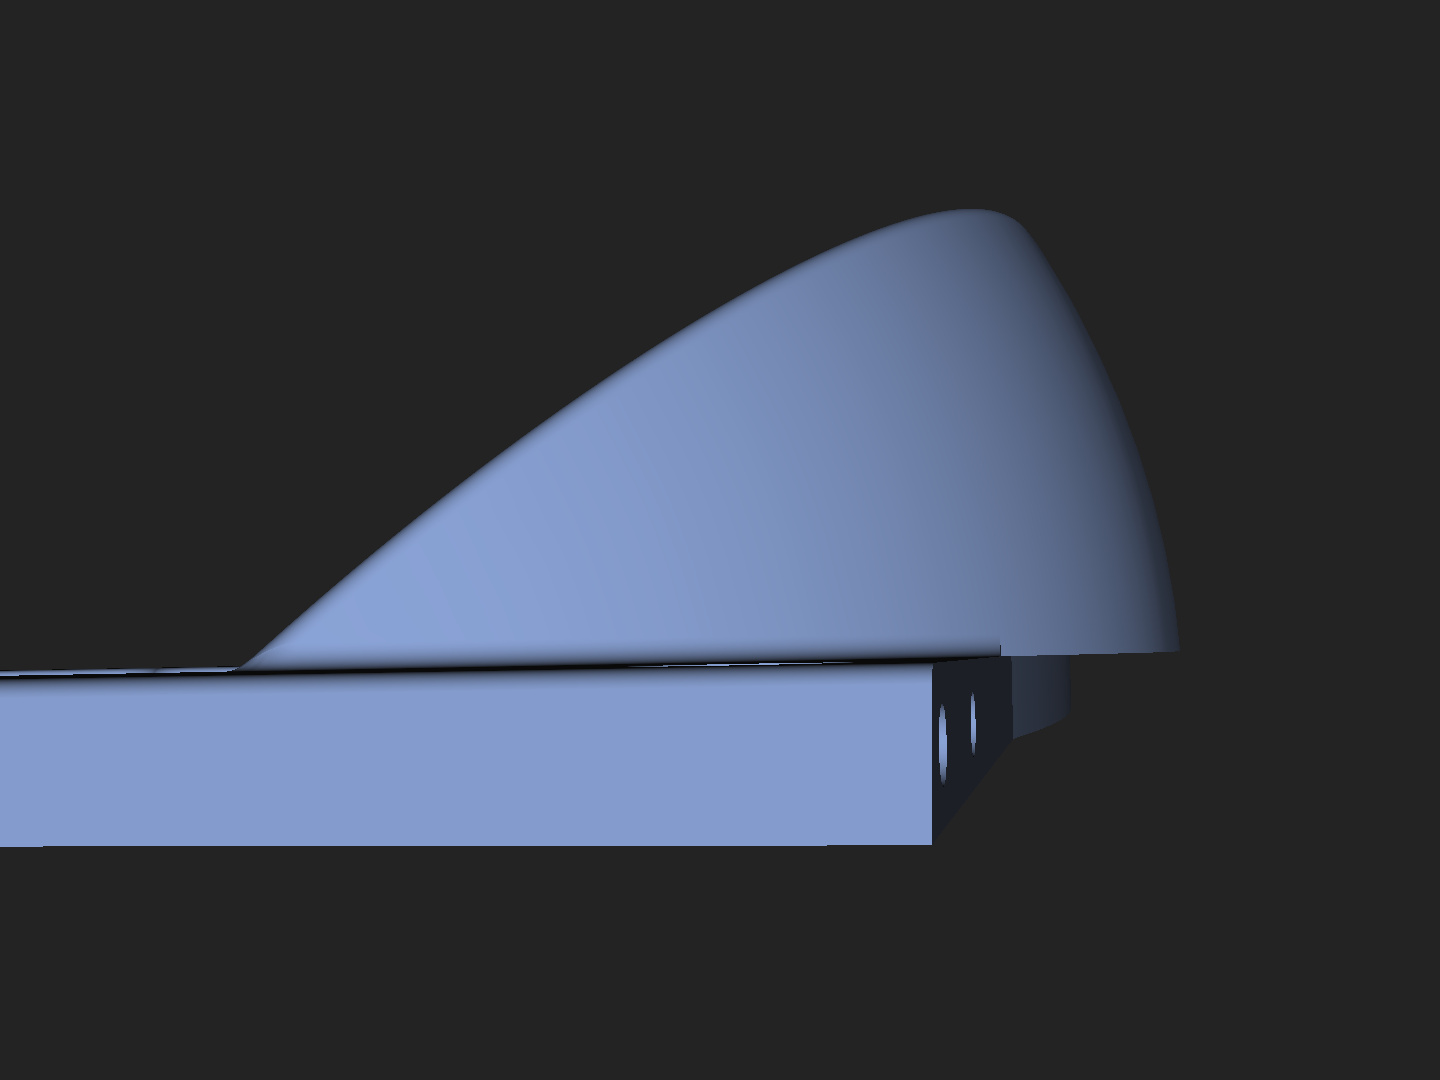
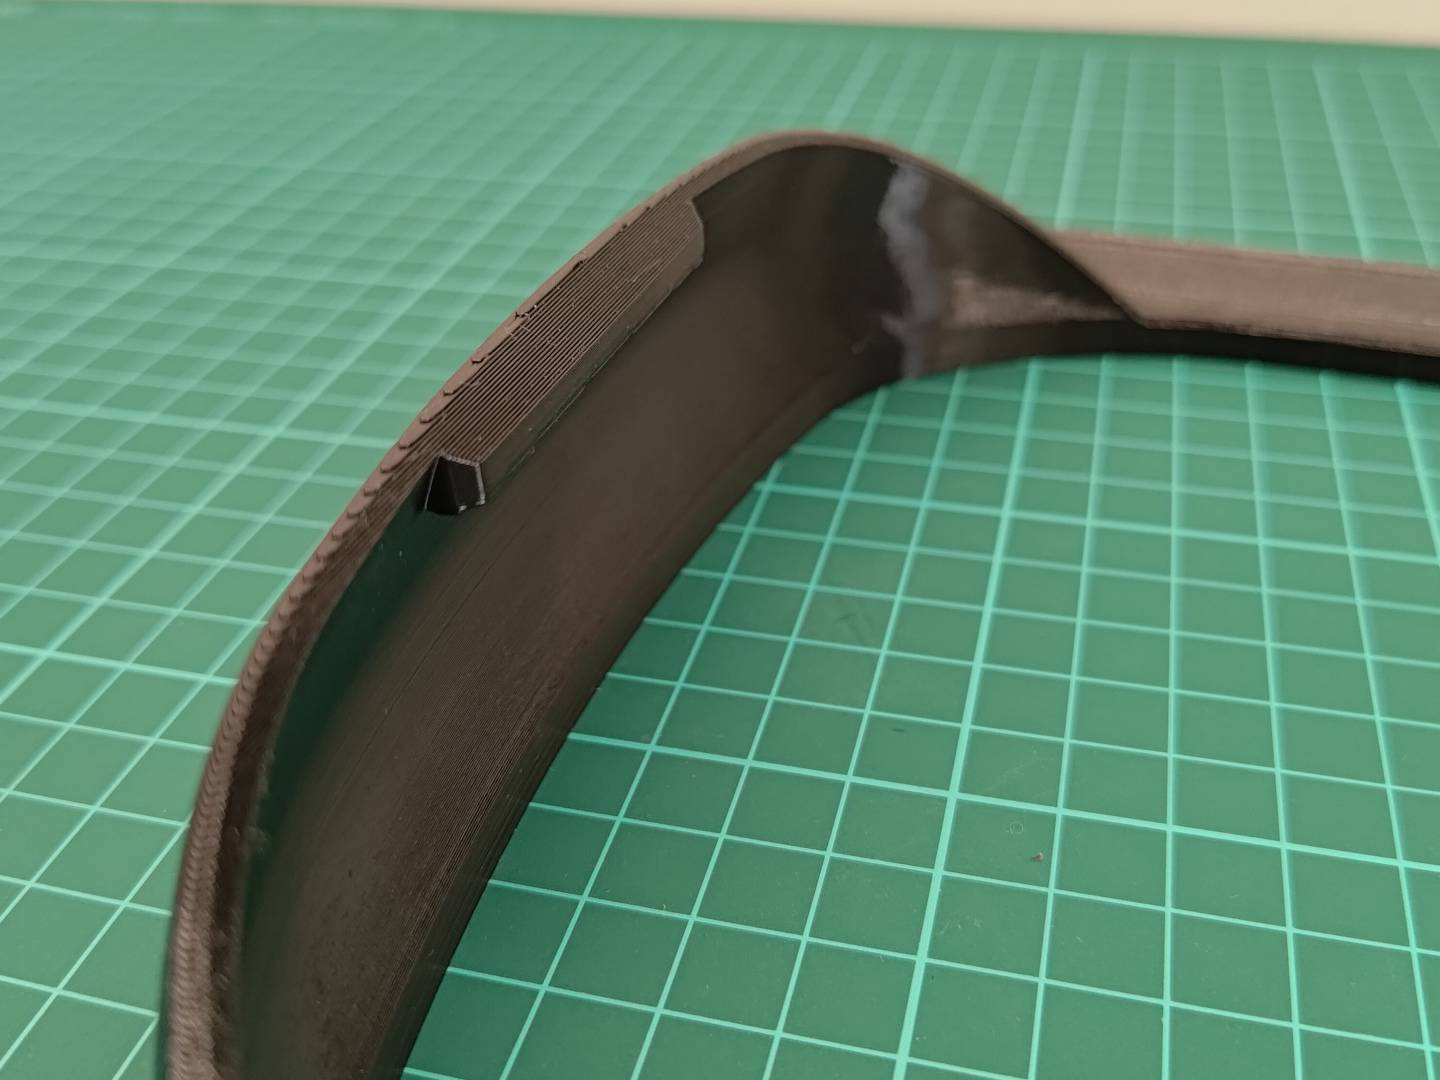
You’ll also need to make a small cutout on the rear edge of your front footpad, to make room in the gap between the tire and the footpad. The fender frame has a small flange that goes into that gap, to prevent water from getting onto the footpad. See my Growler Front Footpad blog post for how to do that.
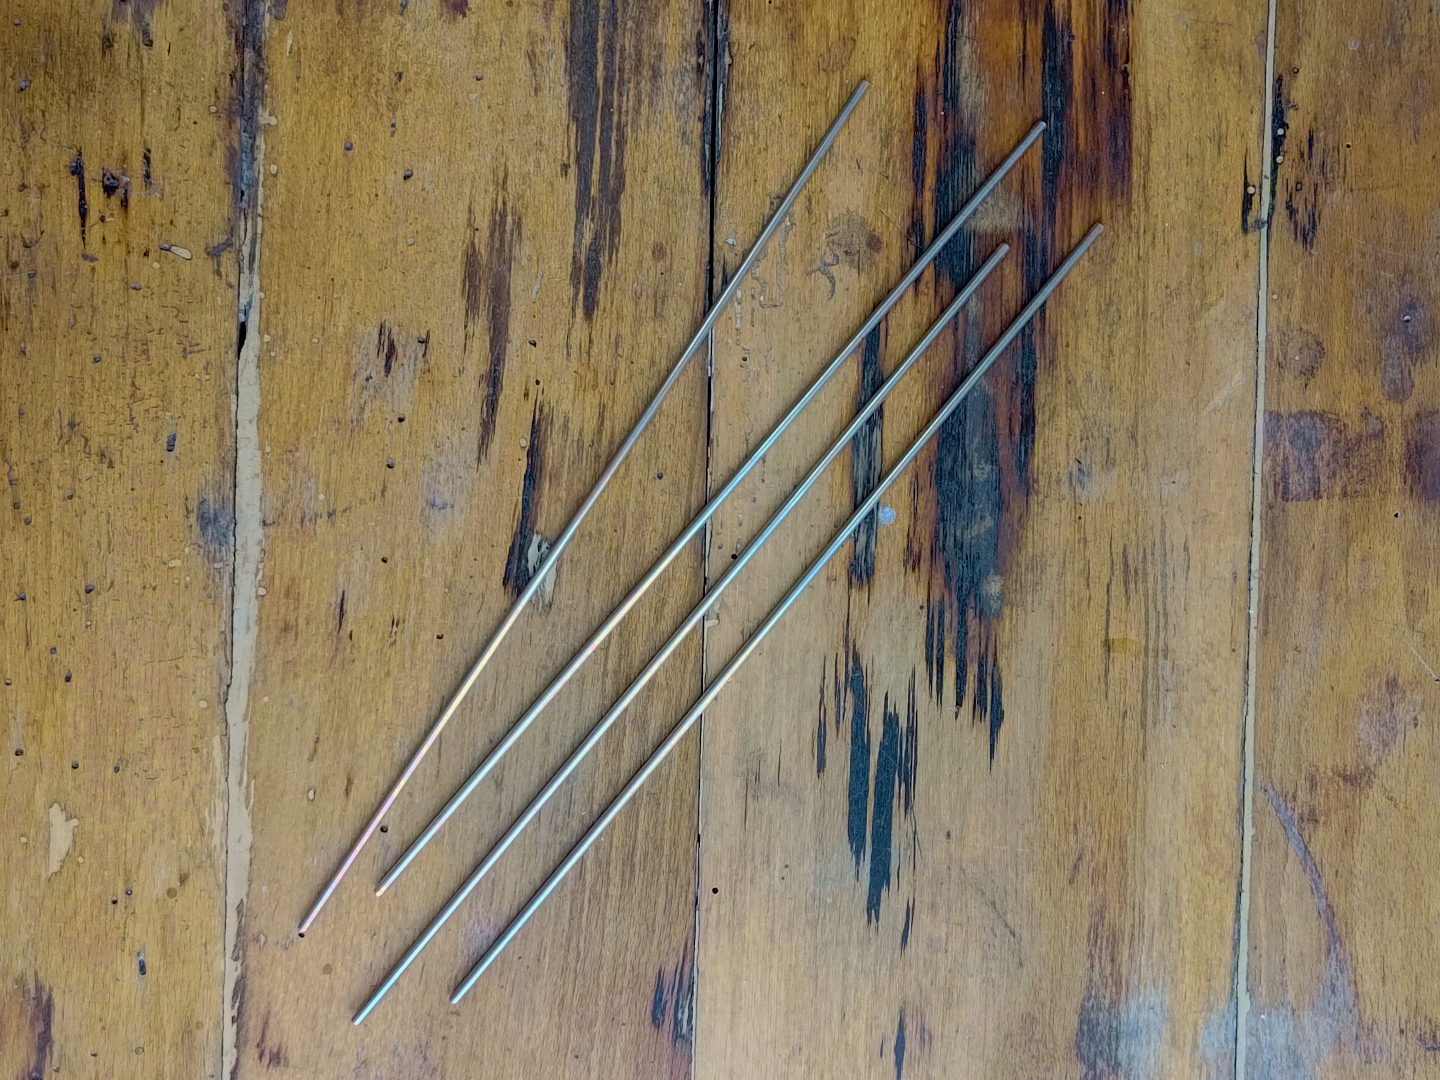
For printing in TPU, it is advisable to also get a 3mm stainless steel rod to act as ribs, as described further down.
I recommend the Fillamentum Flexfill 98A TPU for the print. It prints nice, it doesn’t warp (important for a print this size) and it’s quite a bit stiffer than other 98As I’ve used, which is very good for this application. It’s also really tough, I’ve had other brand 98As break on me, but this one has really stood up to the test.
Get the model here.
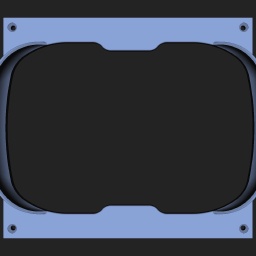
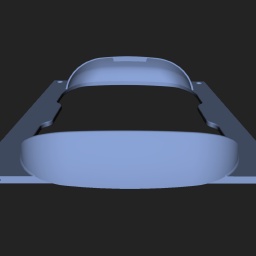
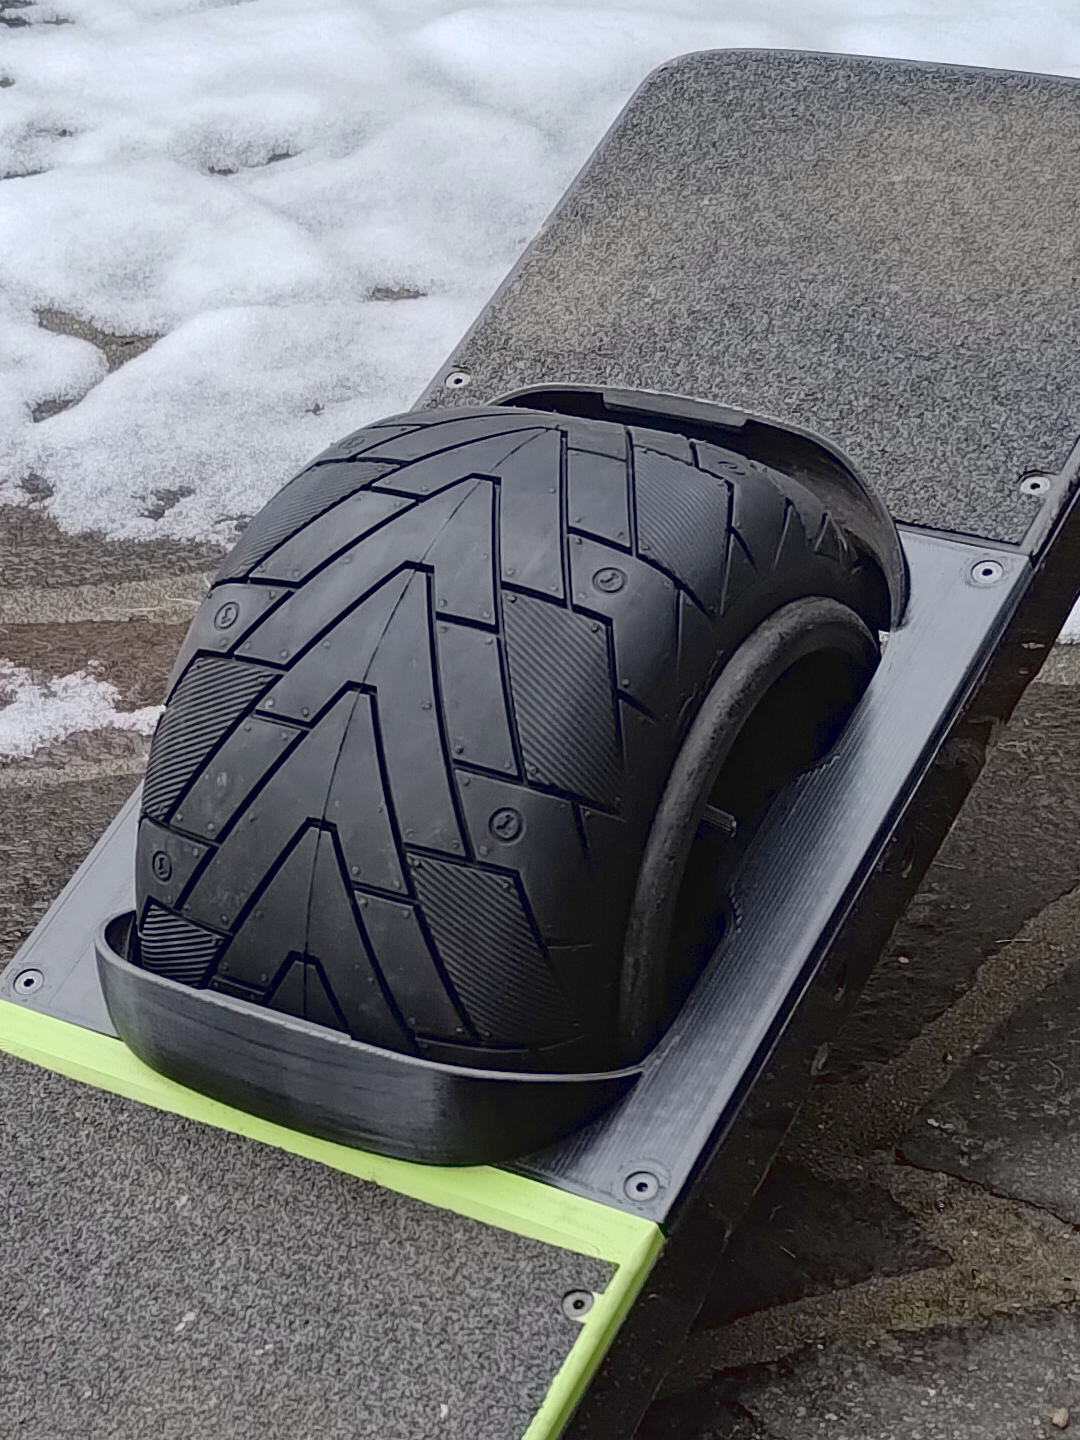
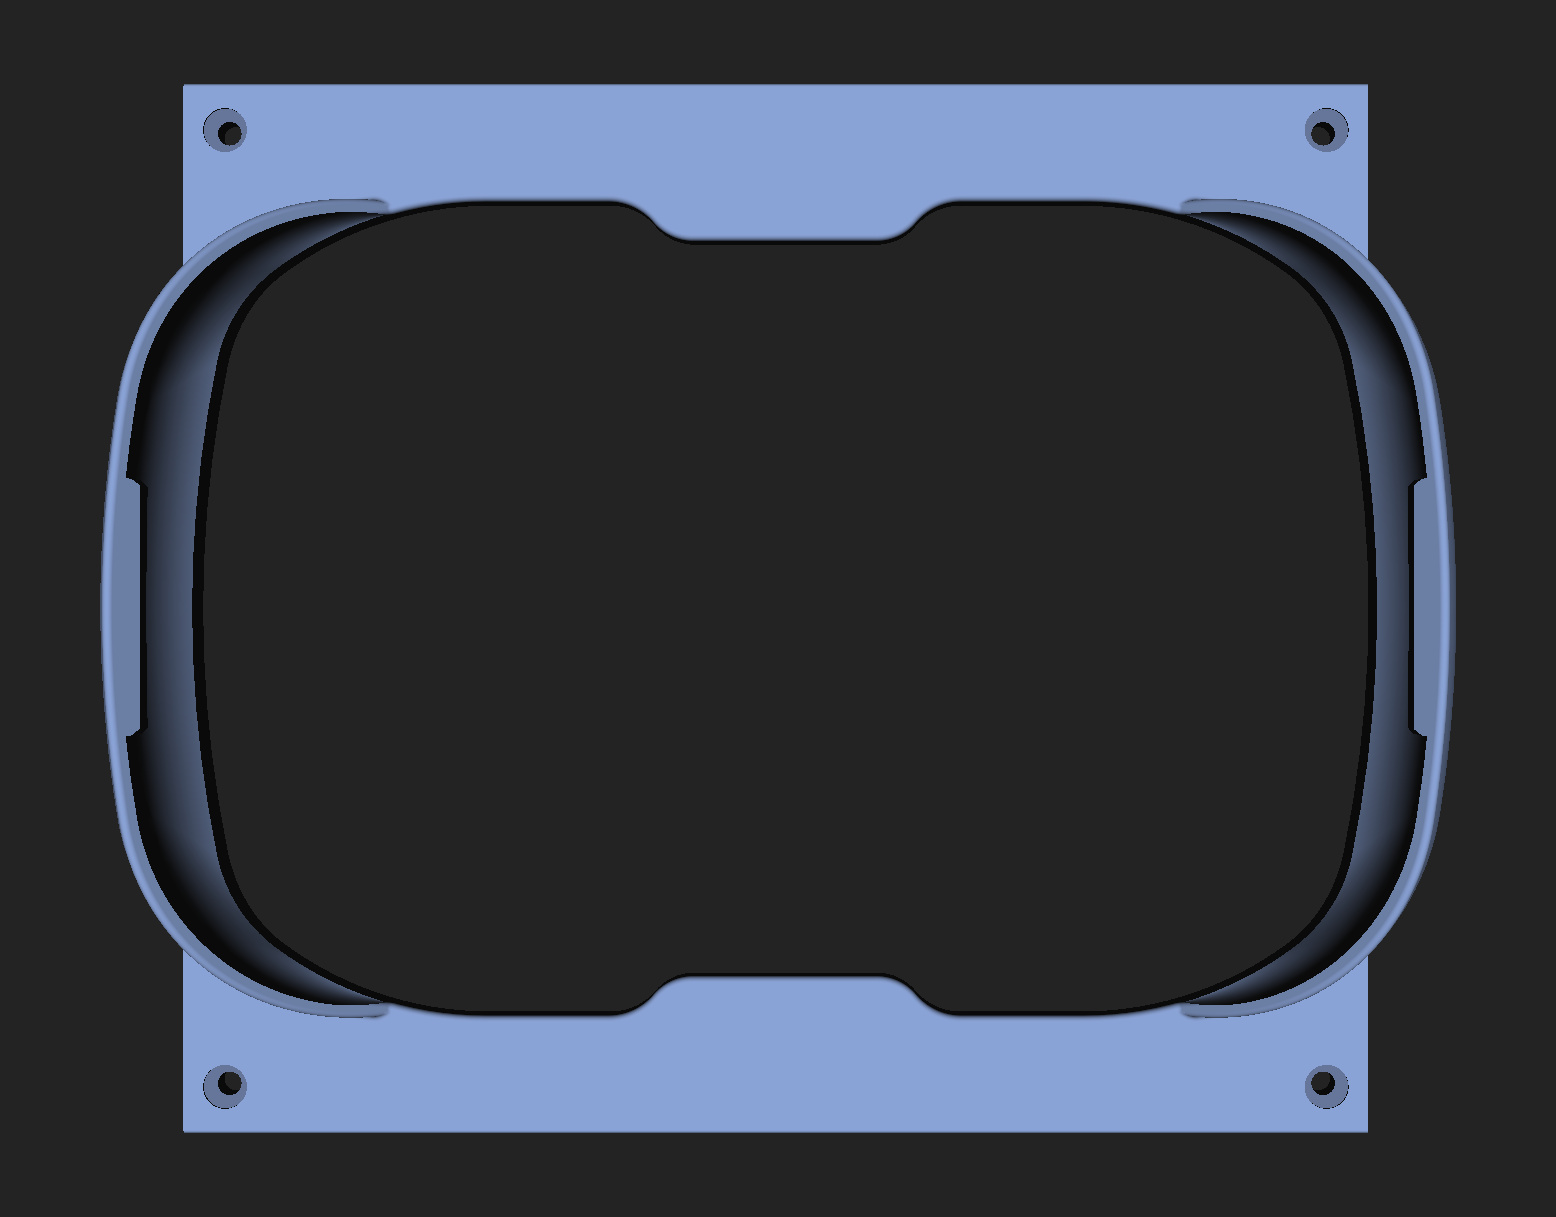
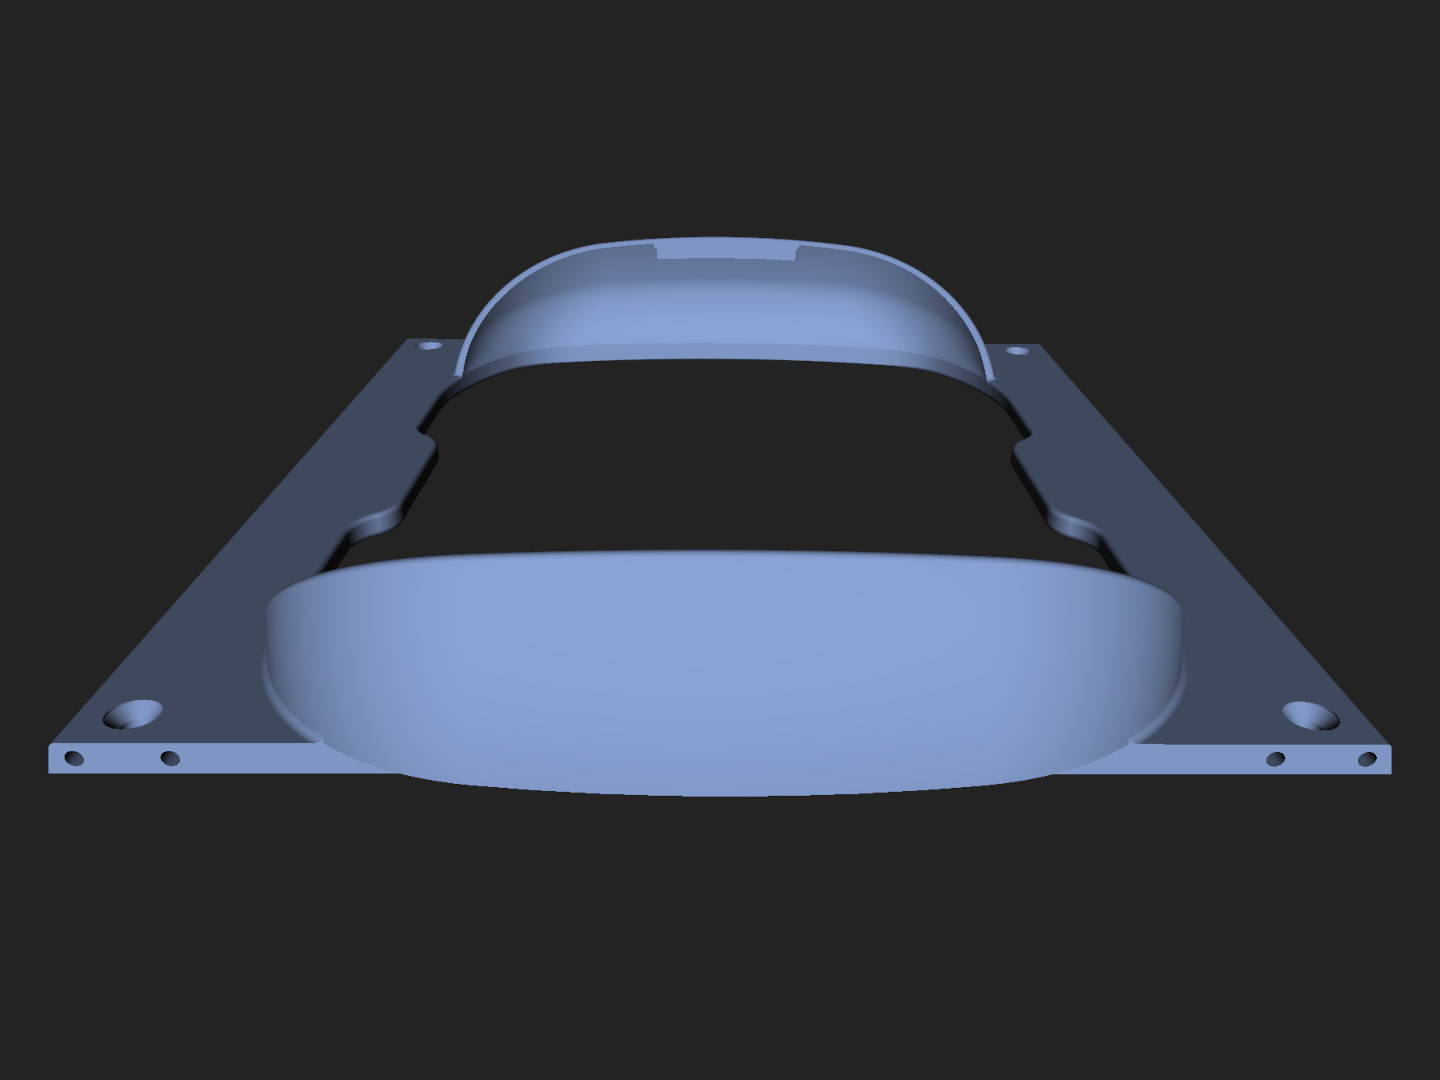
There are two versions of the model, one with a cutout for the sensor (plus grip tape), and one if you’d happen to have a custom footpad which is just flat in the fender area. You most likely want the sensor cutout version, see pictures.

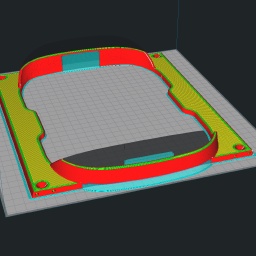
Slicer Setup
I’m slicing with Cura. I am now printing all my bigger models with a 0.6mm nozzle and with Line Width of 0.8mm. It prints much faster, and the bigger line in general, as well as the line width being wider than the nozzle diameter, results in stronger prints.
The Layer Height is the standard 0.2mm. Supports are needed and the perfect Support Z Distance for me with this setup is 0.4mm, equaling 2 layers.
With this model You really want to make sure the shortie fenders are full out solid in their narrow section towards the top, which, with the above mentioned line width, amounts to Wall Line Count of 4.
Besides that, just make sure the rib holes are properly bridged and you don’t print supports inside those if you’re planning on using them.
For a good overall fit, you need to have your axis motors well calibrated, and I’m personally printing with an X and Y scale of 100.5% to make up for a slight material shrinkage.
The Ribs
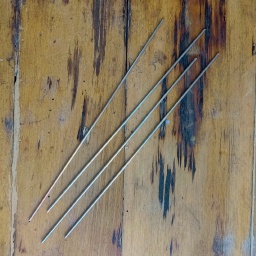
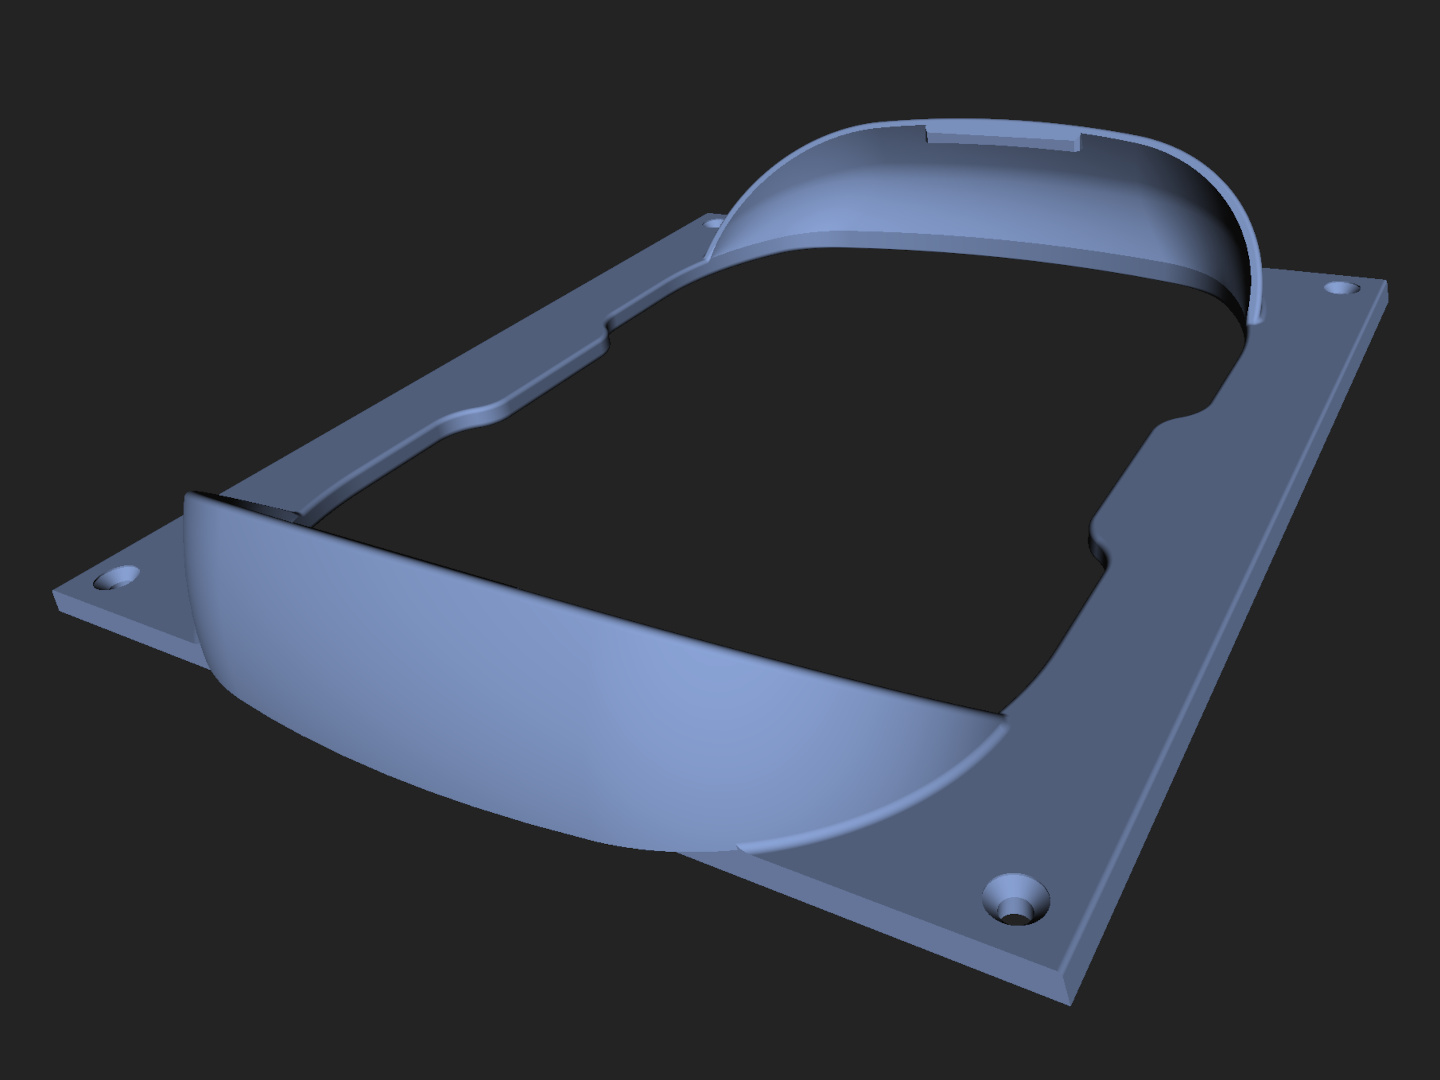
If printing in TPU, you can insert ribs into the designated holes in the model to strenghten it up. For that, use four pieces of 3mm x 265mm stainless steel rod (or 1/8"). In case you live in like a weird country where 3 milimeters don’t exist, you should be able to use 1/8", though it might be a bit of a tight fit (if you do this, please let me know how the fit is, I’d be curious).
Without the ribs, when you insert the fender top, the frame bows out just a bit in the middle, around the wheel axis area. The ribs prevent that.

Closing Thoughts
I have to say, I’ve been extremely happy with this fender and it’s been the envy of my Onewheeling friends. The Drop-Top fender is the best fender design so far and it’s such a pity its future has been ruined so early by Future Motion. Don’t you wish there was such a fender for the GT?
Good thing is, we live in times when we have the technology to make a lot of the parts we need in our homes. That said, developing good designs still isn’t cheap, by now I’ve spend hundreds of Euros on fillament and a lot of hours working on the model and prototyping. I’m making it available for free. If you printed the frame and you like it, please consider donating to show support and give back a little:
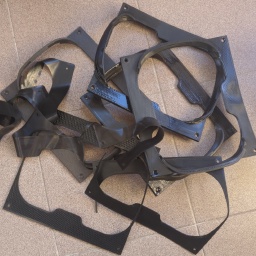
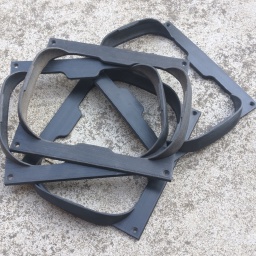
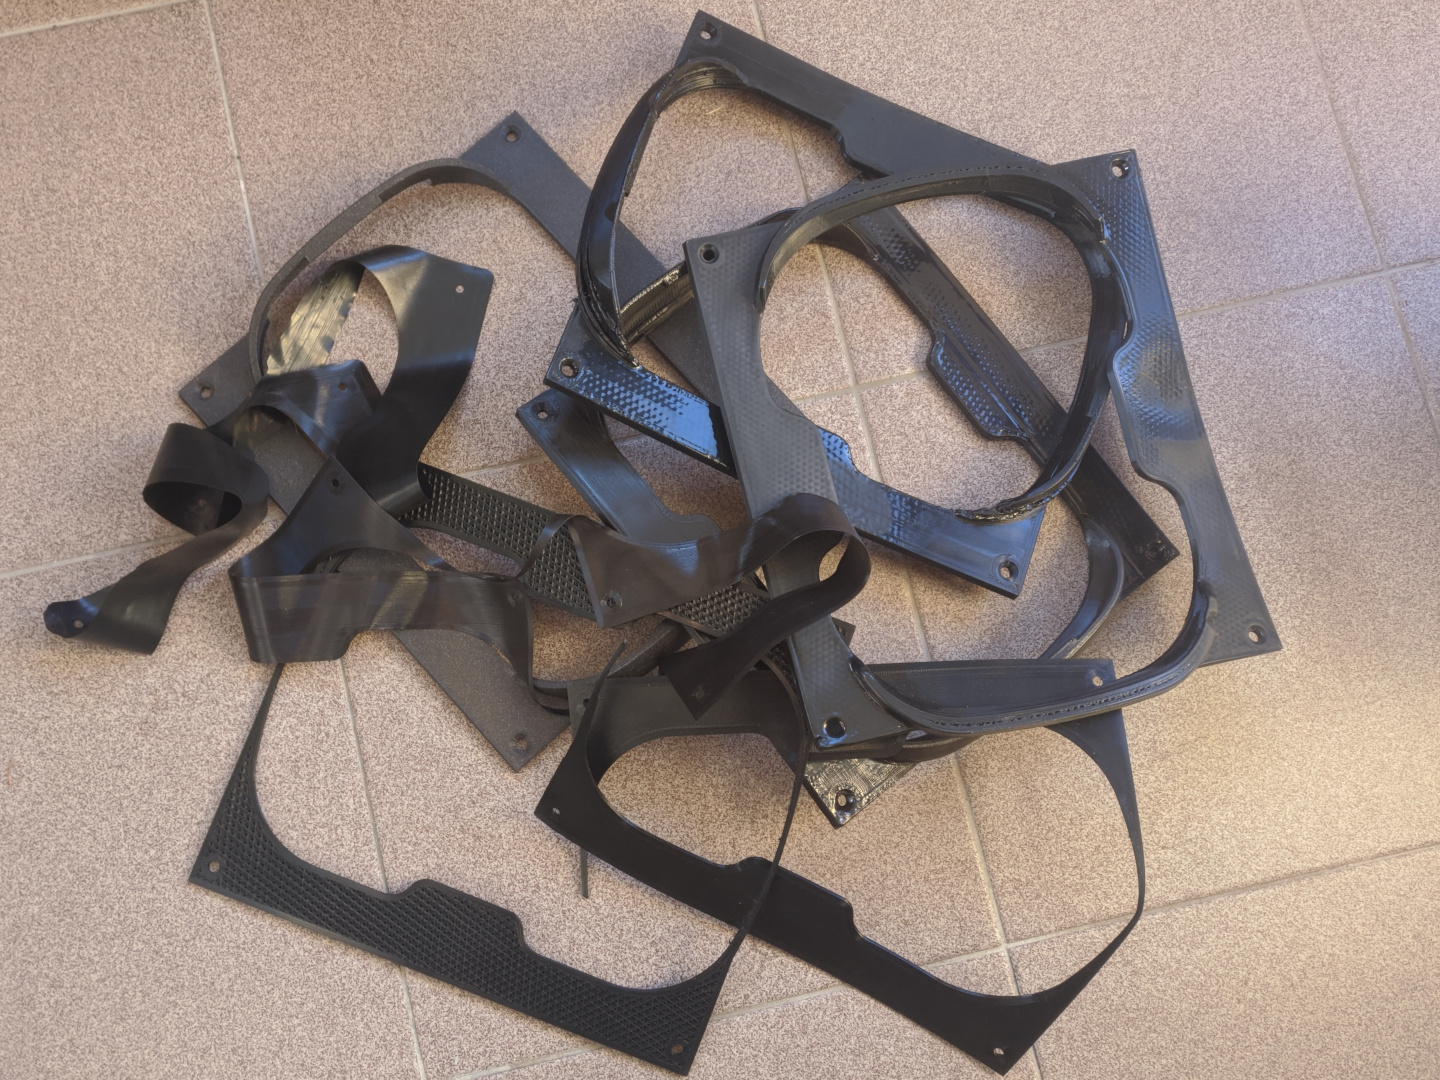
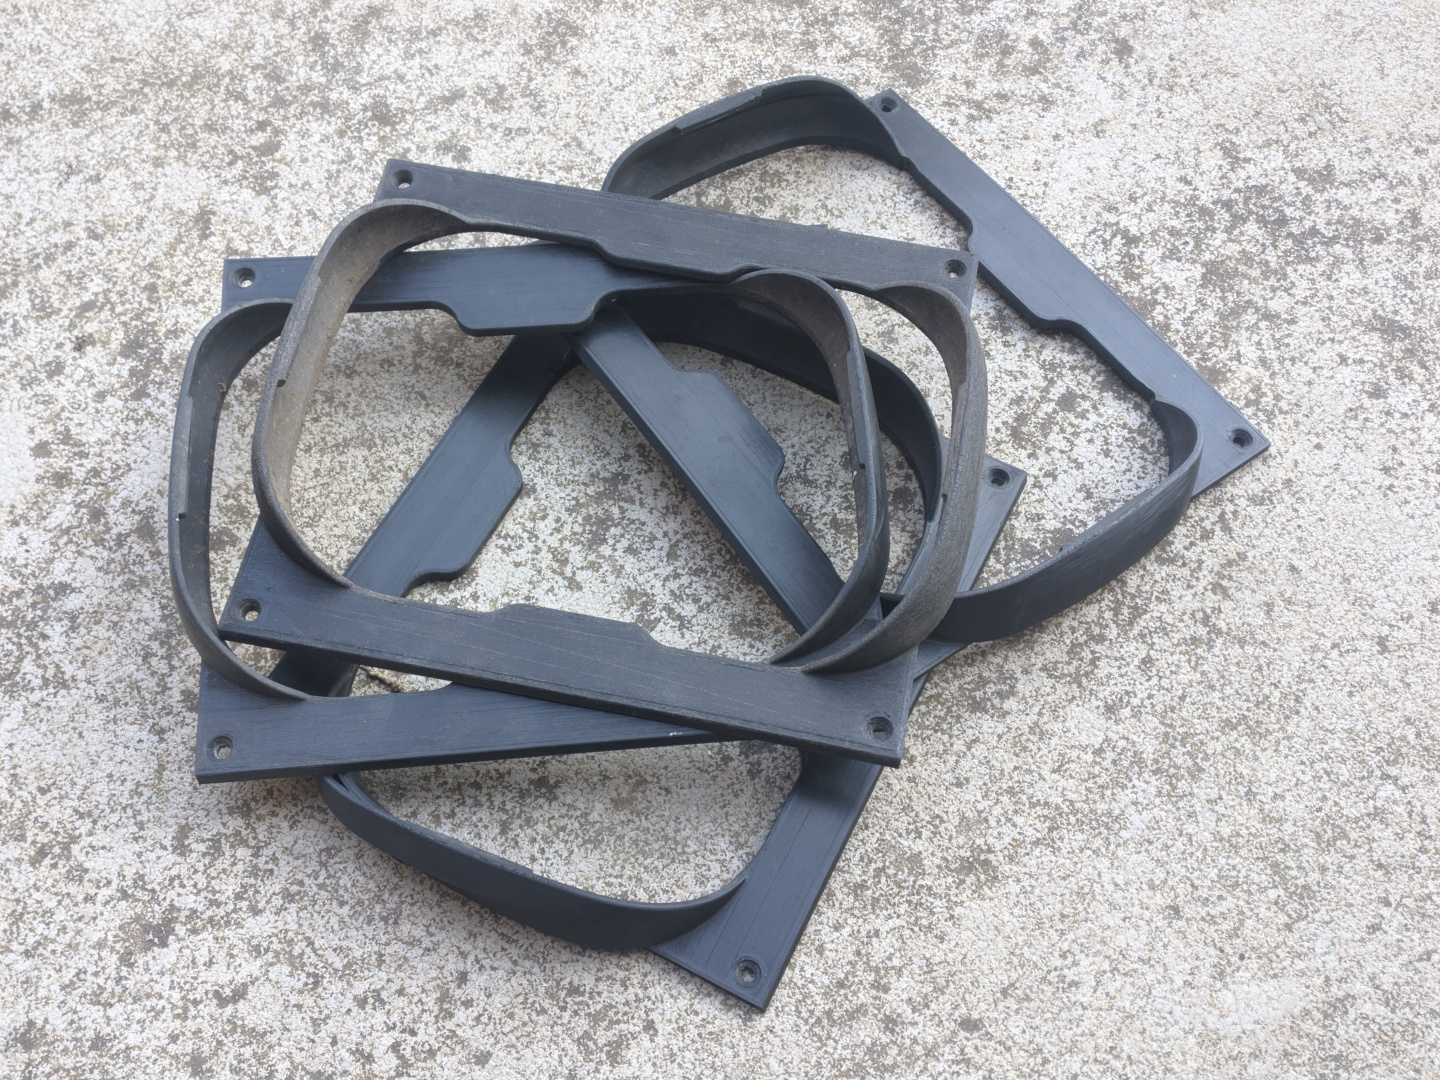
A bunch of early failed prints. Note I've been testing if the prints could be smoothed out with a heat gun on those. Doesn't work.
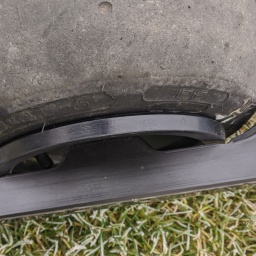
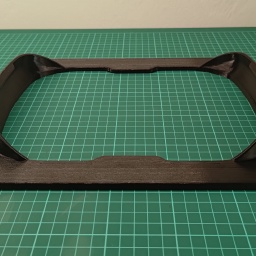
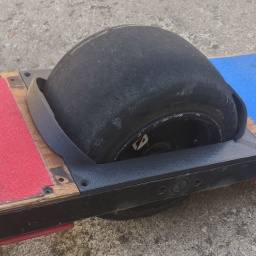
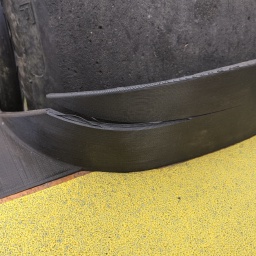
The first serviceable prototype, with Life Savers. I cut the frame out with a knife to make them fit.