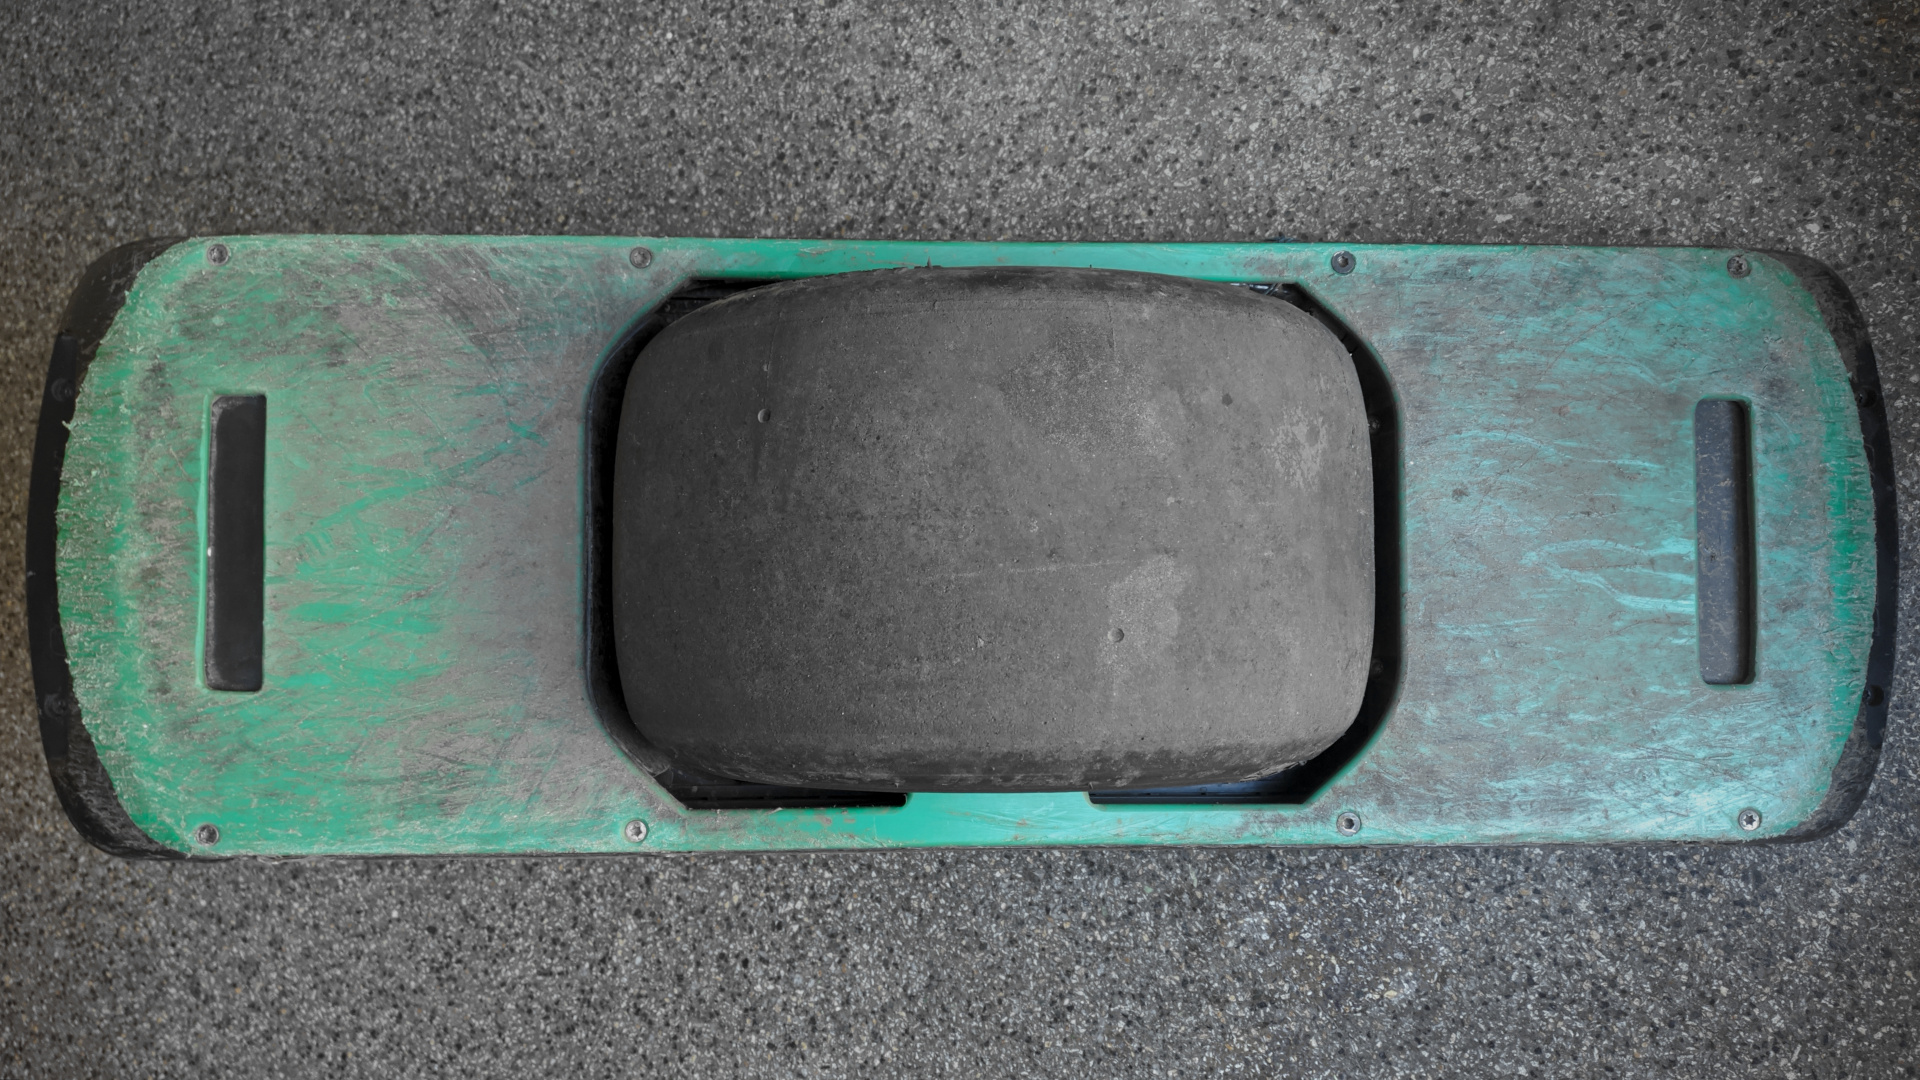
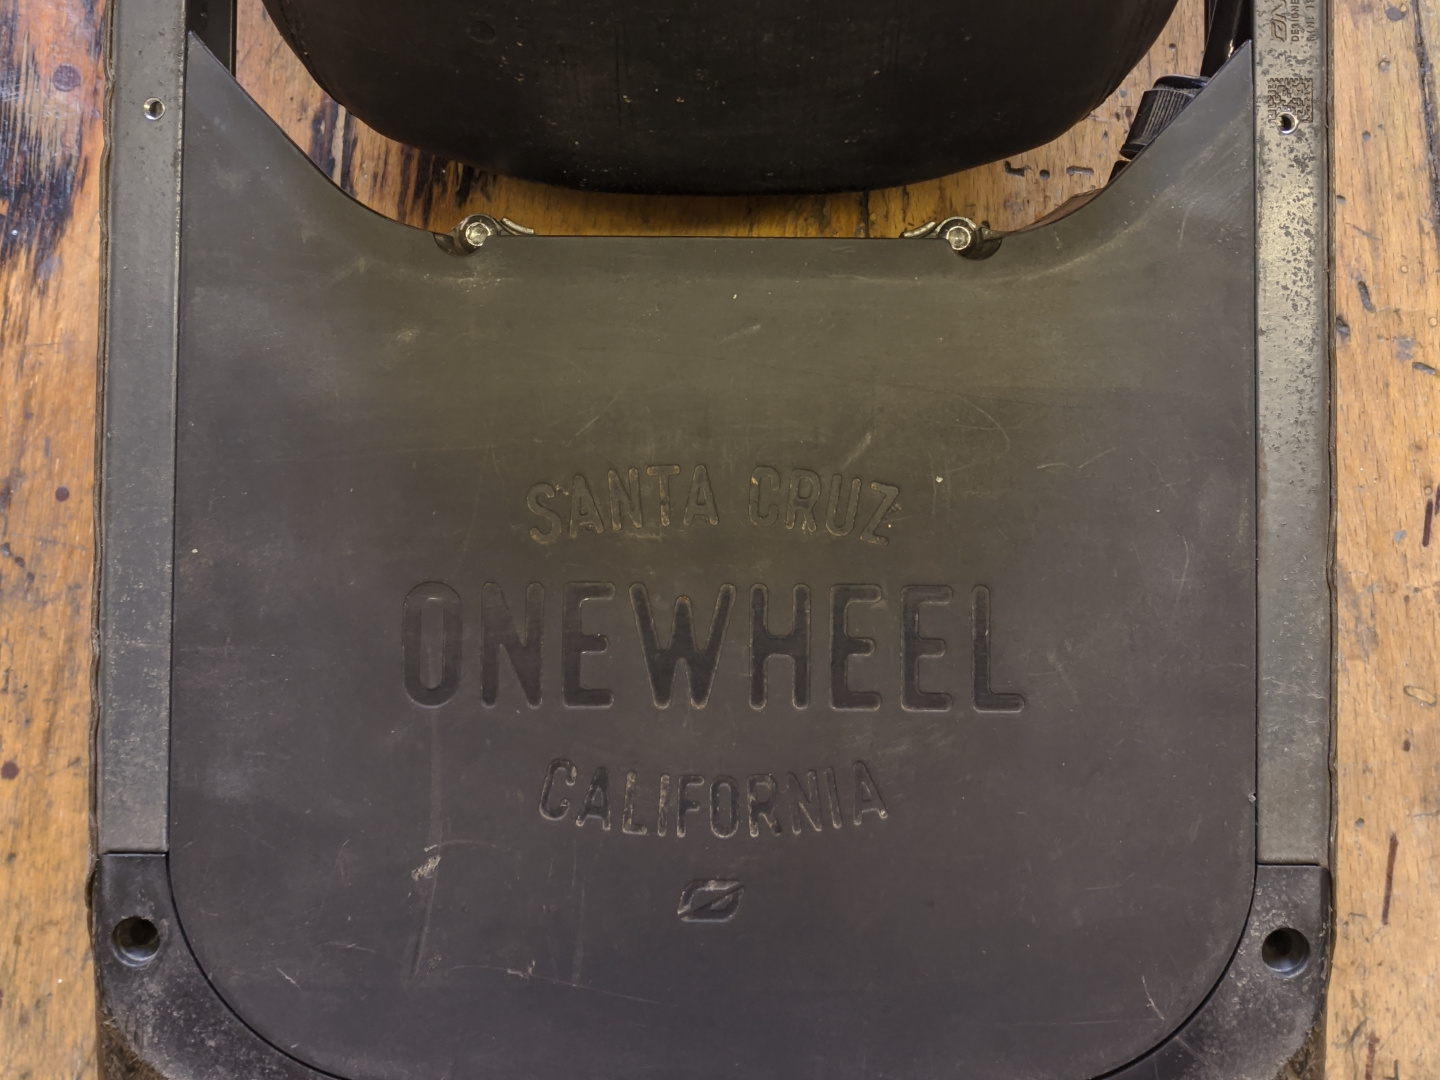
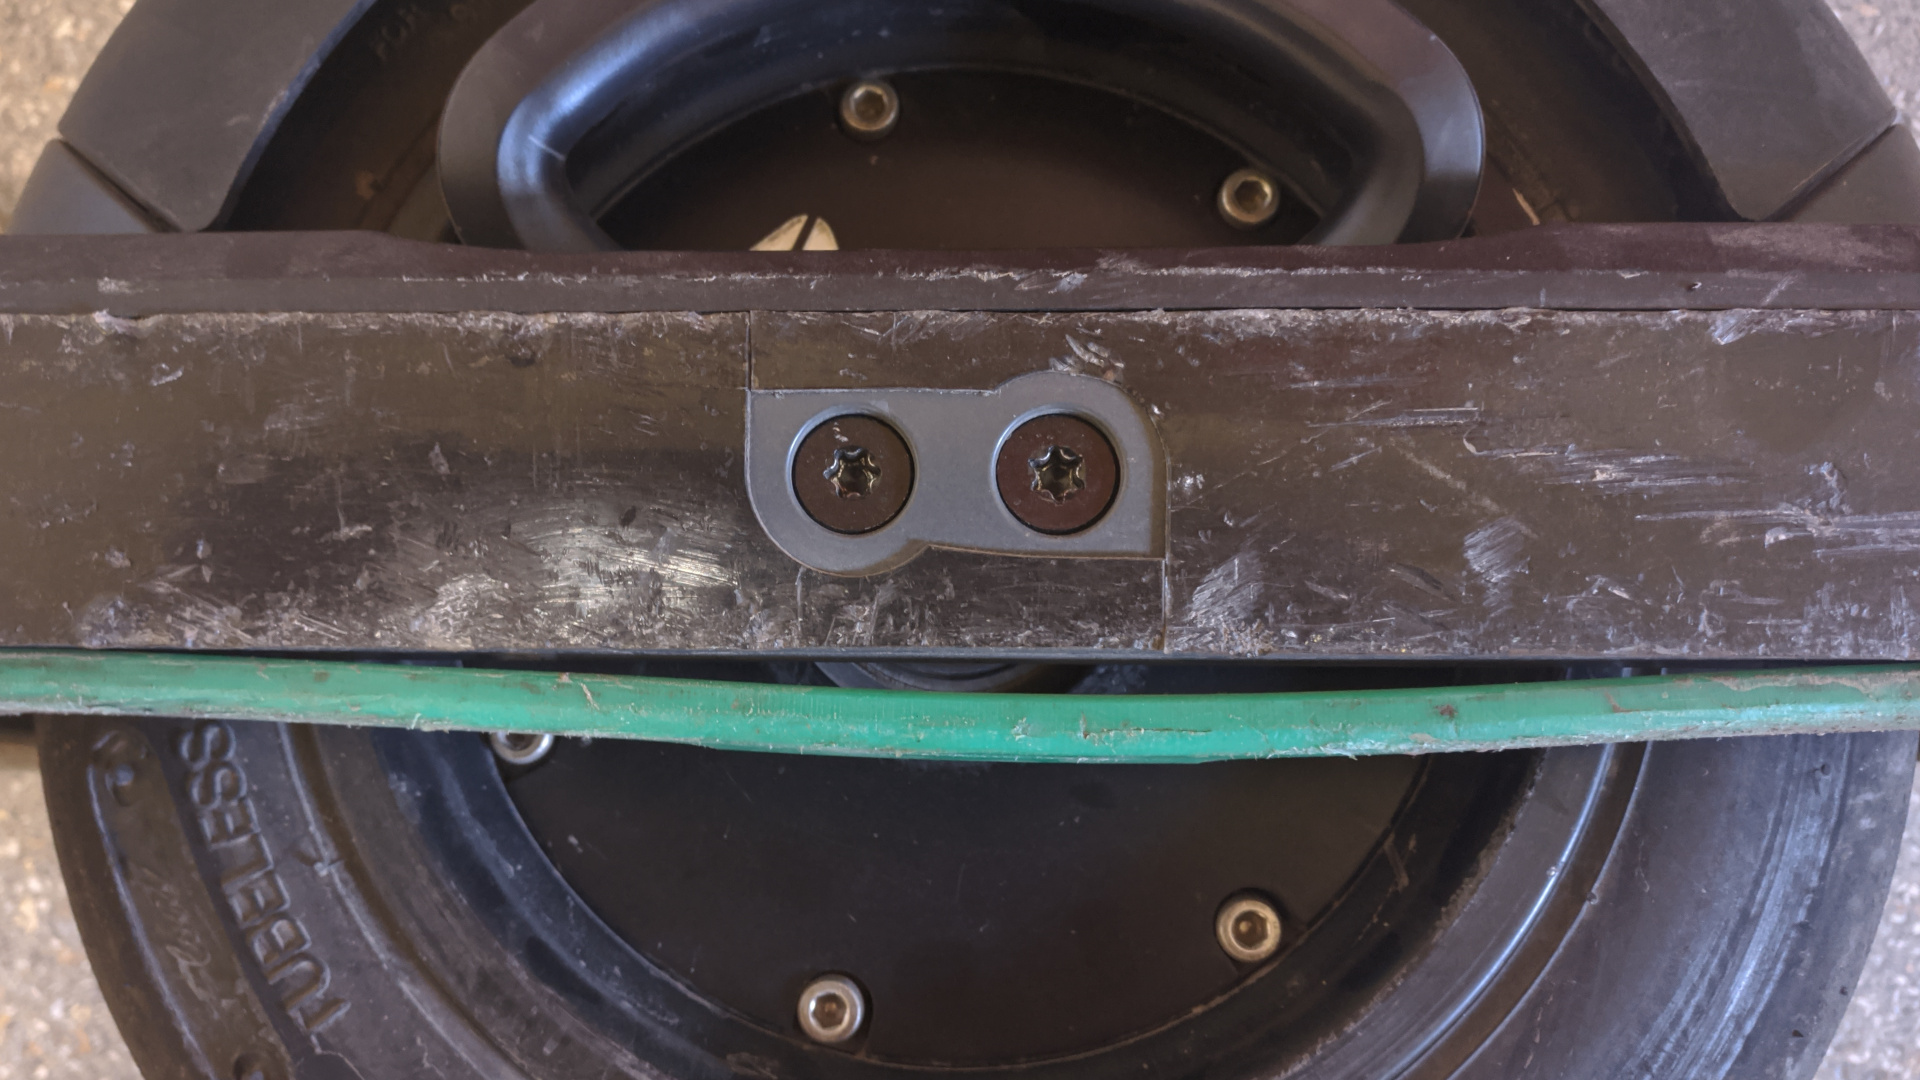
The Float Plate Solo is great, but the problem with it is it’s partially attached by sticky tape. Makes you think twice before doing a maintenance, as it’s a huge pain to clean it off and re-stick afterwards. All that while you already know it won’t be long before you’re doing it again. Once is enough, I say. Let’s drill some holes and screw it down to the rails just like on the other side of the wheel!
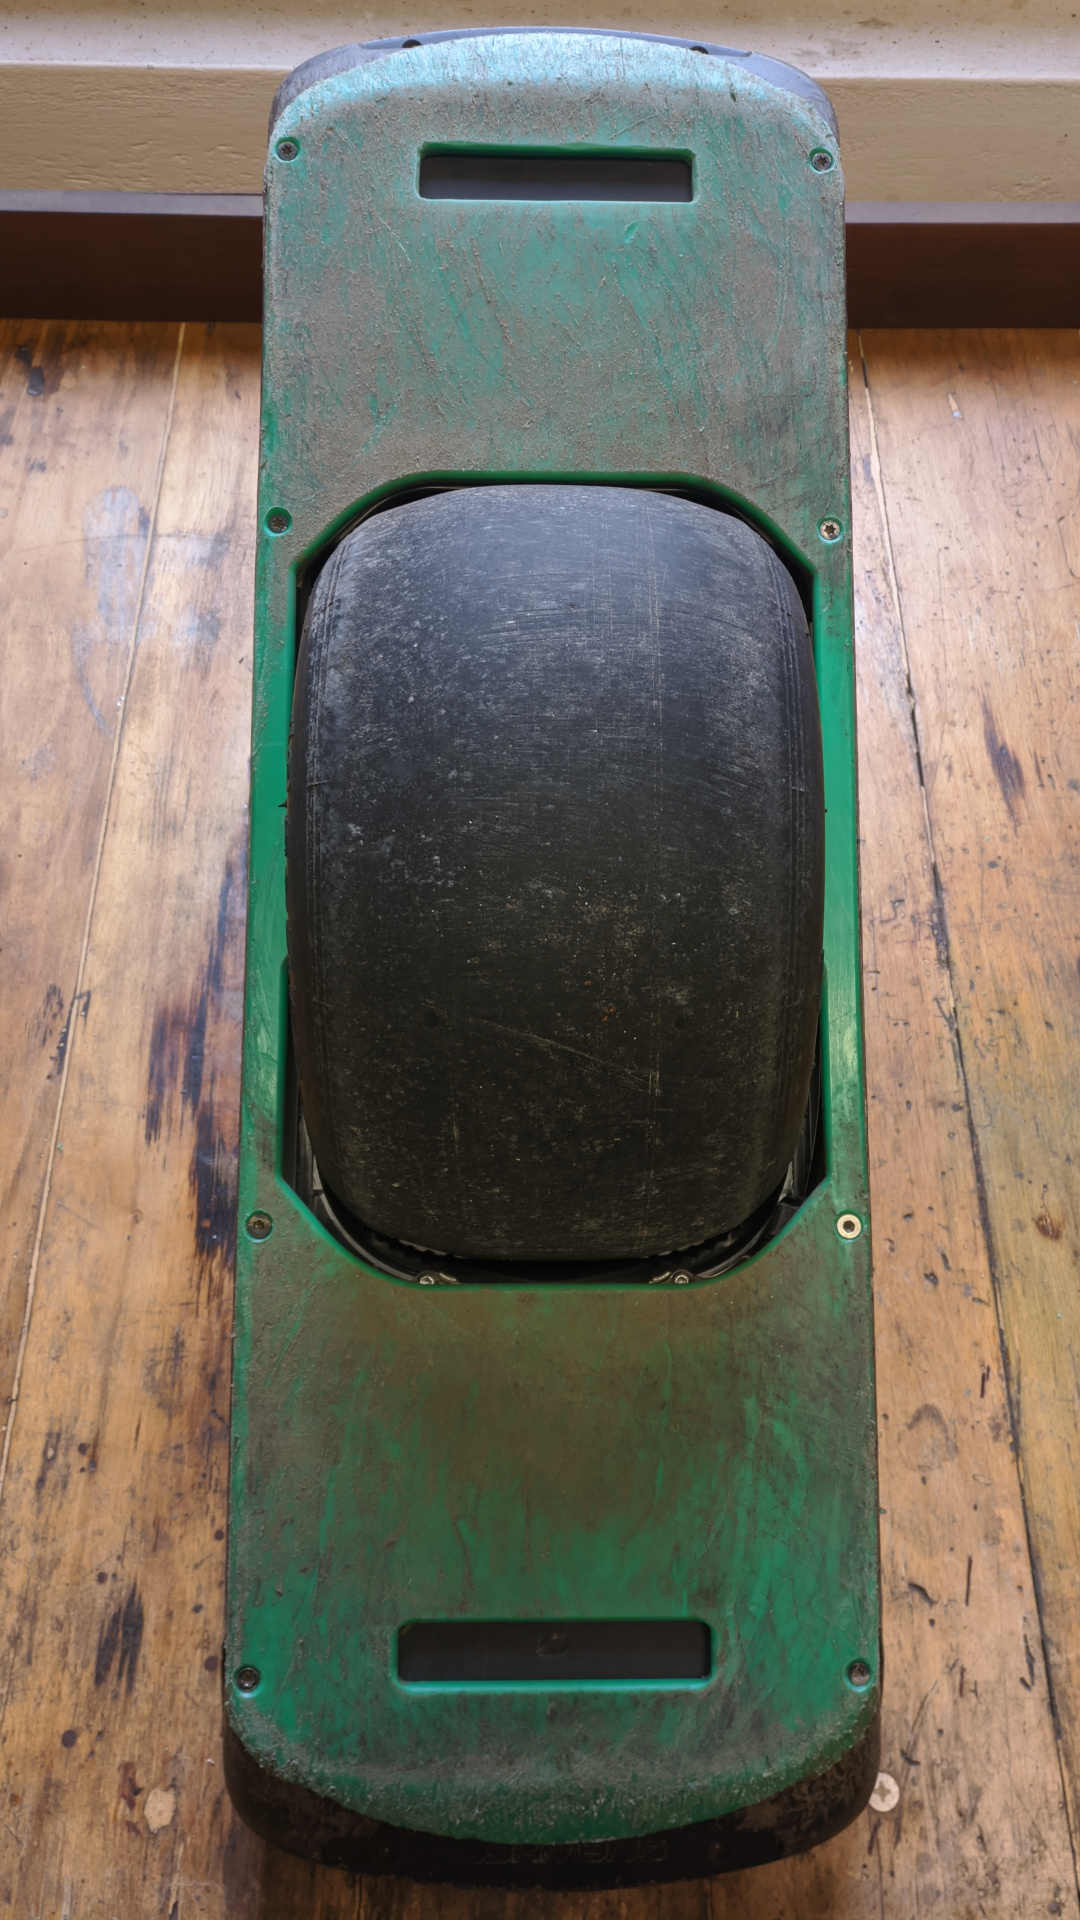
You may also have noticed my float plate has two handle holes. Yup, I’ve added one to the other side. Now my board carries like a true twin! It’s been moderately useful, I mainly did it so that I can flip my board from hand to hand (mag handle to float plate handle and vice versa) both ways, but it has another advantage in that you can flip the float plate around when you grind down the tail. That way it can last you quite a bit longer.
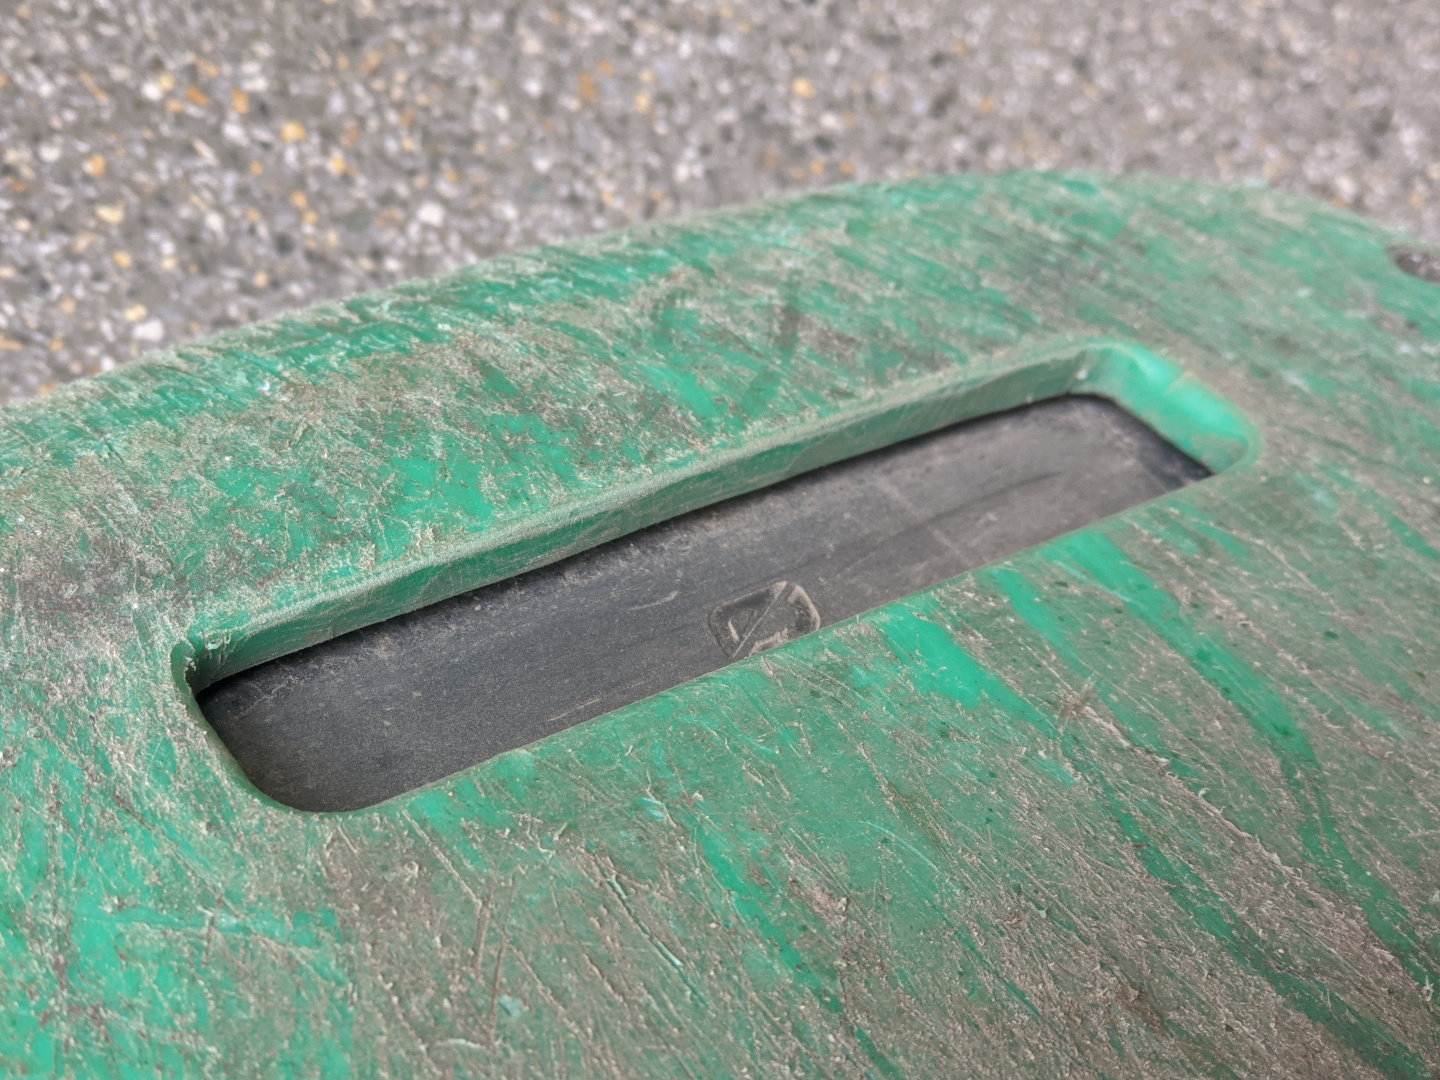
Even if you’re not interested in a second handle hole, I’m also making the current handle hole a bit more comfortable by tweaking its edge.
Step 1: Mark Out Your Rail Holes, Drill and Tap
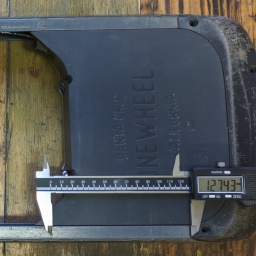
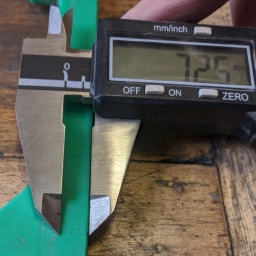
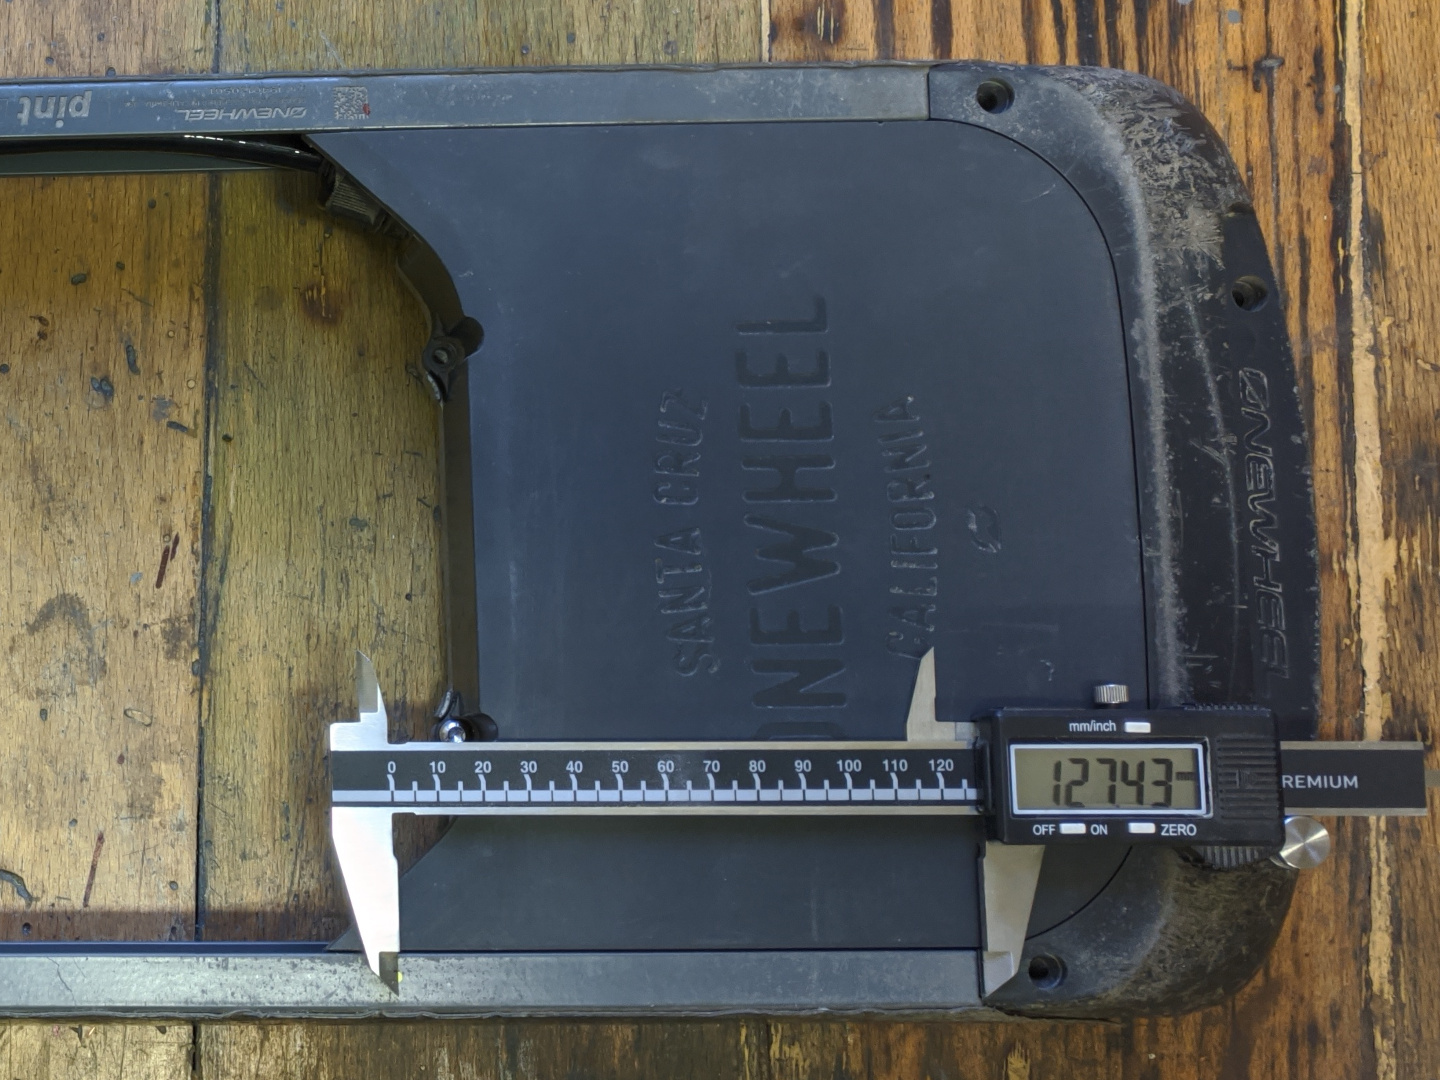
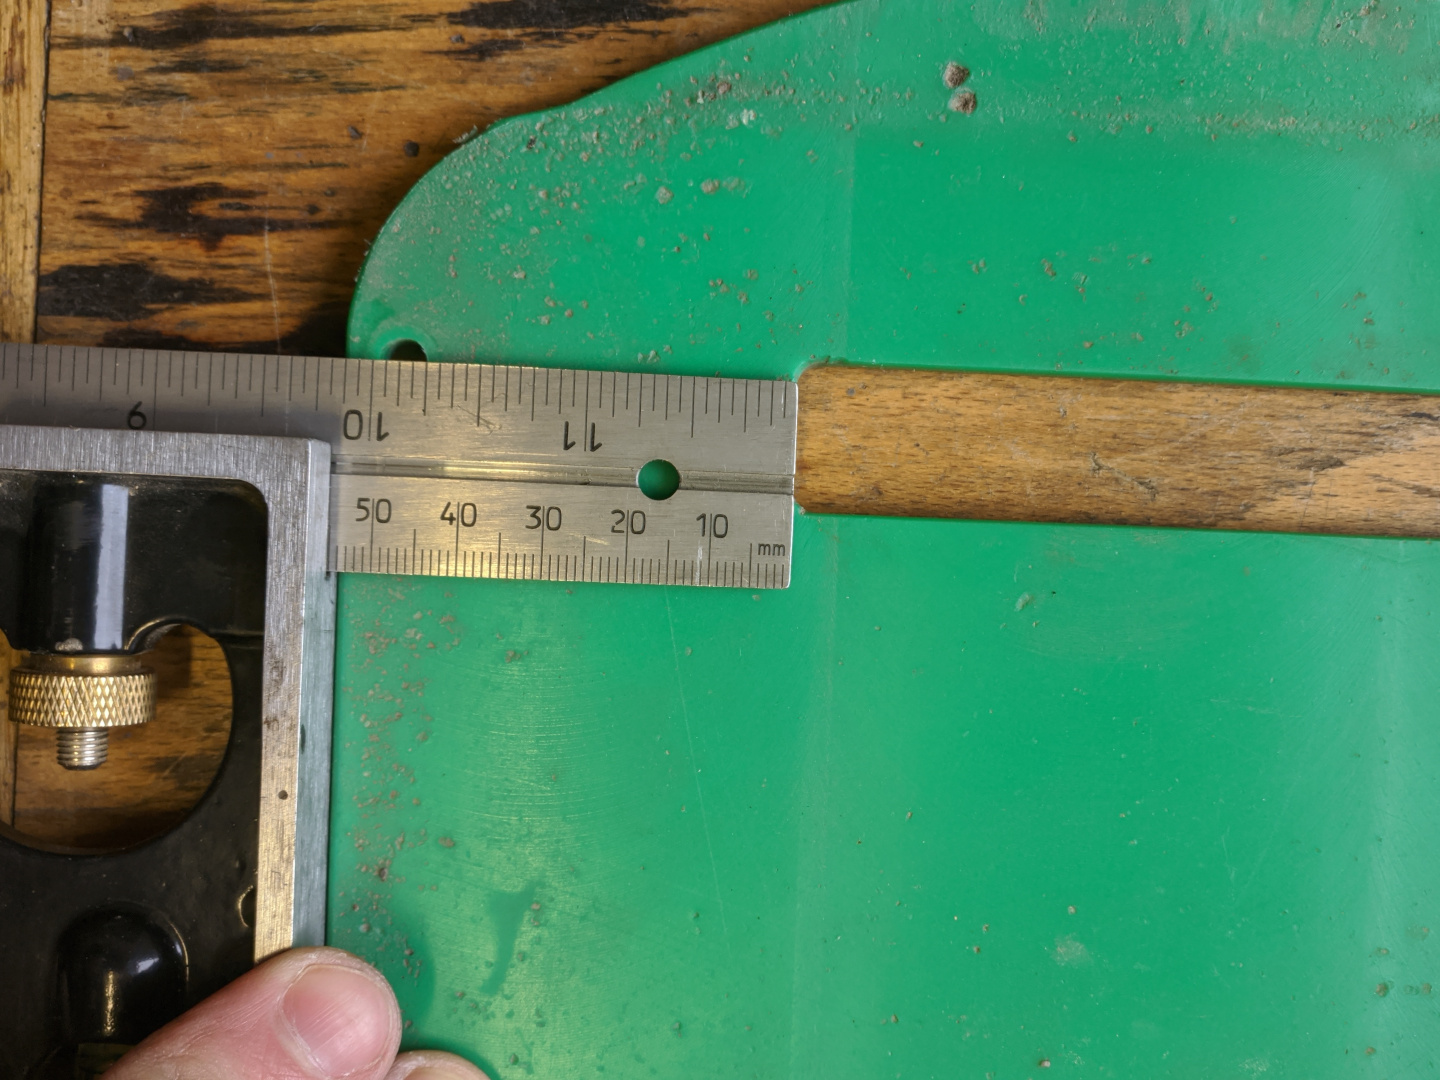
Let’s place the holes symmetric to the ones on the other side of the wheel, so that we are later able to flip the float plate around. I’ve measured the other holes to be 127.5mm from the end of the rail and 5.5mm from the inside edge.
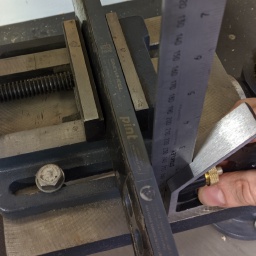
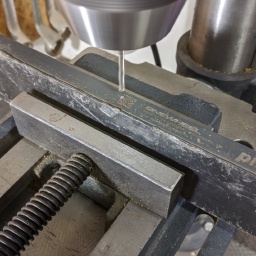
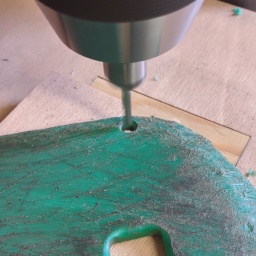
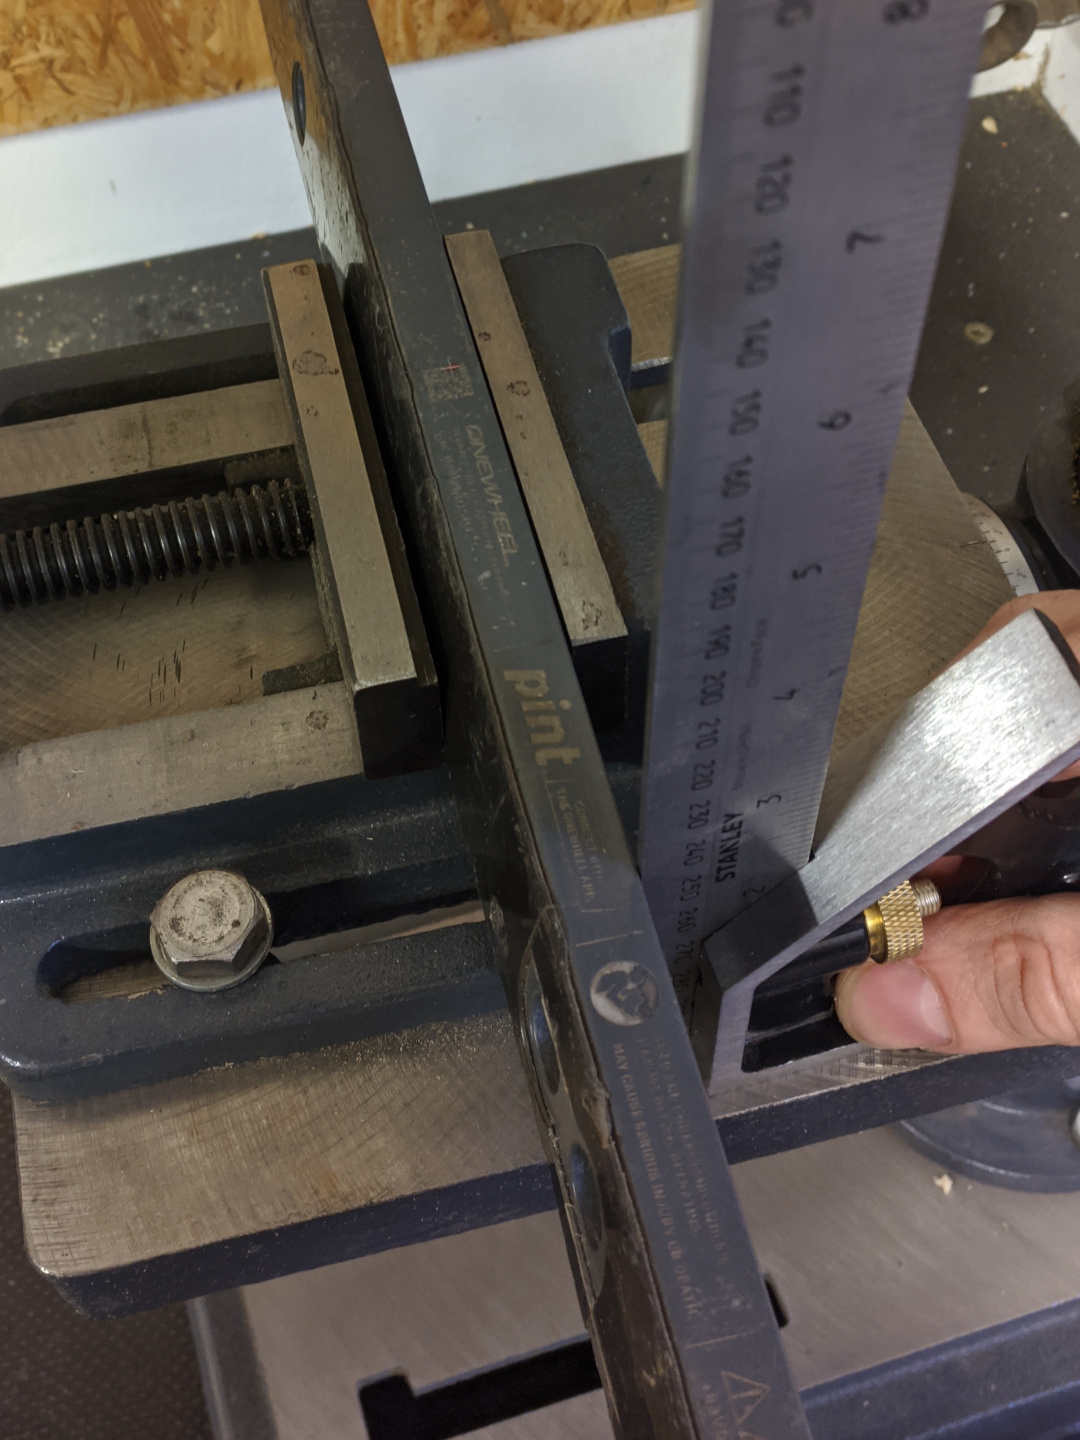
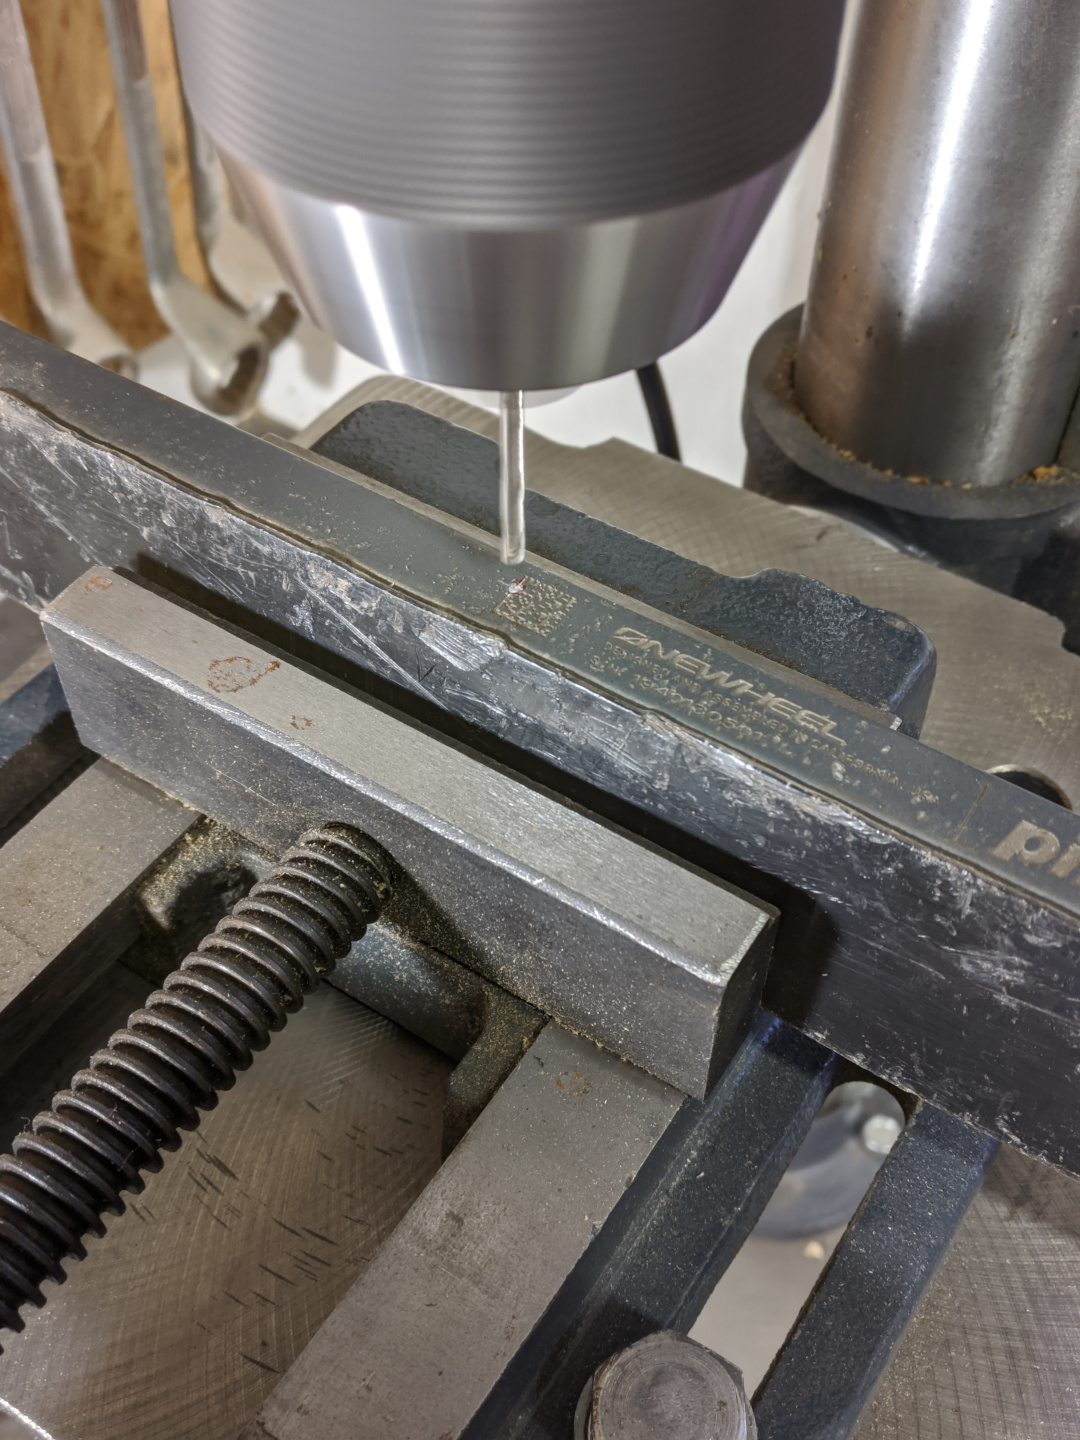
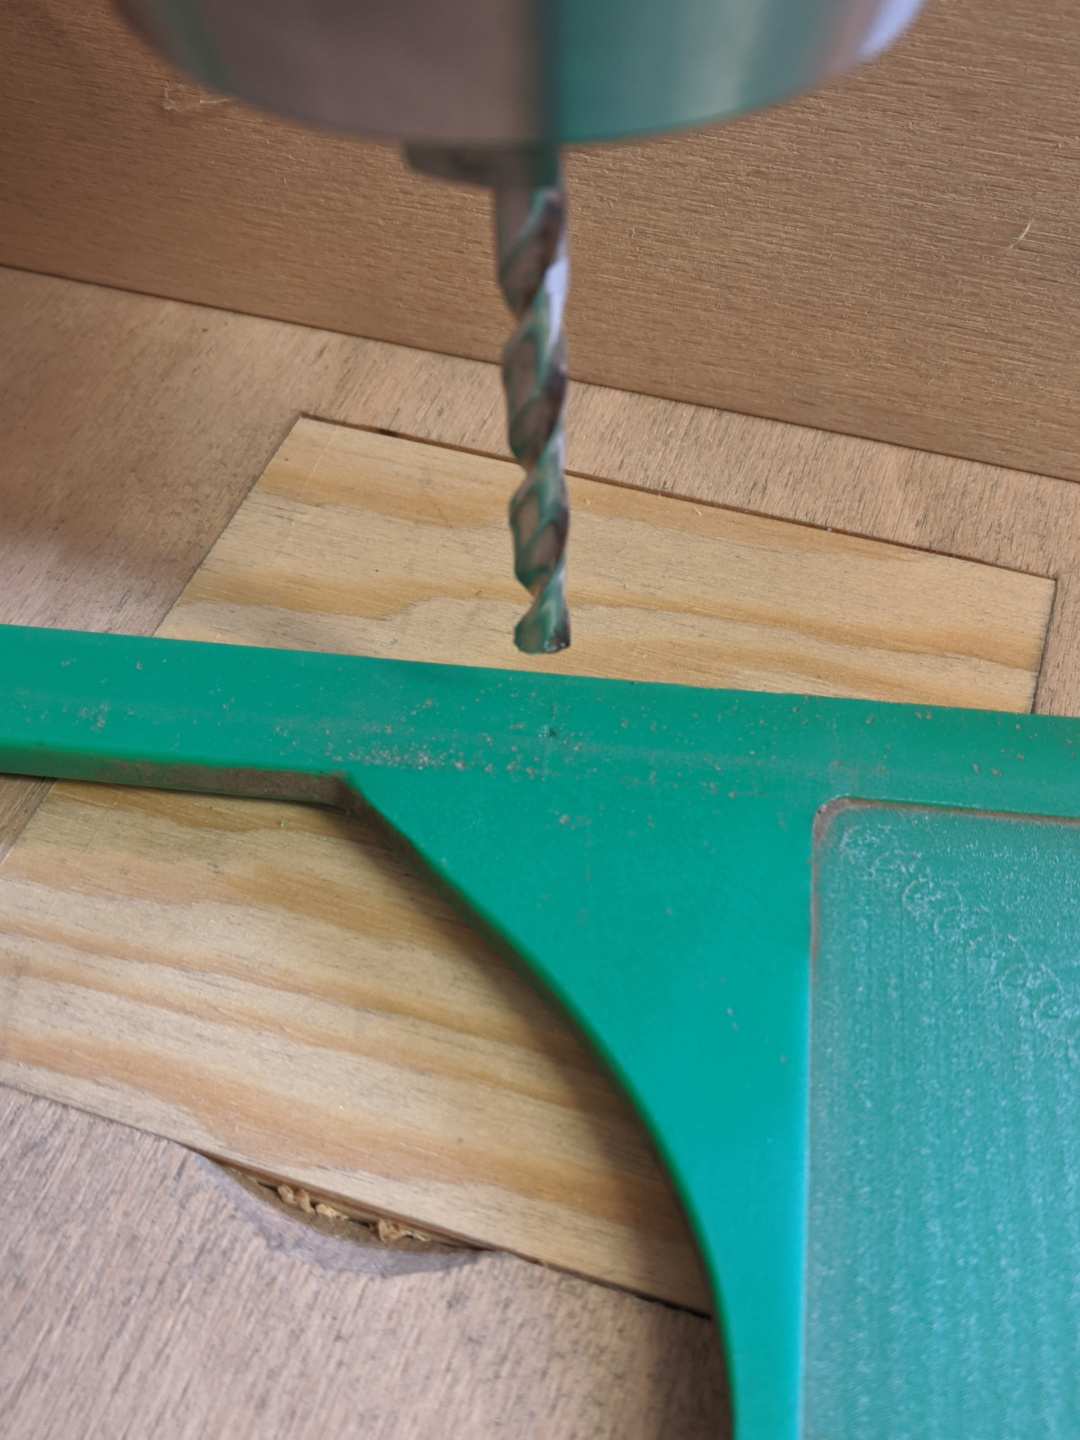
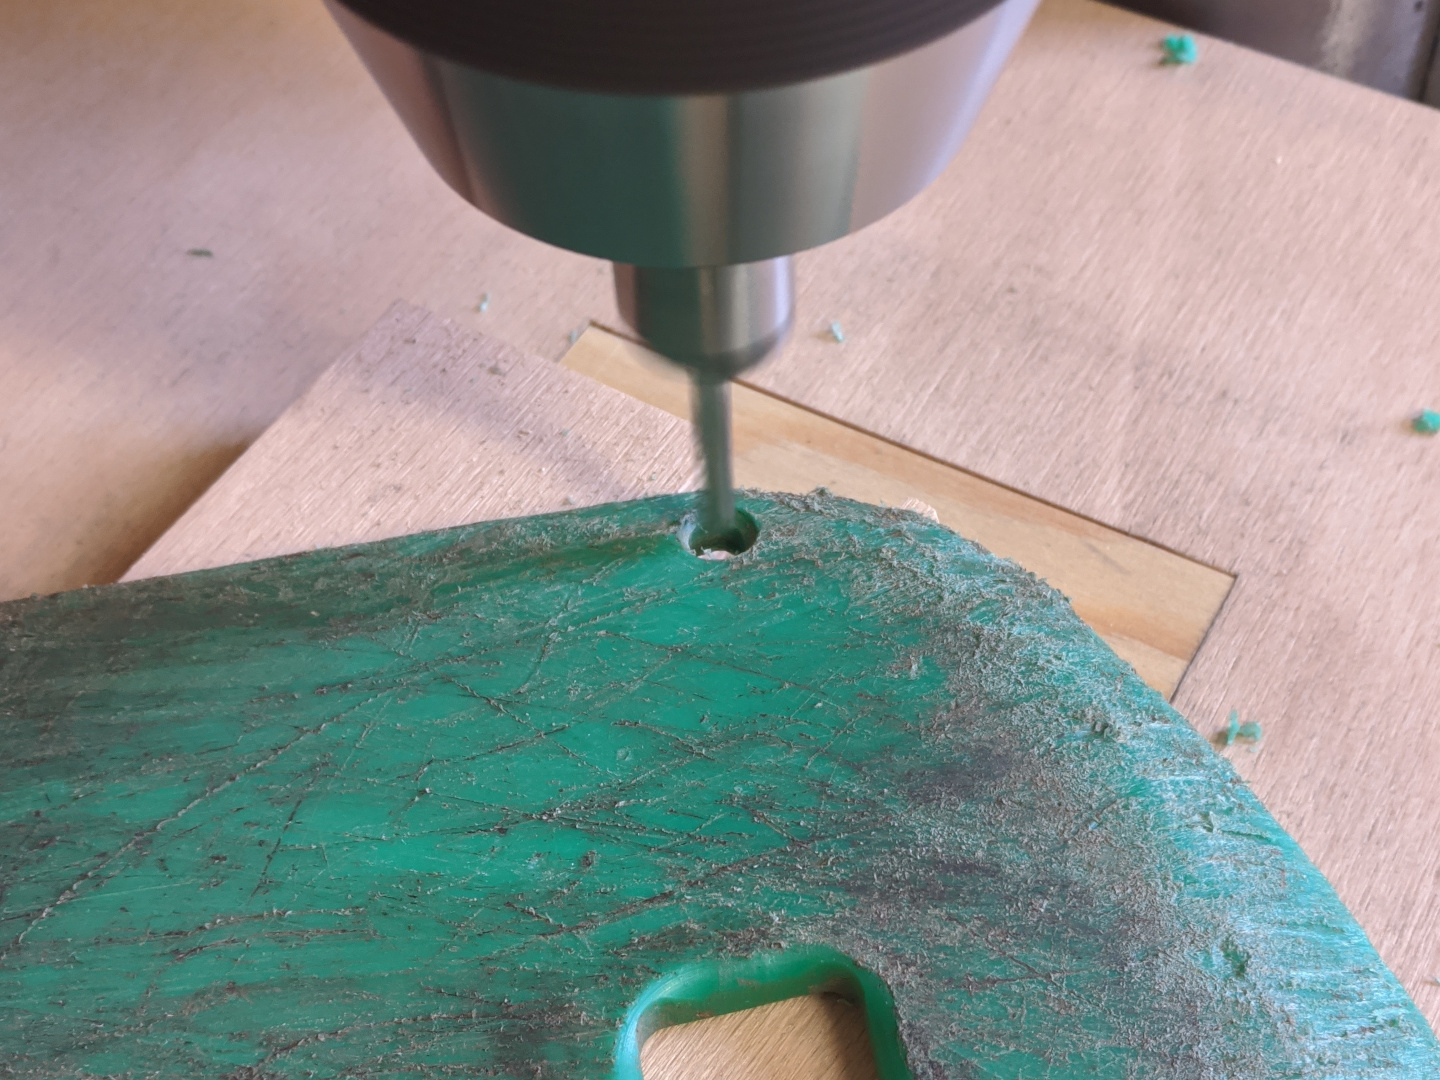
I’m using a drill press to drill the holes, but drilling the holes with a handheld drill is totally fine. For that, you should punch the holes (I didn’t do that here). Then just make sure you drill perpendicular by sighting you drill press from two directions as you hold it against the rail ready to drill, then maintain the direction when drilling.
If you don’t know how to tap holes, just watch a tutorial, it’s not that hard. Tapping aluminium is easy, just make sure again you hold your tap perpendicular, otherwise you can still make a slanted tapped hole out of a square-drilled one.
Step 2: Transfer the Hole Position to the Float Plate, Drill and Countersink
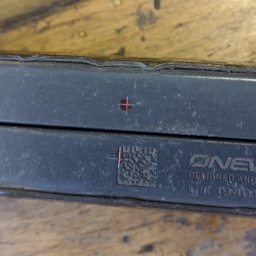
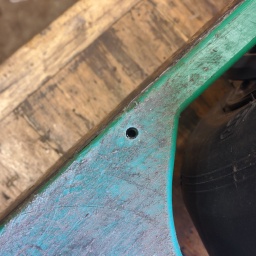
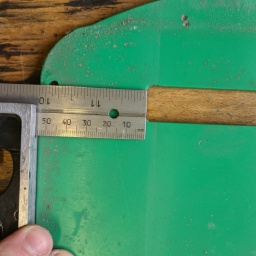
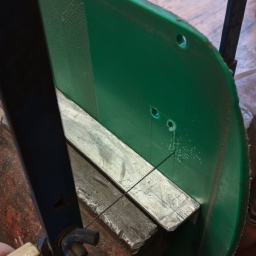
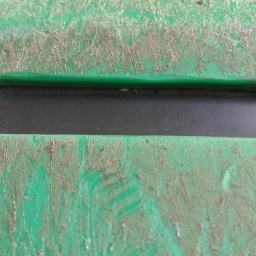
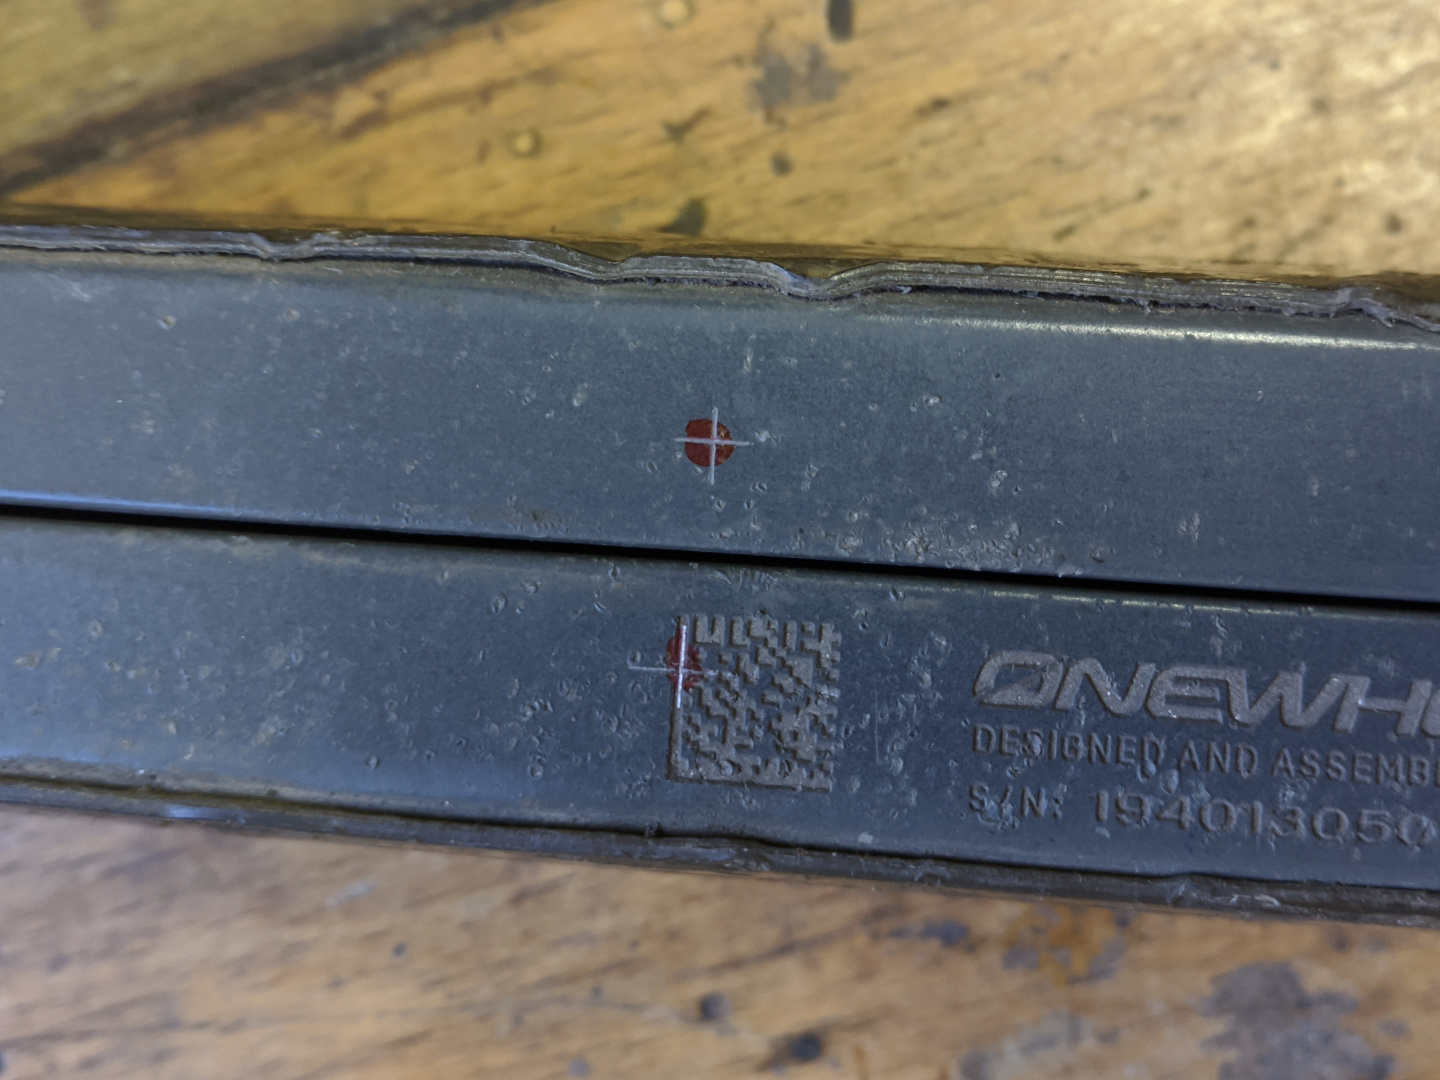
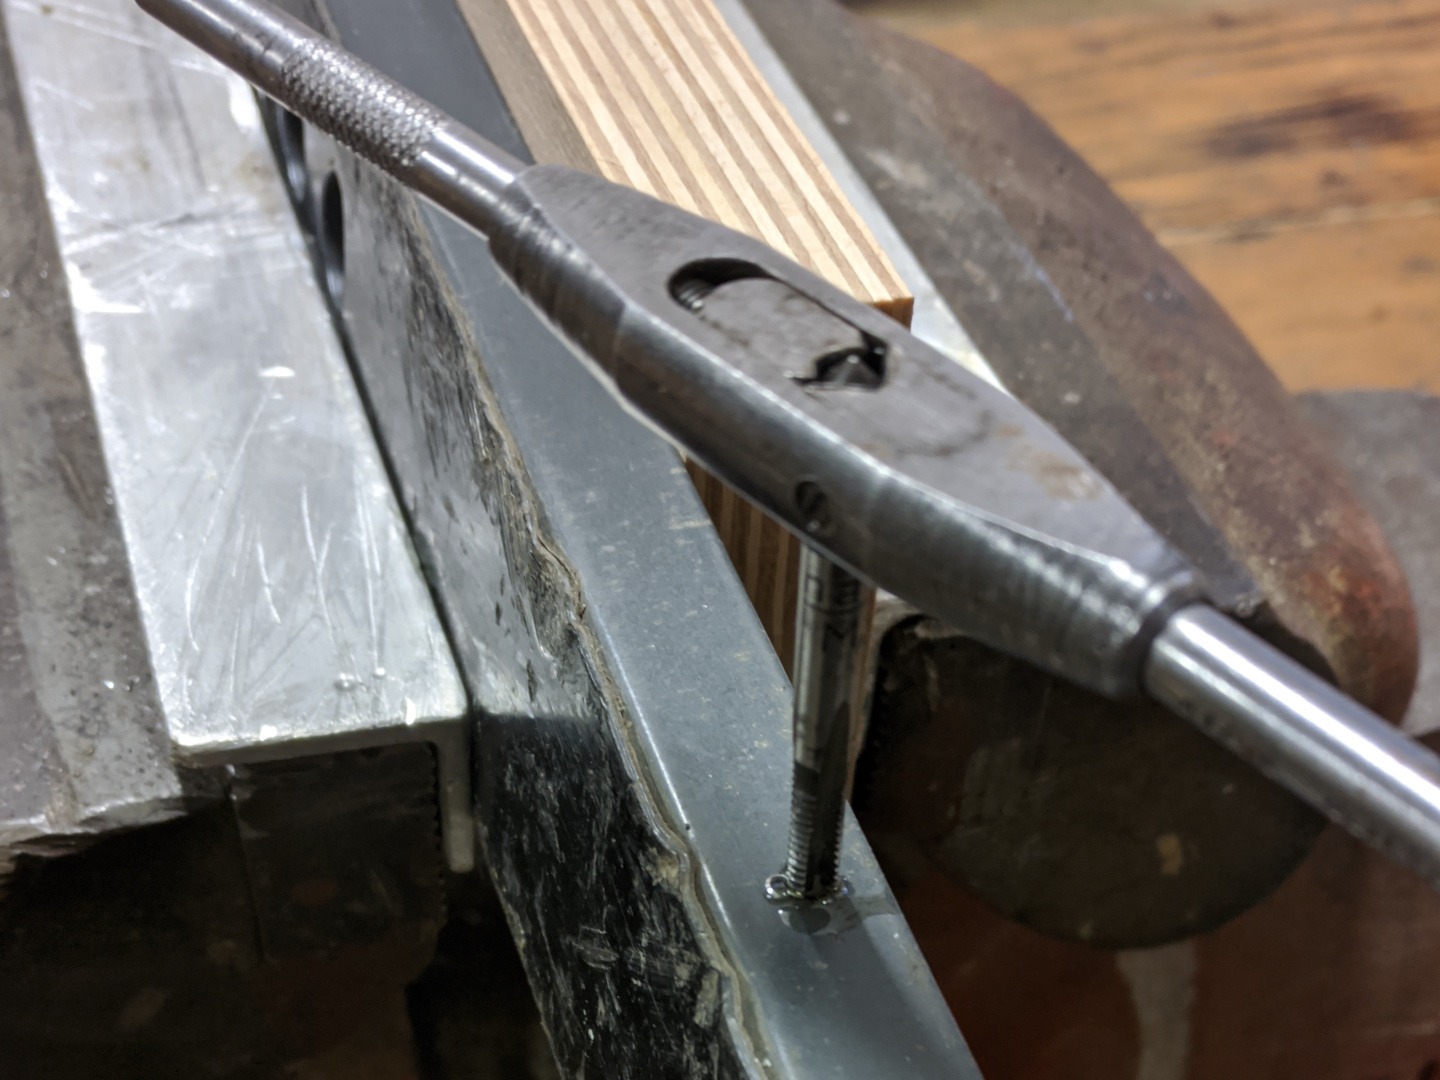
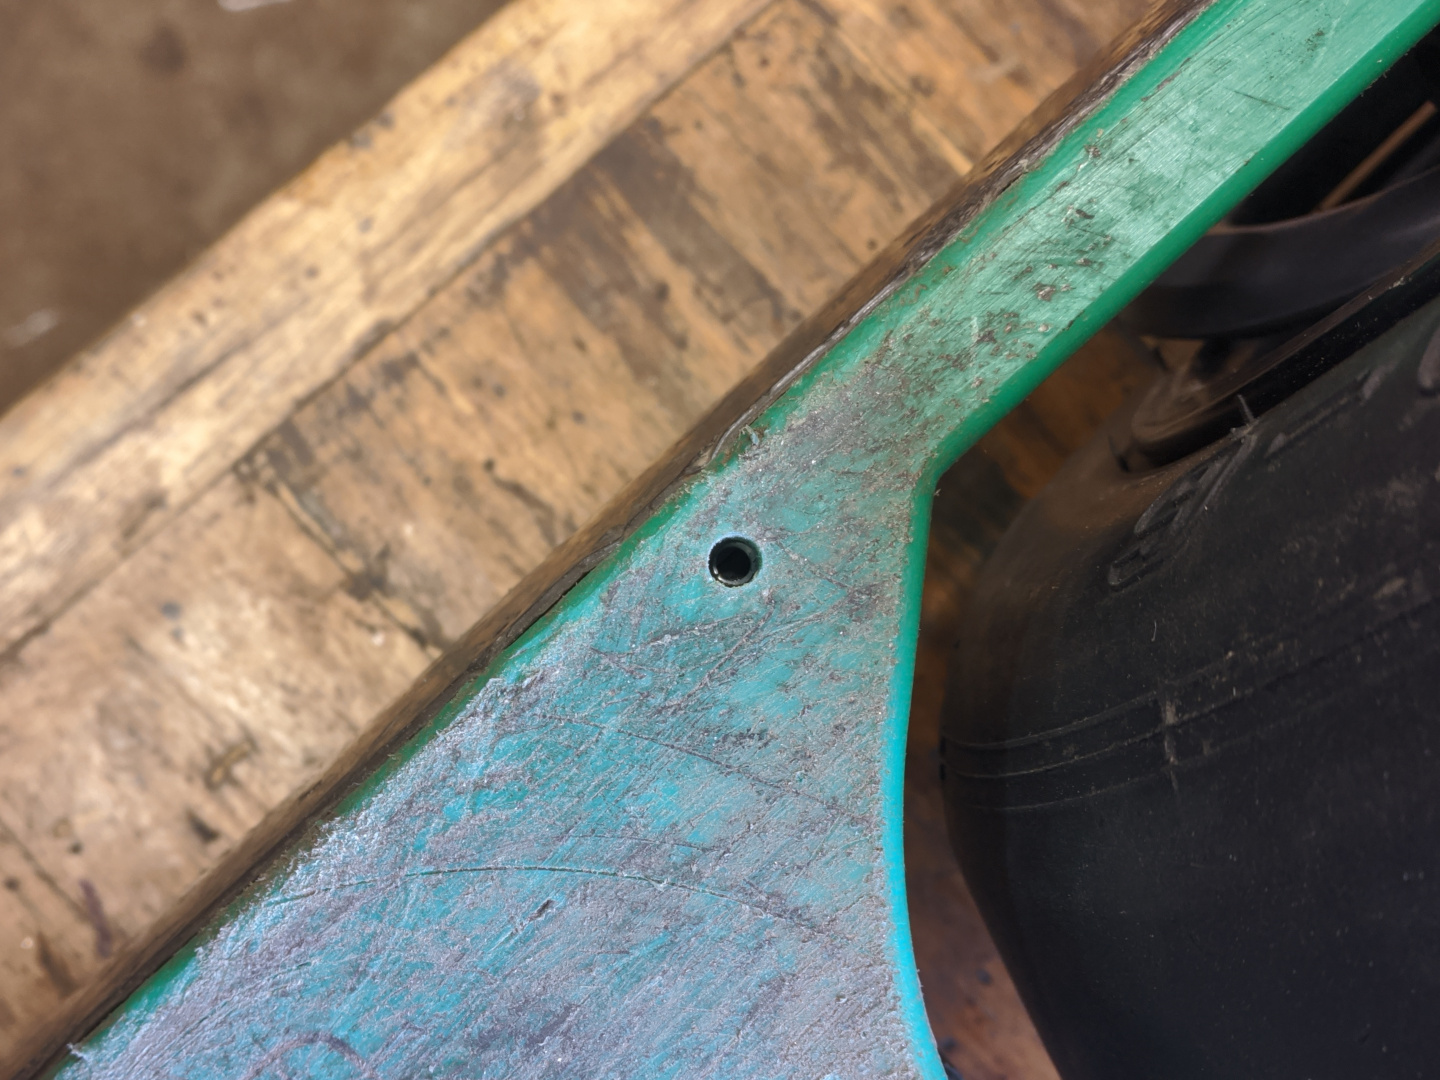
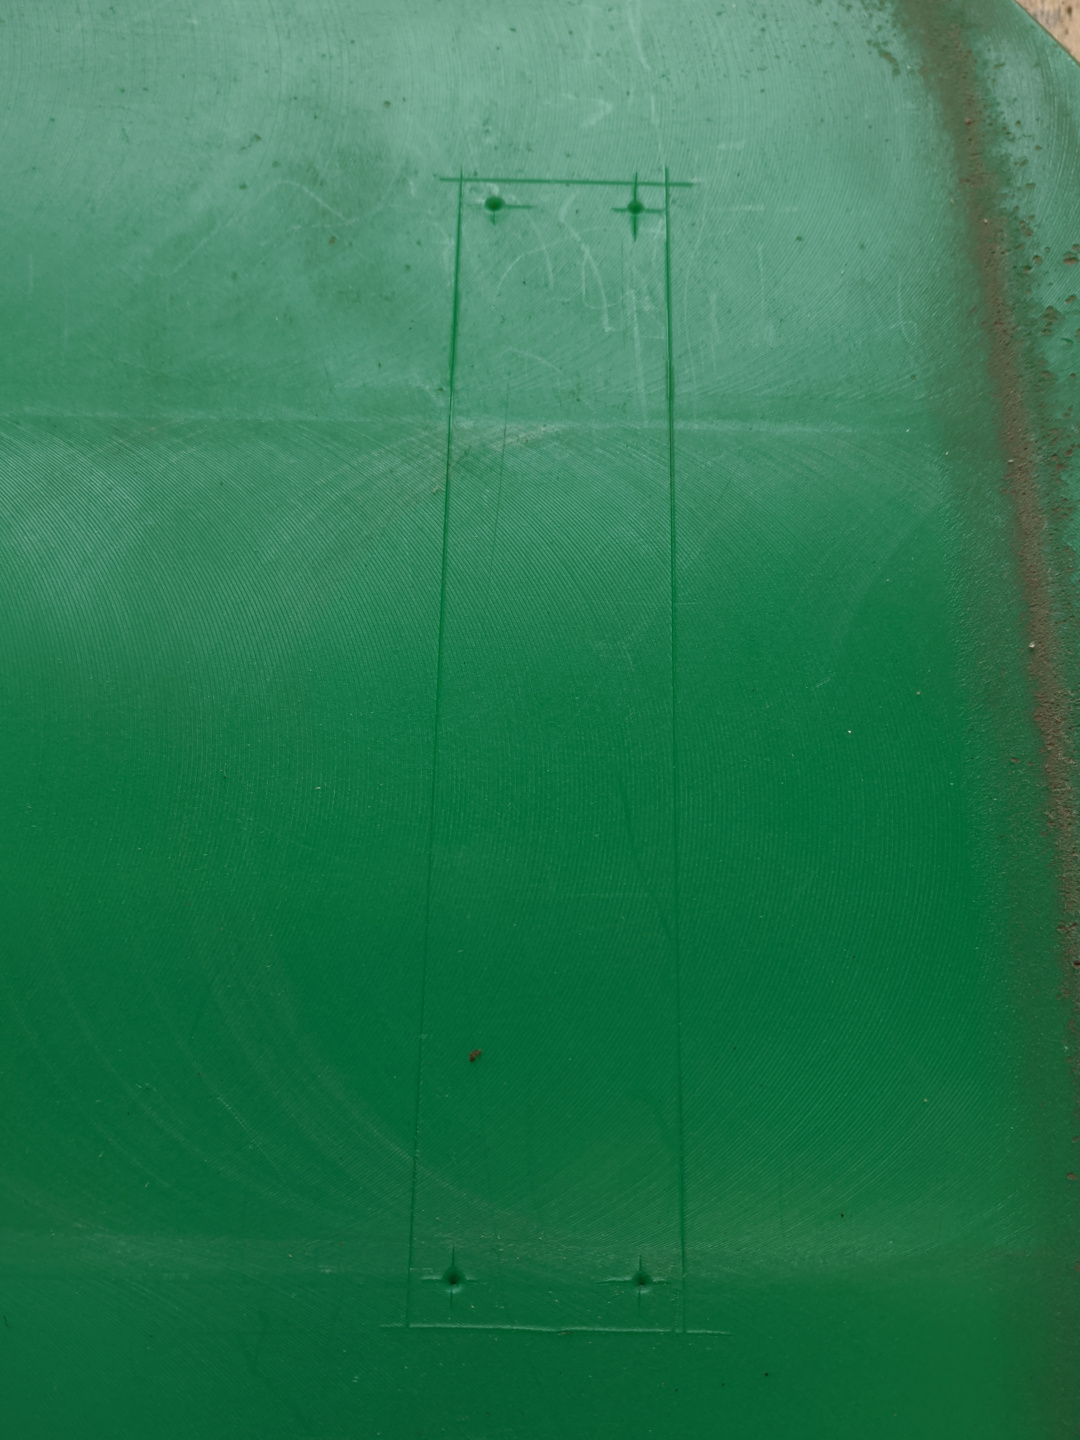
After assembling the board, I transfer the hole position to the outer edges of the rails, then put the float plate on and transfer the marks onto it.
For the distance from the edge of the float plate, I’m measuring the distance of the other holes on the plate, as it should be the same. But do double-check the distance between the two new holes is the same on the float plate as it is on the assembled board.
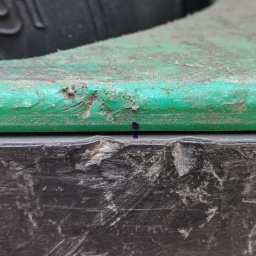
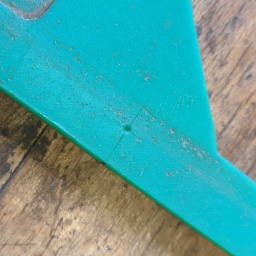
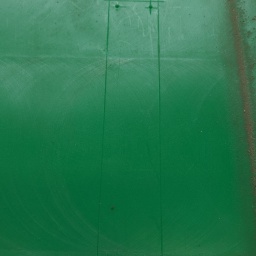
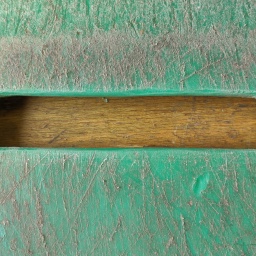
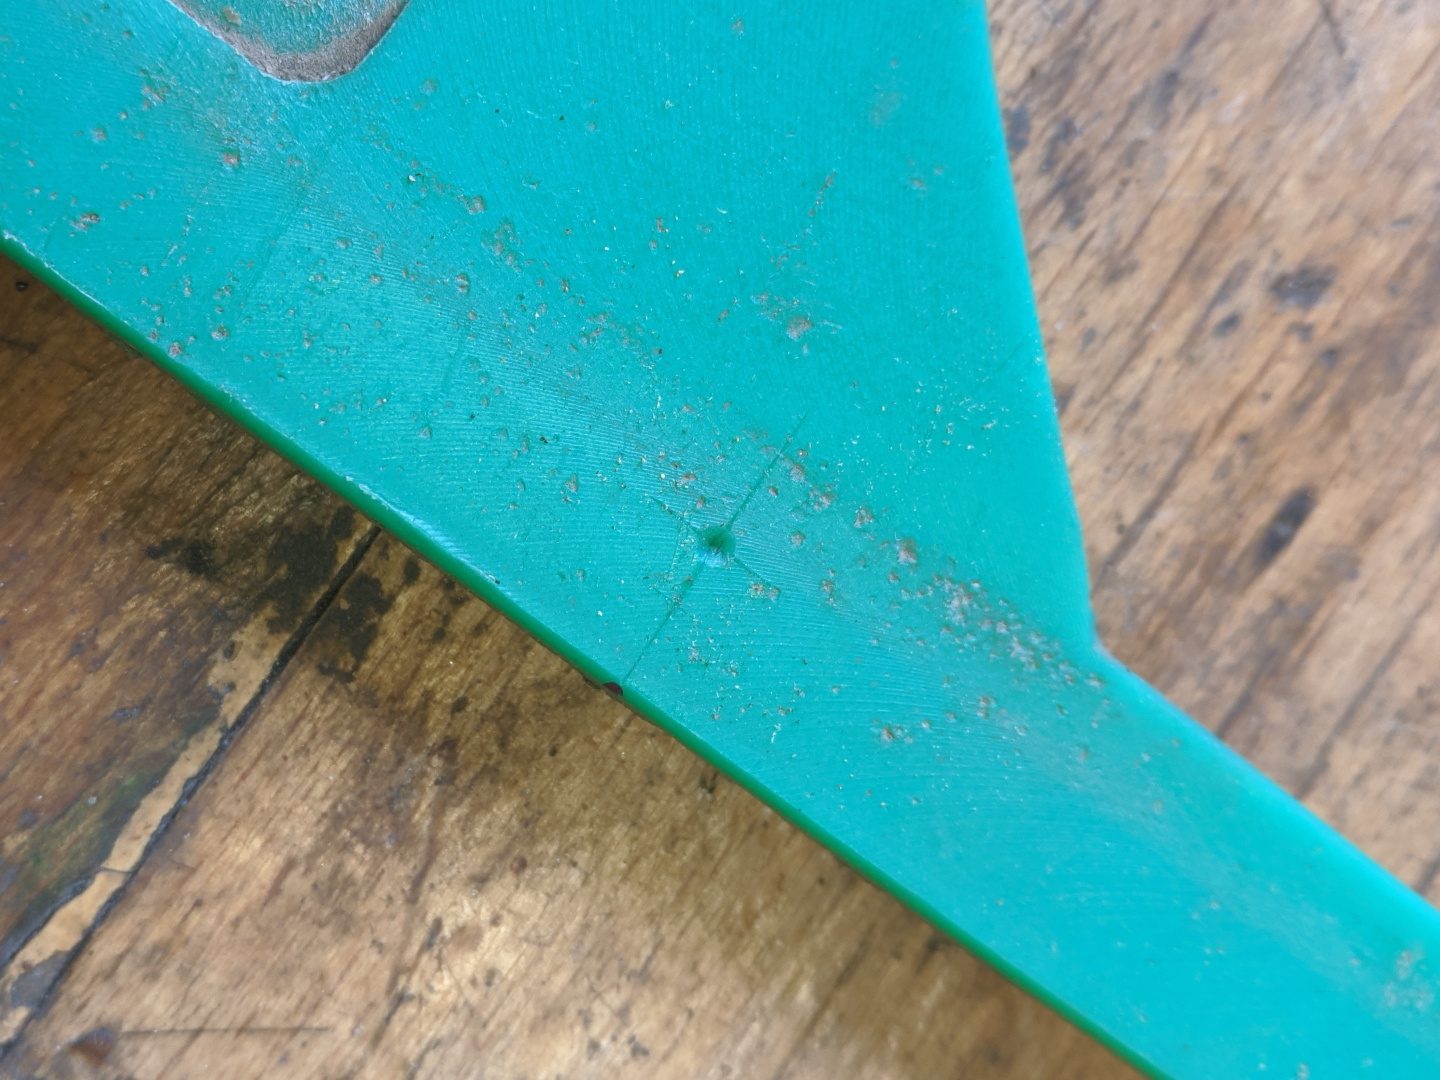
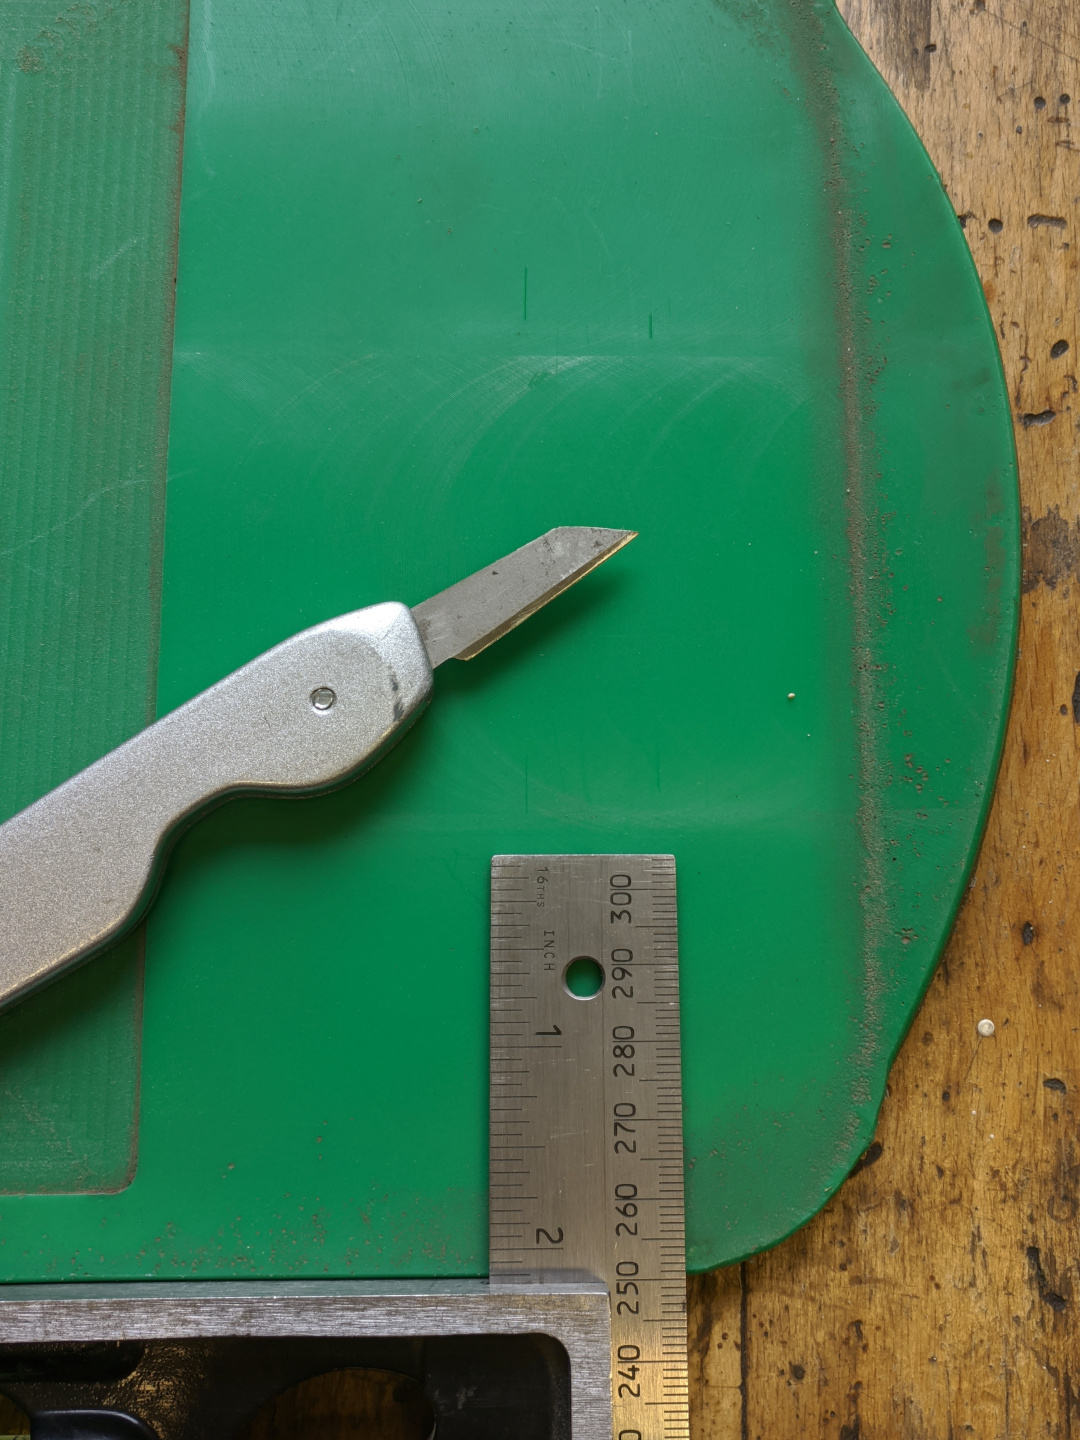
The mark on the float plate extended with a marking knife. Note the precision, going for the center of the sharpie mark. Should be good enough.
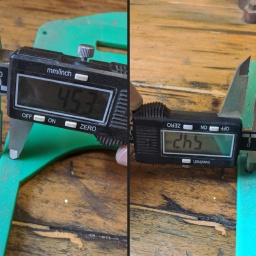
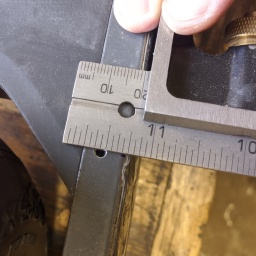
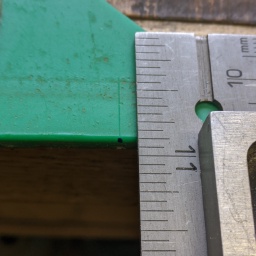
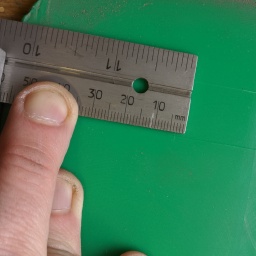
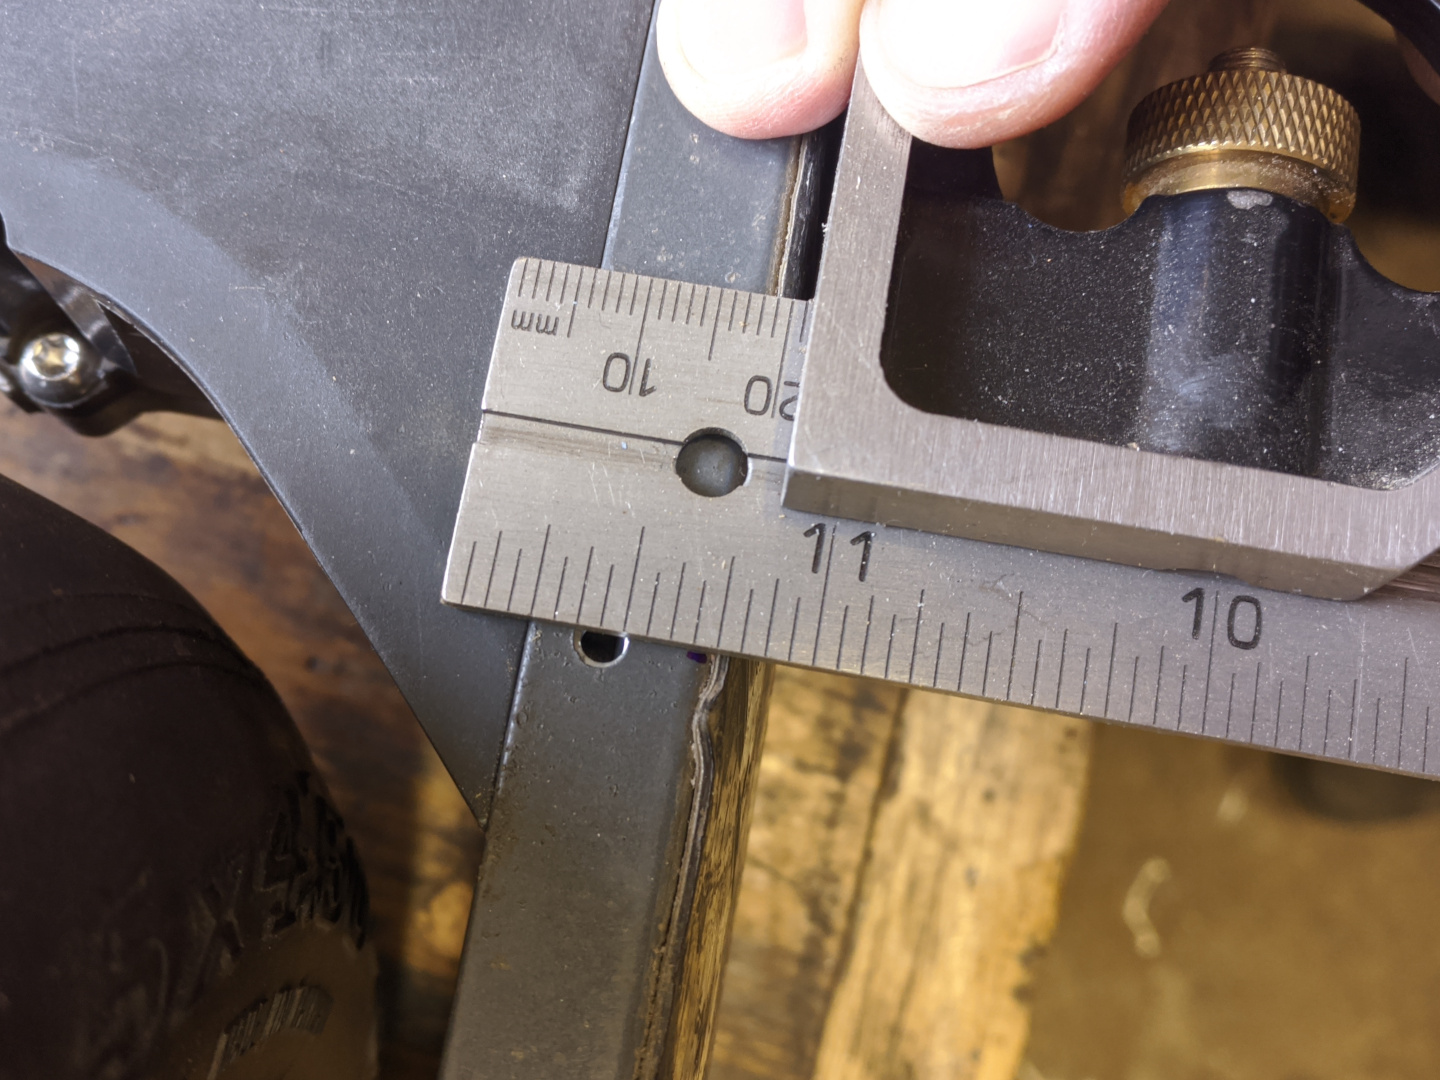
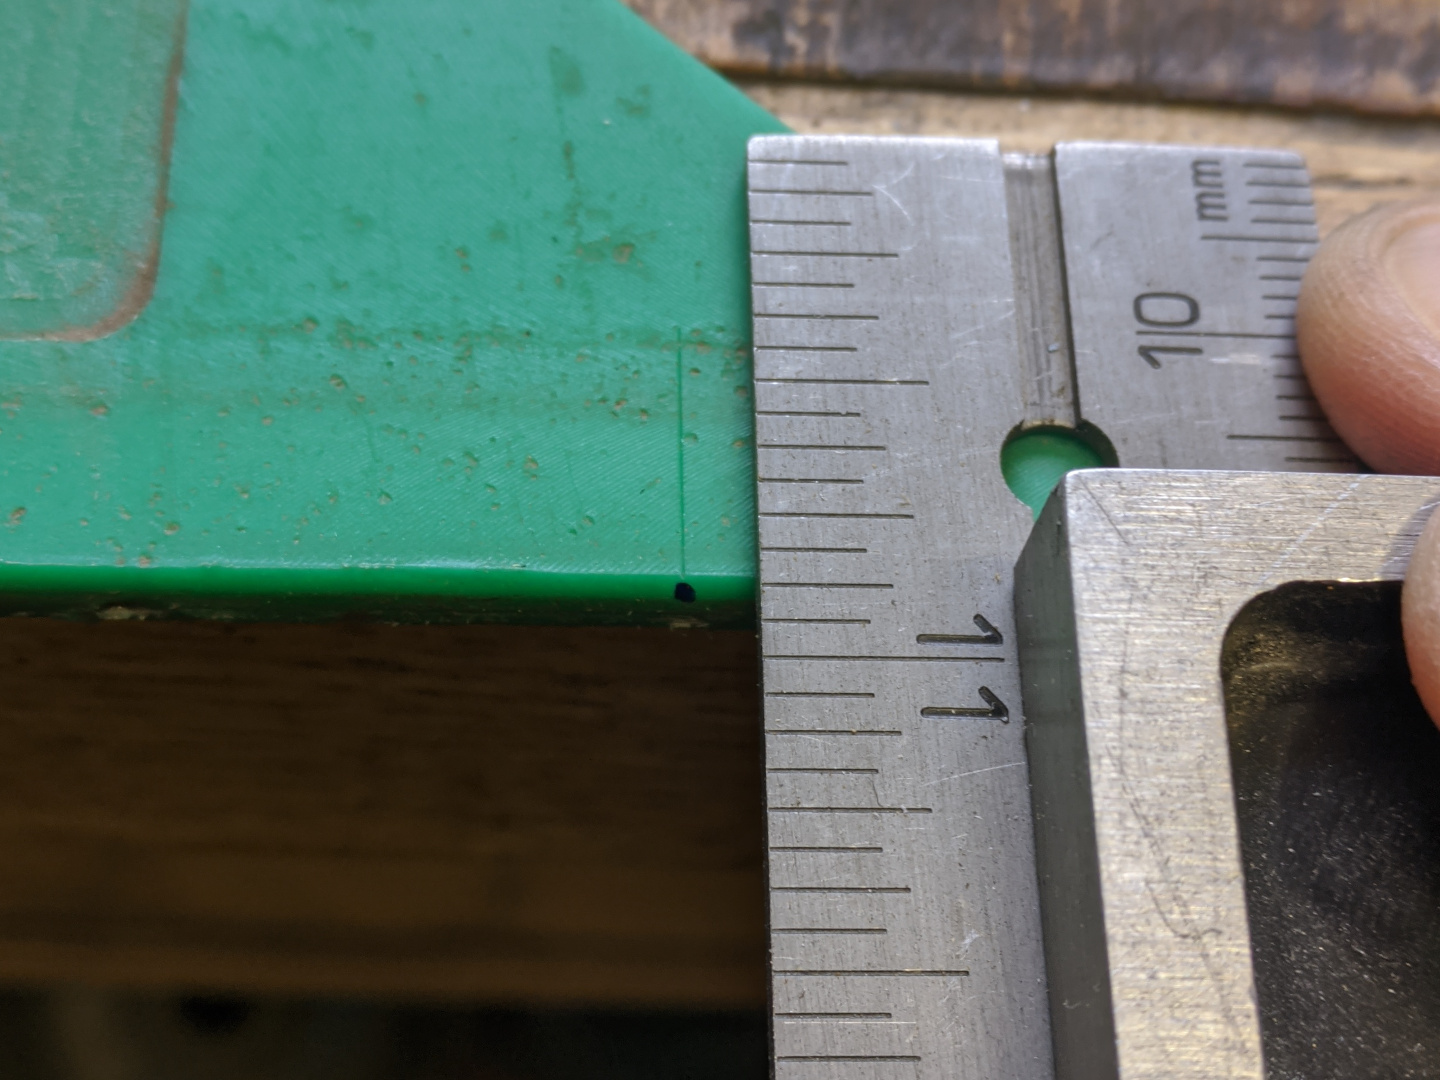
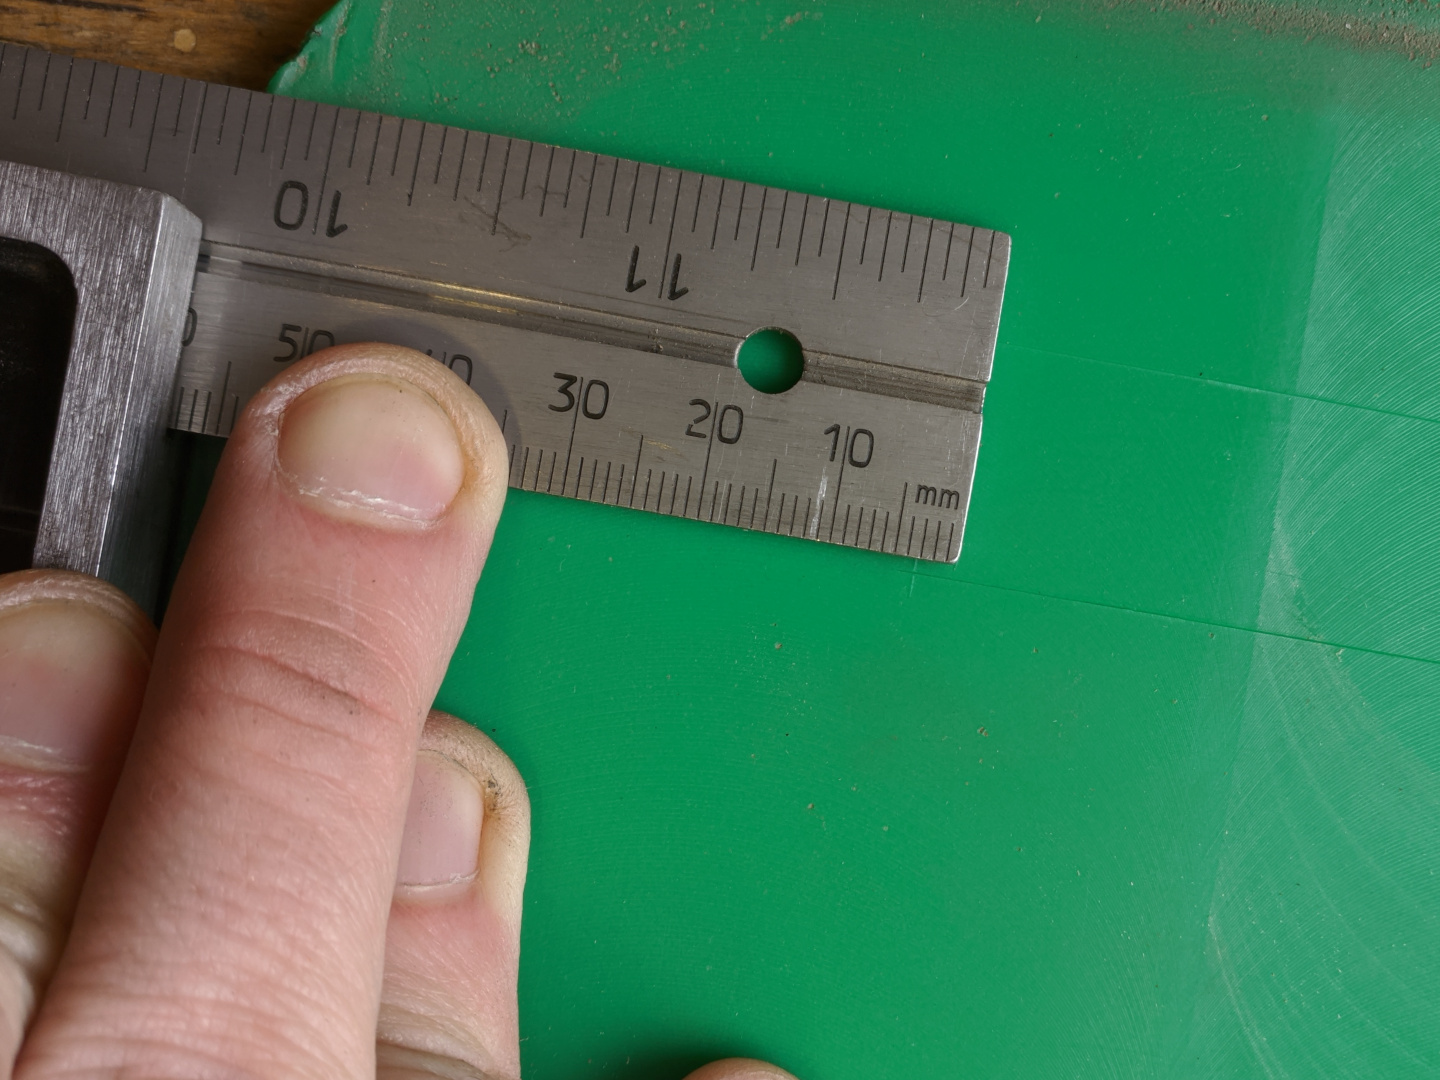
Measuring the distance of an existing hole from the edge of the float plate, together with its diameter.

Step 3: Making a Second Handle on the Other End of the Board
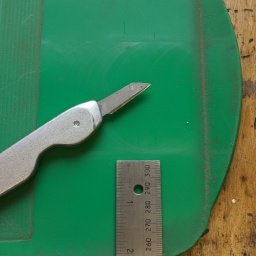
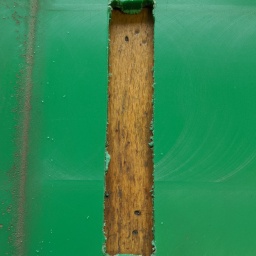
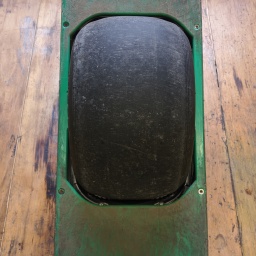
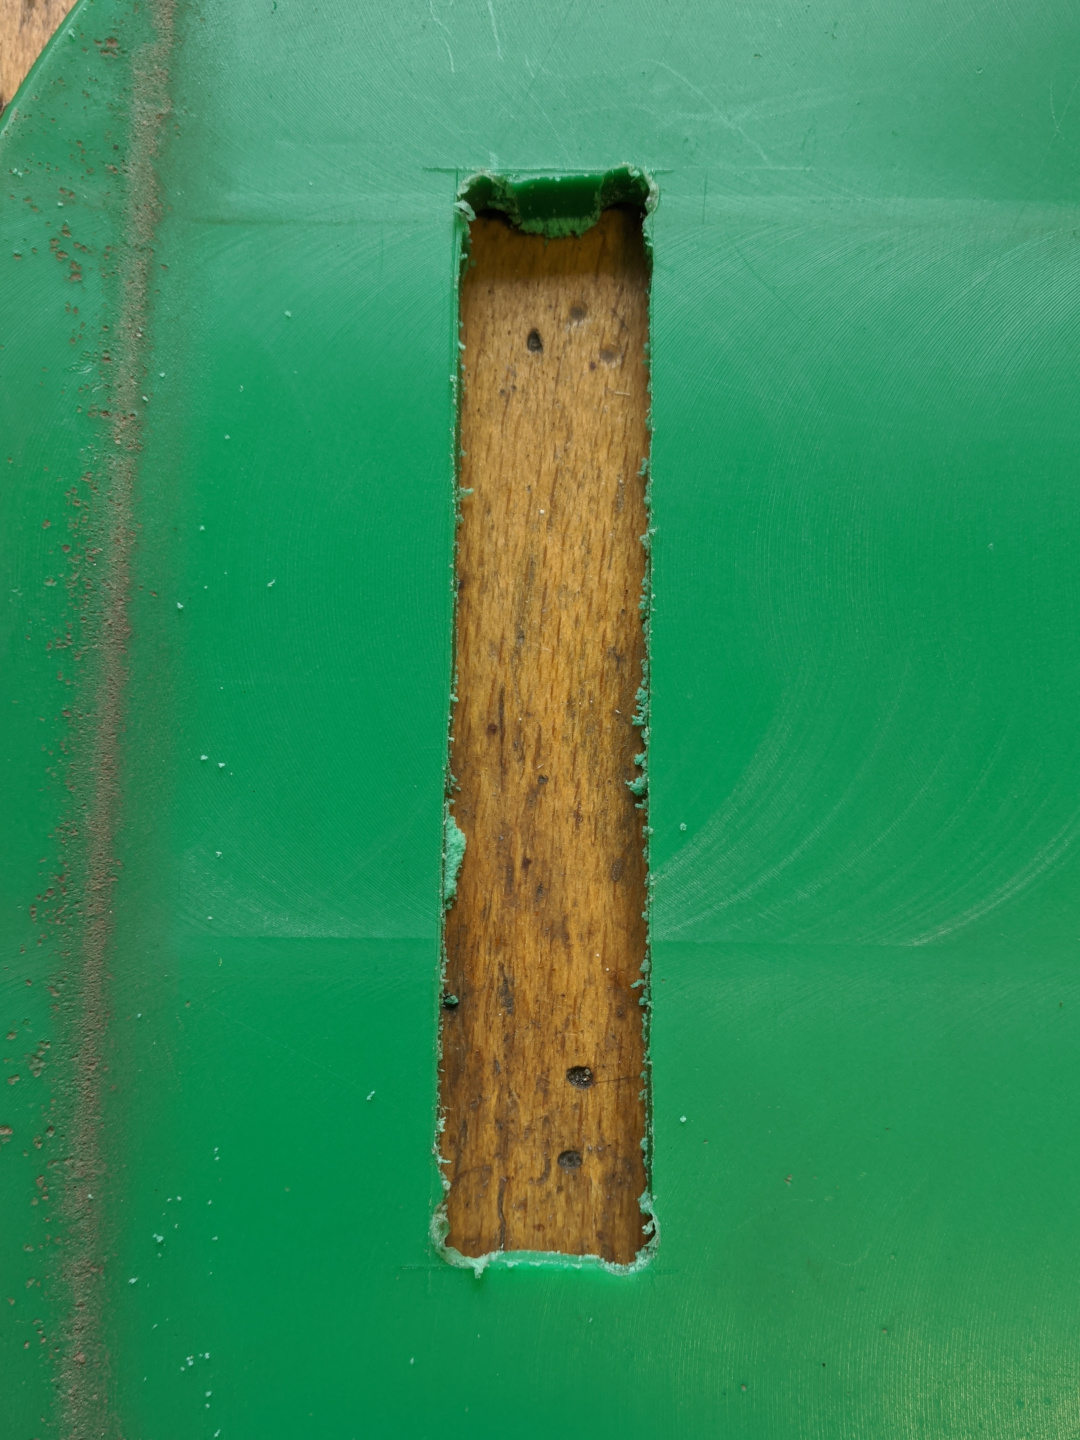
I’m measuring the original hole and marking it our with a marking knife (woodworker-style). I then cut it out with a coping saw and clean it up with a knife, a file and sandpaper.
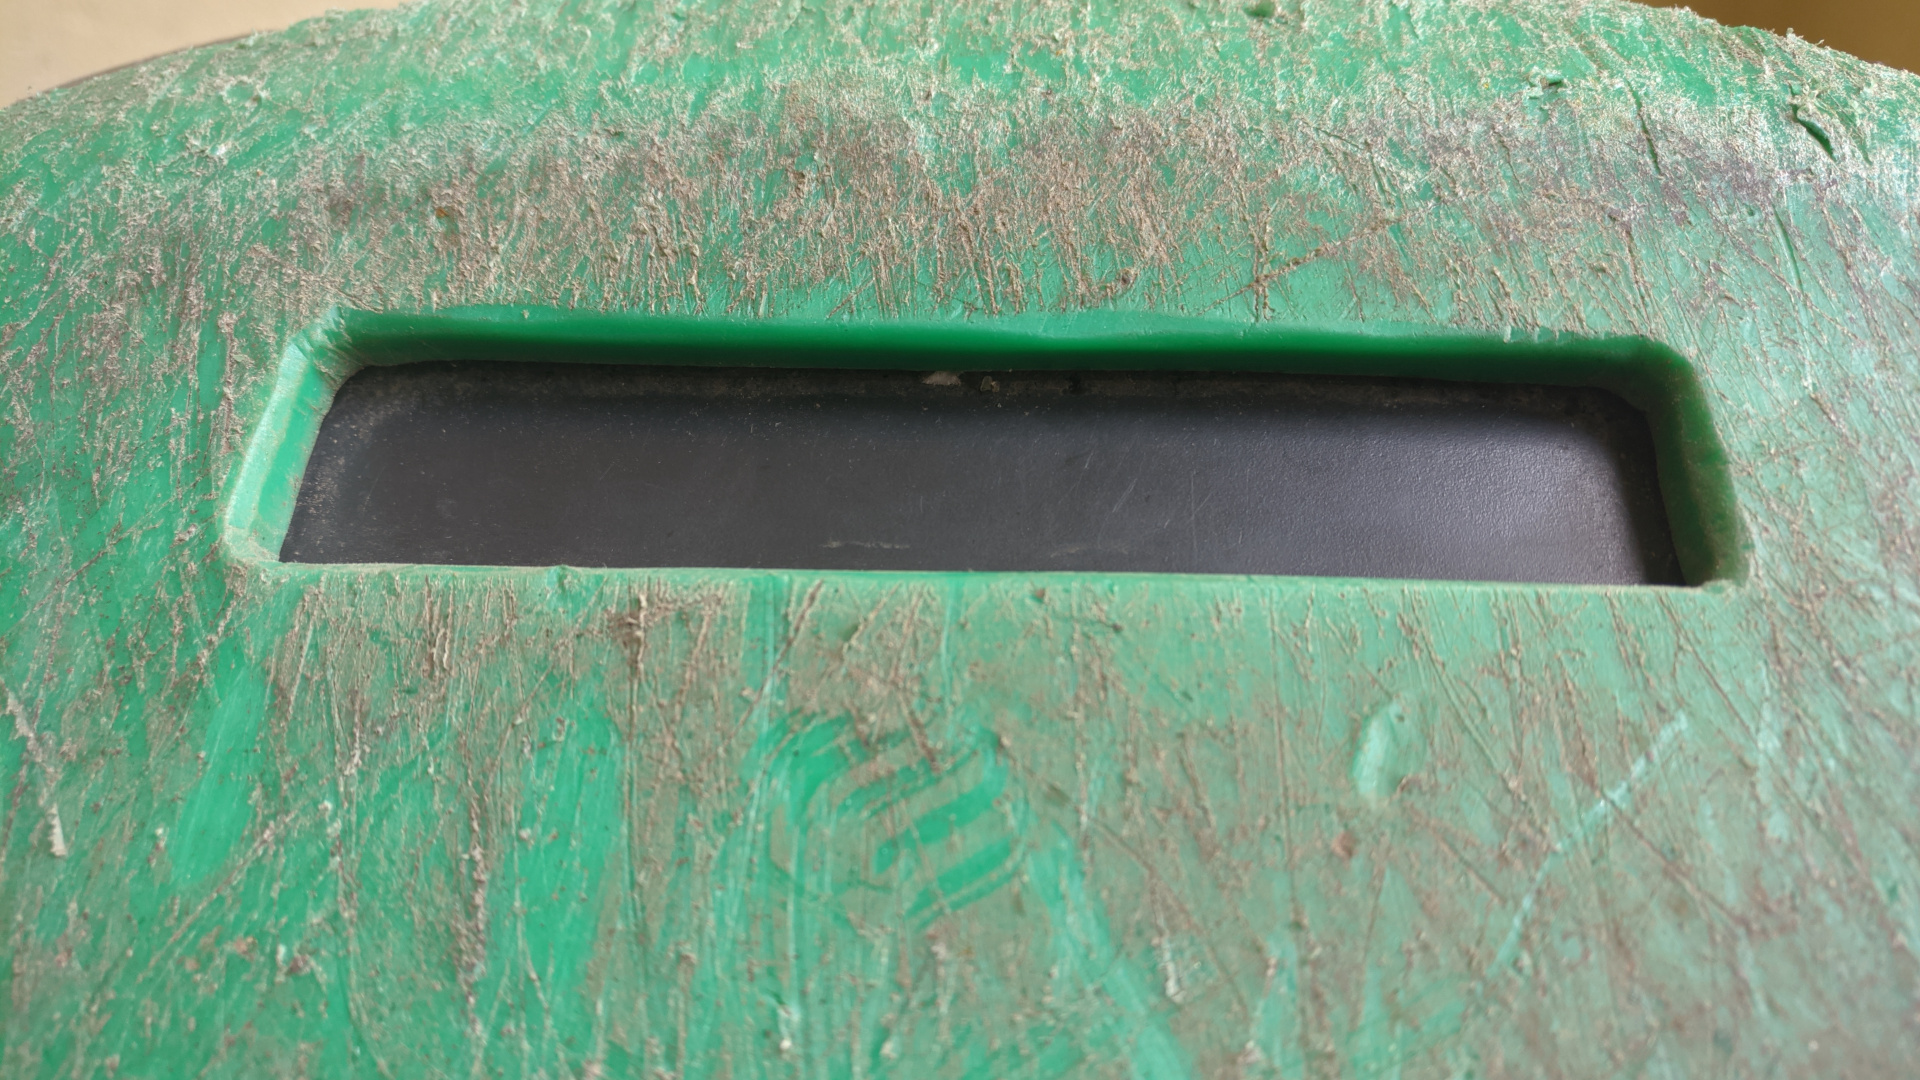
I’ve been looking at the original handle hole and thinking the round-over of the edge doesn’t really help with the already very low grip depth. For my new hole I’ve decided to do much less of a round-over and also taper the edge inwards, creating a bit more of a pocket for the fingers. It was such an improvement, I’ve done the same with the original handle hole.
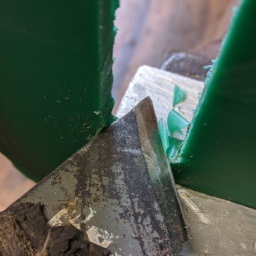
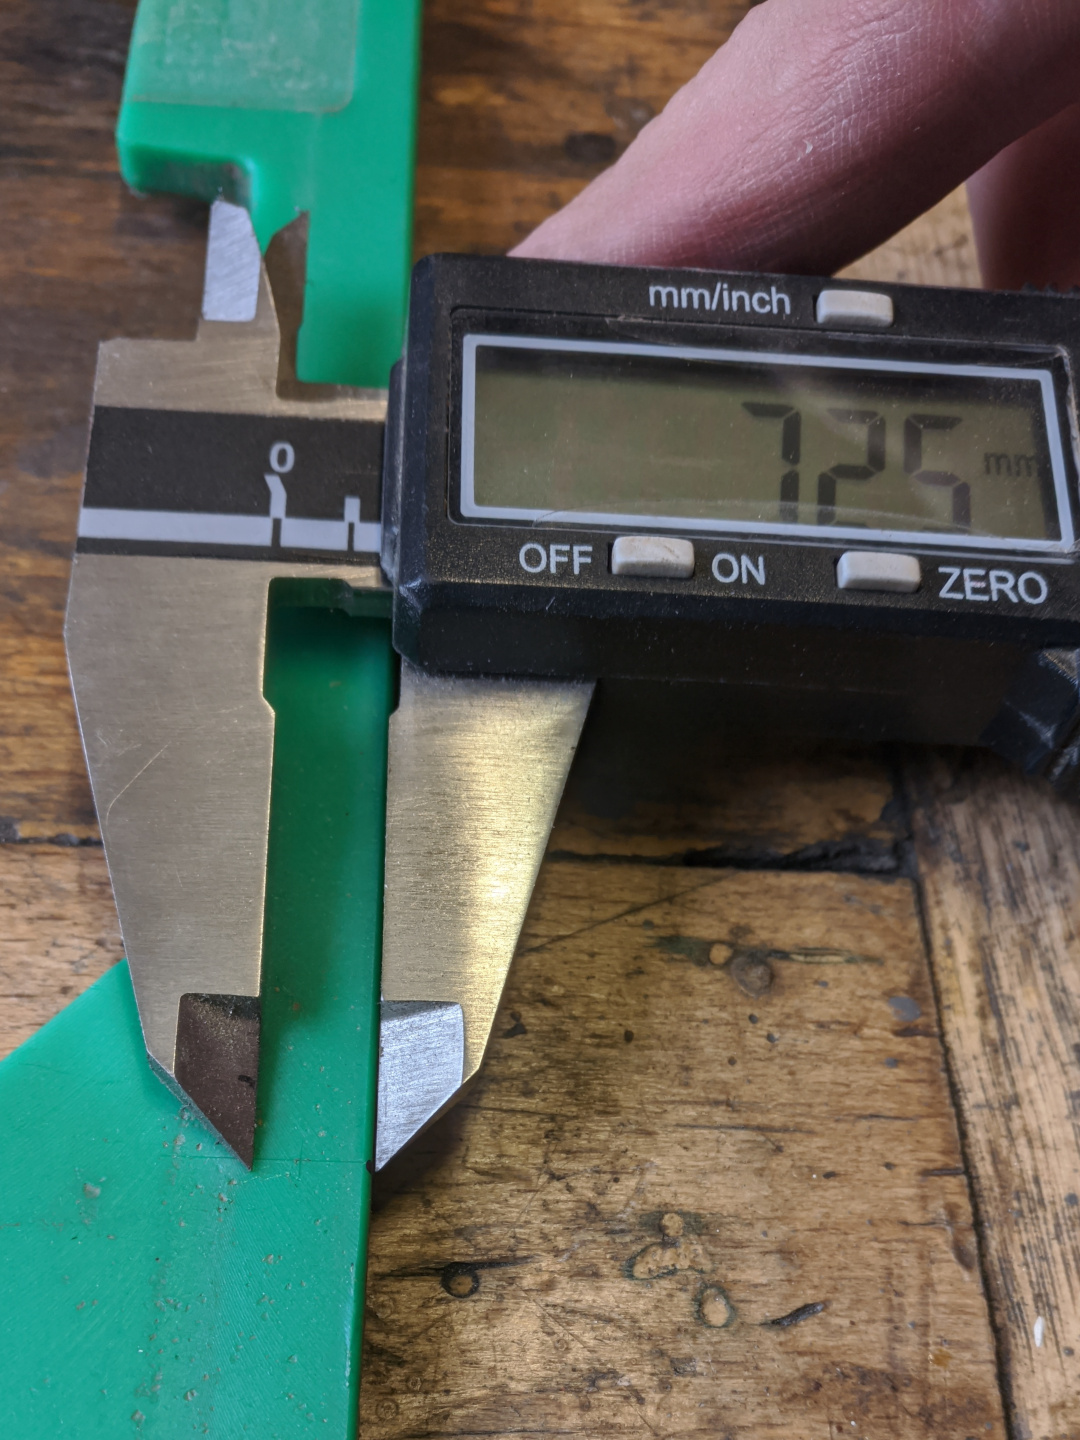
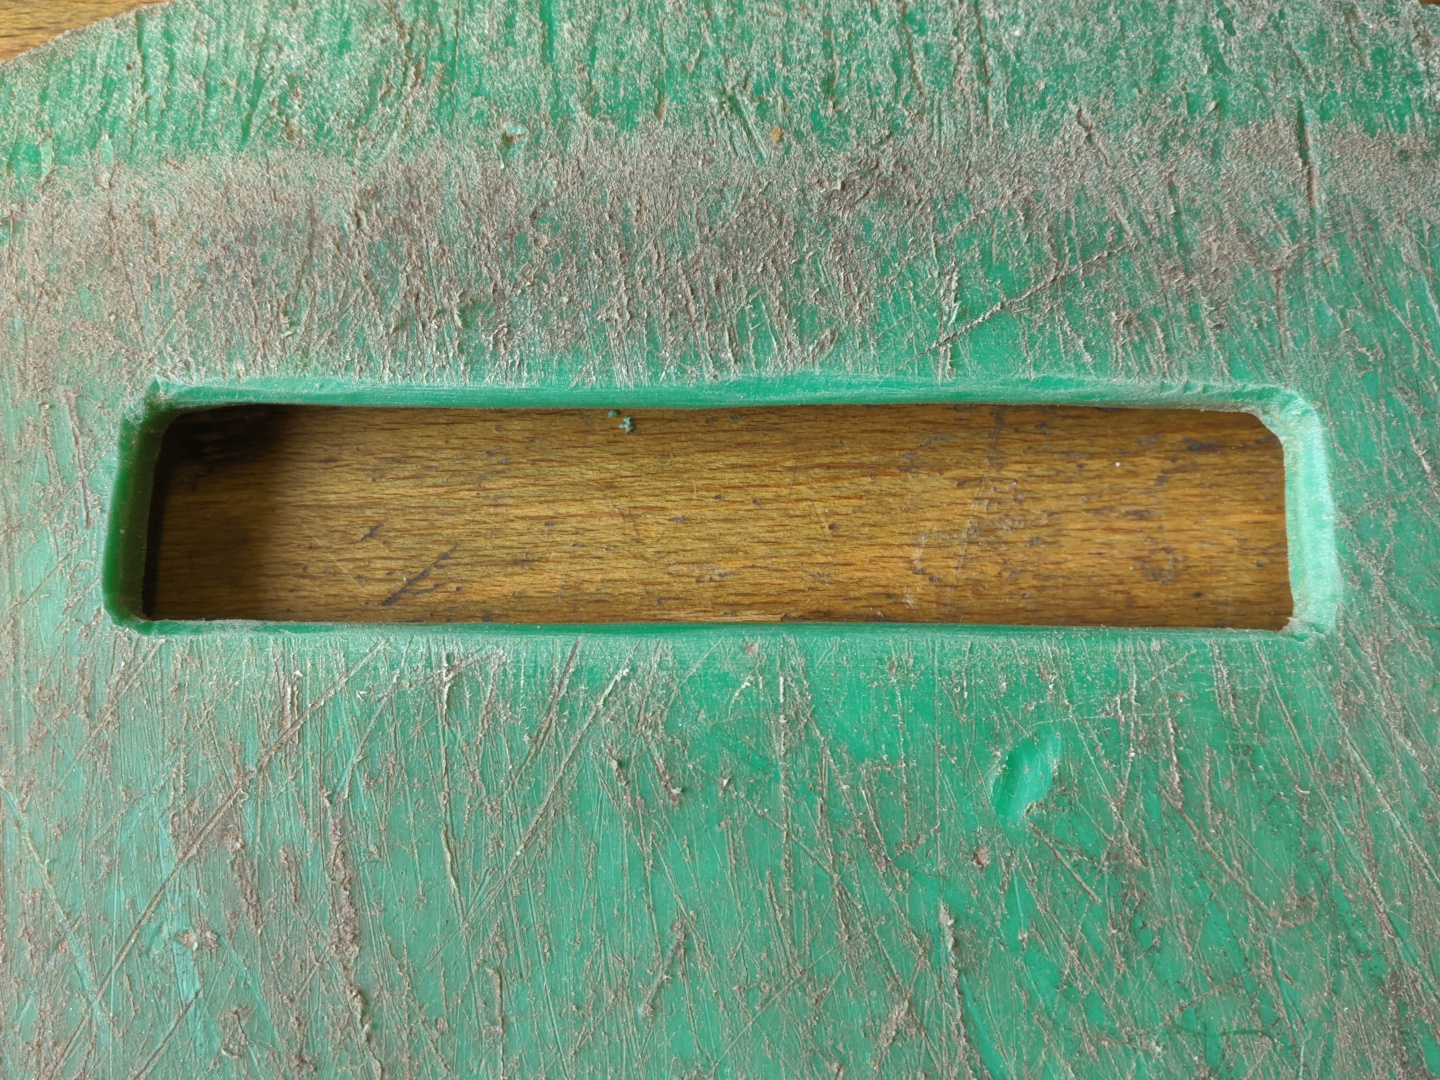
The corners of the original hole seem to have 3mm radius (verified by putting 6mm drill bit into the corner), here I'm marking centers for the corner holes.
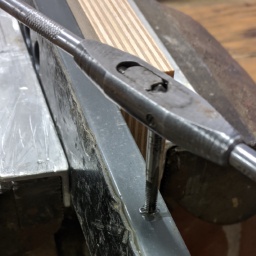
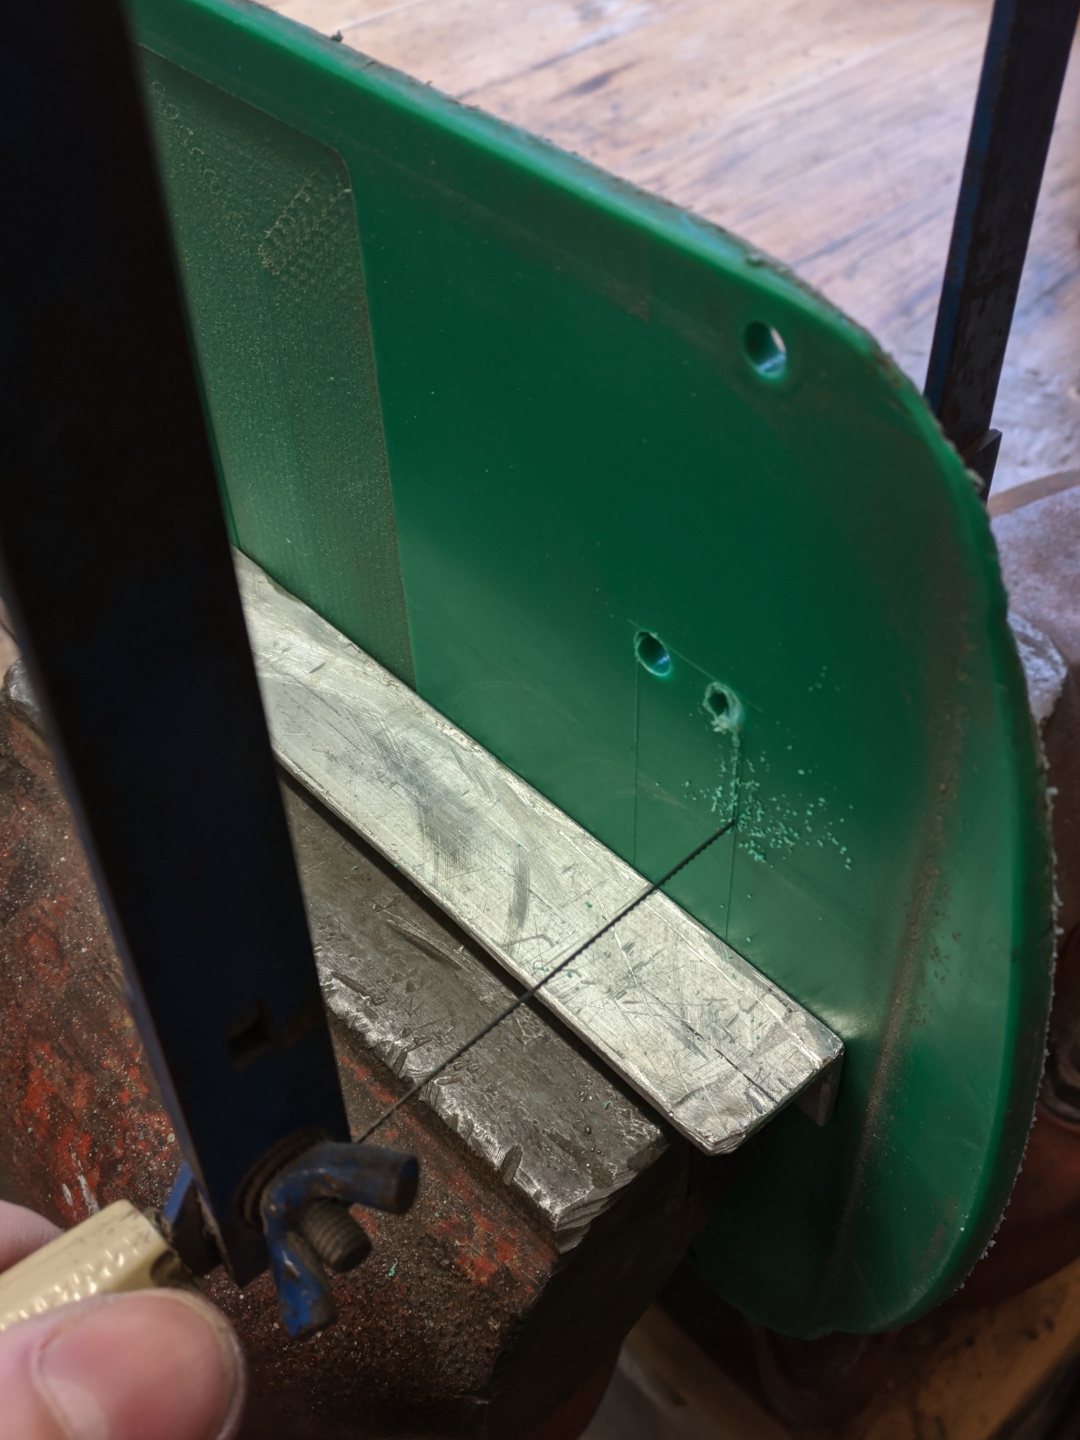
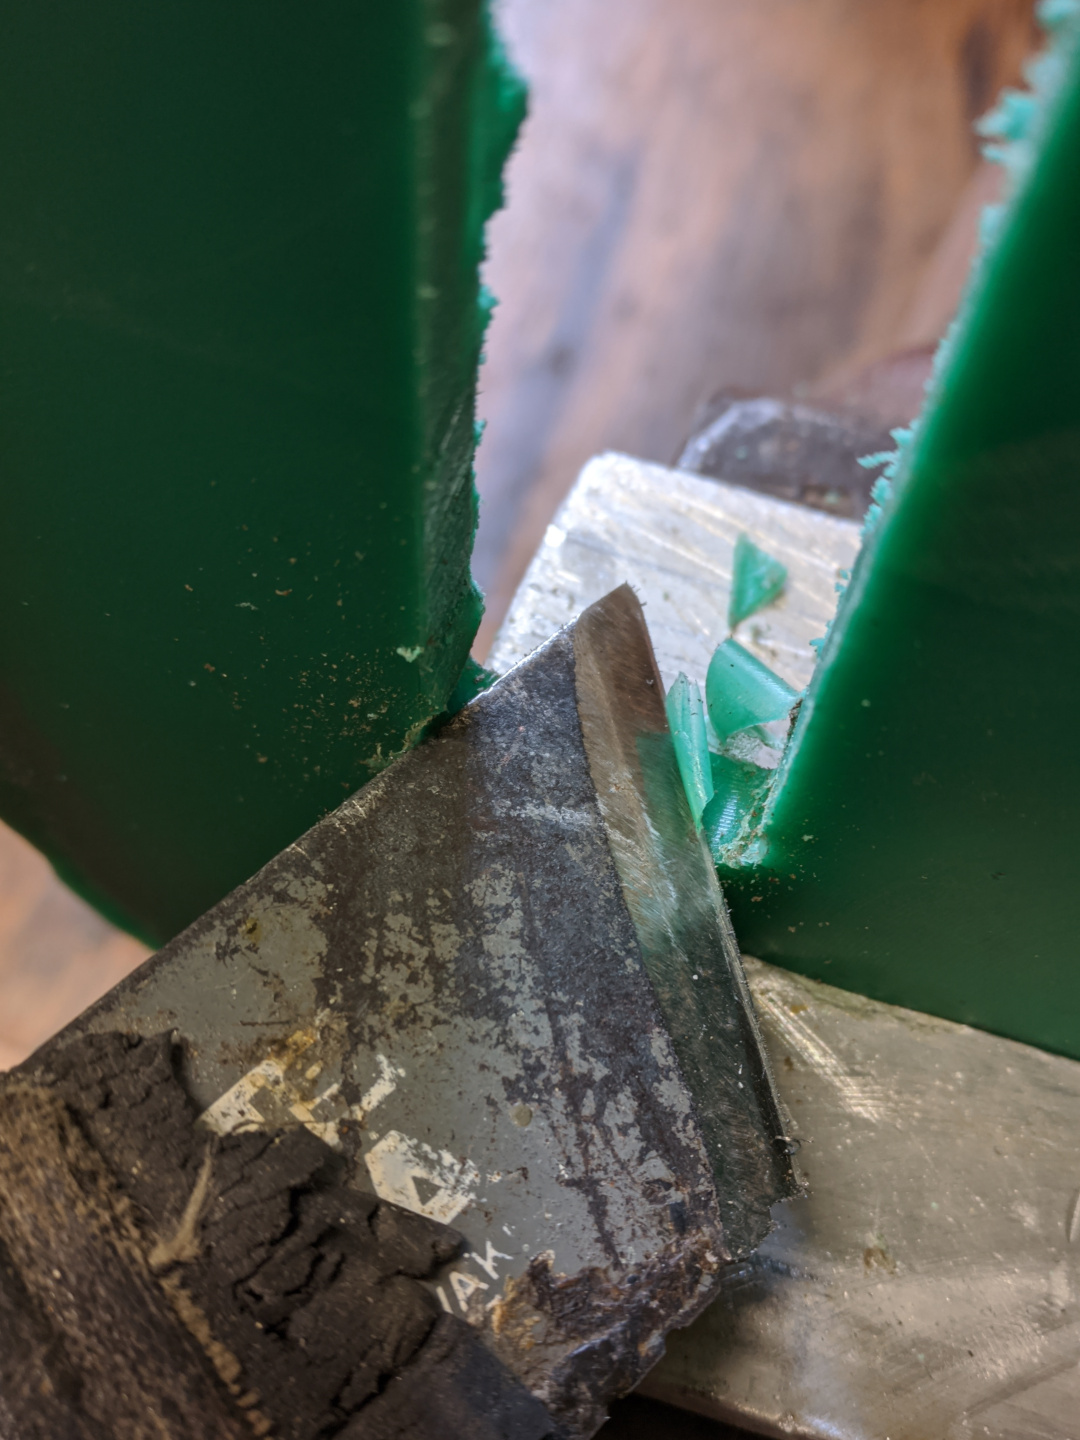
Cutting out the hole with a coping saw. It really went a lot better than I thought it would. The closer you saw to the line, the less work later.
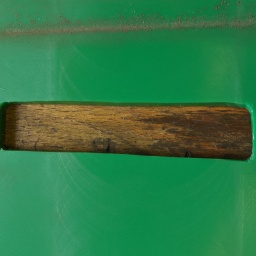
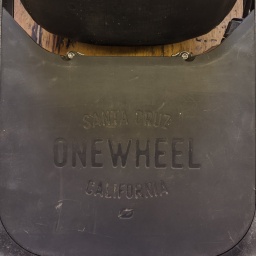
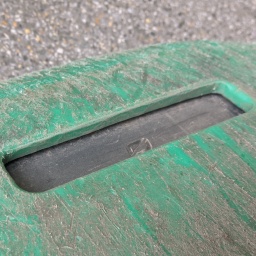
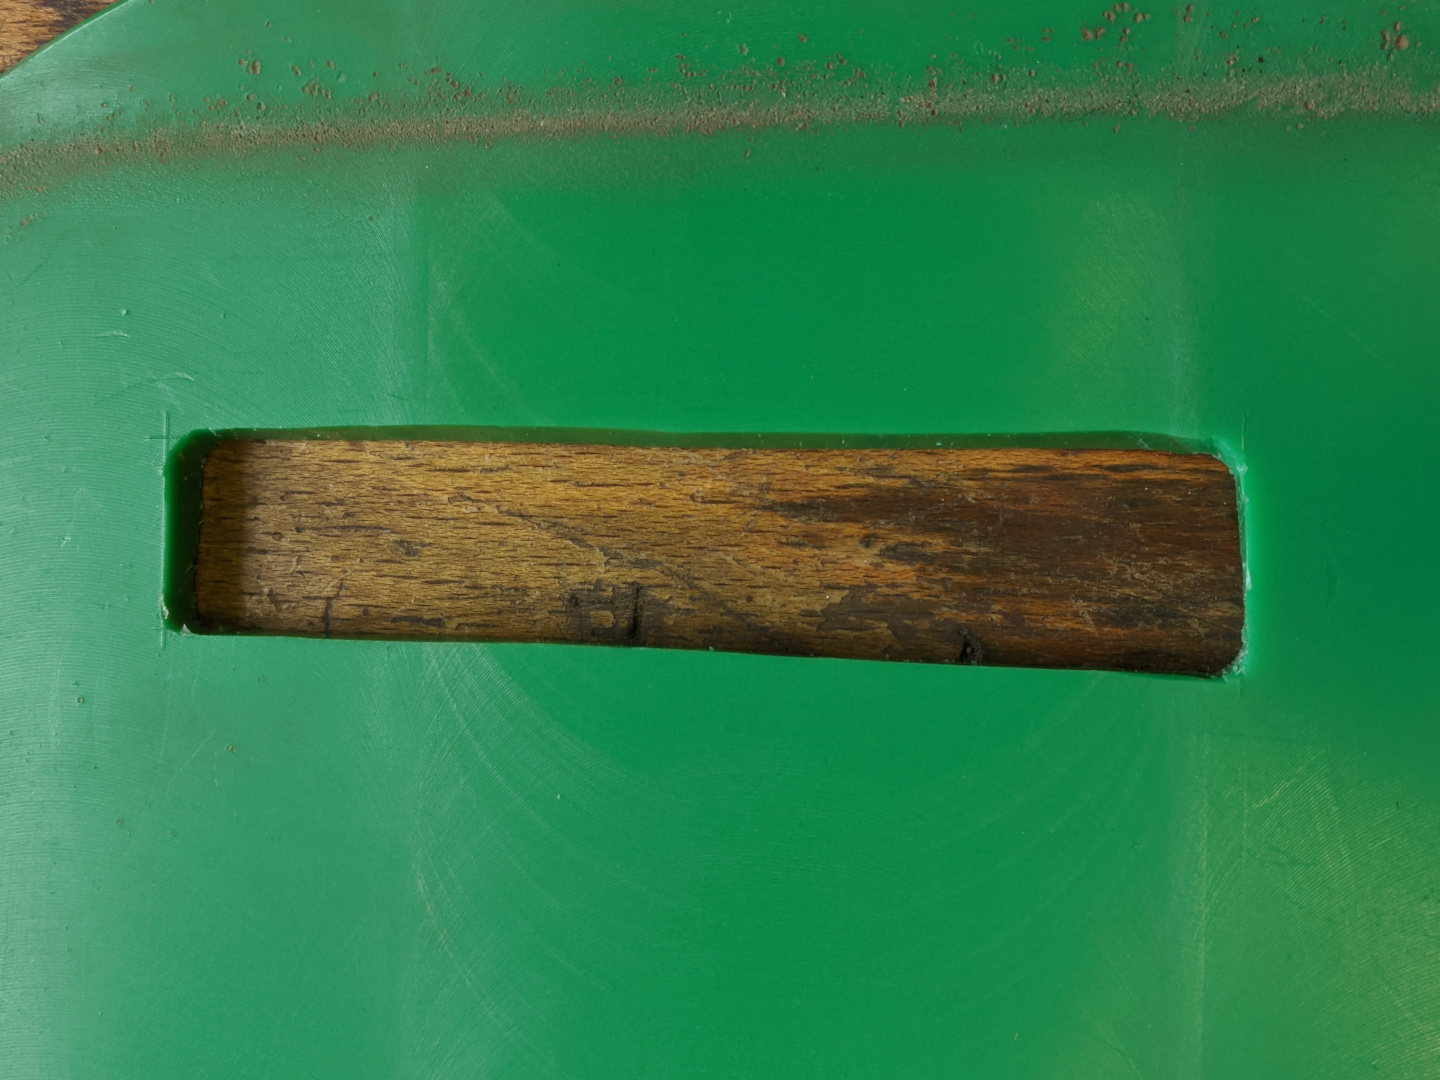
The perimeter of the hole cleaned up. You can kinda see the inwards angle I've put on the edge where your fingers sit. I think I've increased it a bit more after taking the picture.
Conclusion
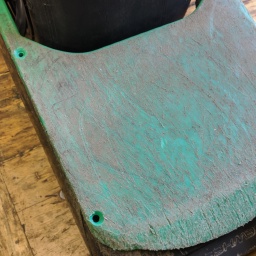
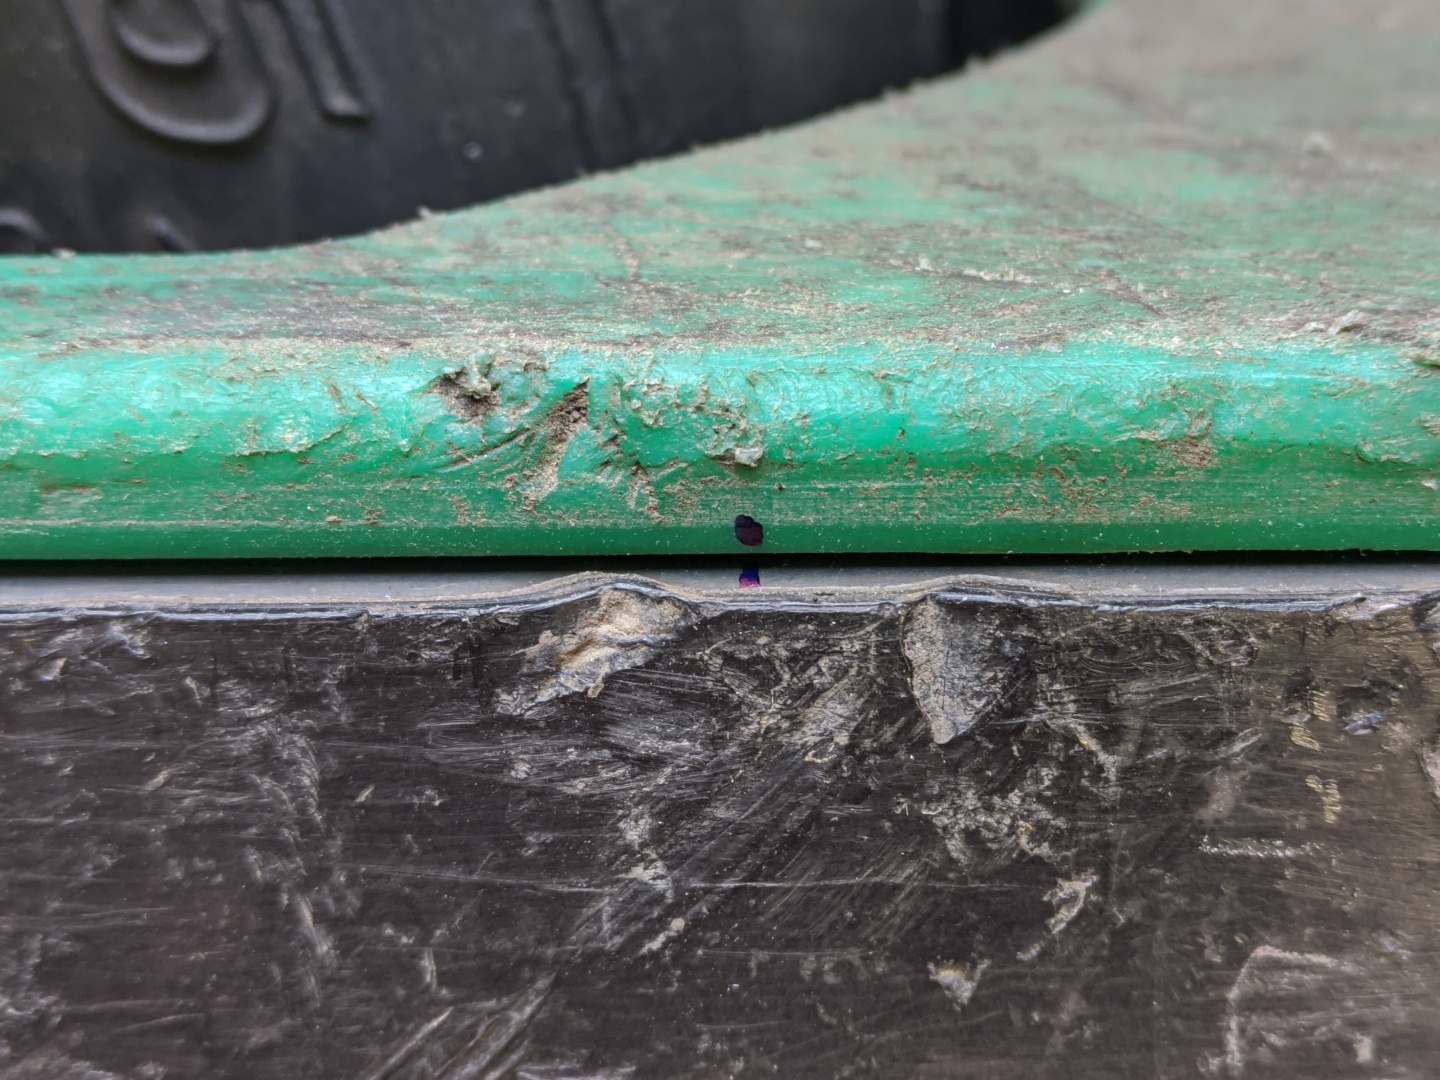
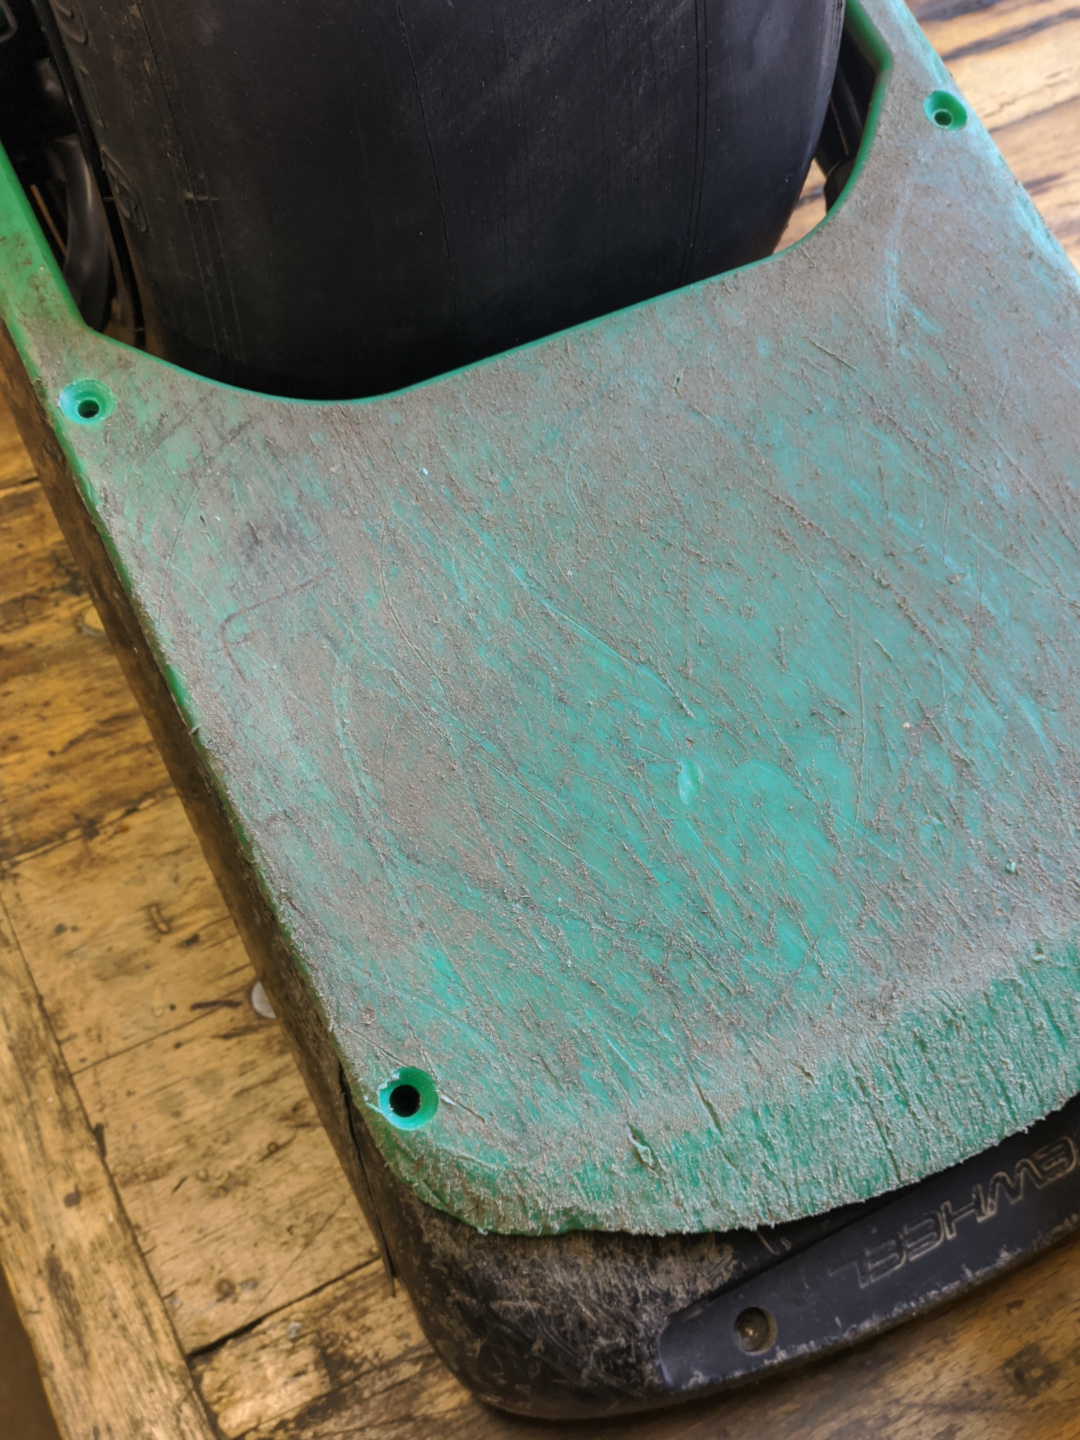
Having screws instead of sticky tape is a big improvement. I’ve been taking my Pint apart a lot after doing this, that sticky tape just wouldn’t cut it. By screwing down both sides of the plate, the narrow sections next to the wheel bow out a bit. Sometimes the bow is more pronounced, I think it may actually be dependant on temperature. You might be able to alleviate this by offseting the new holes on the float plate a bit further from those on the other side of the wheel. This is just a cosmetic issue anyway. You could also cut out the narrow parts, turning the Solo plate into XR-style separate float plates. But then it would be advisable to protect the rails with something else. I prefer it this way.
The grip is now better on both handles, I can carry the board by either end and I can flip the float plate around to keep the wear even on both ends.
