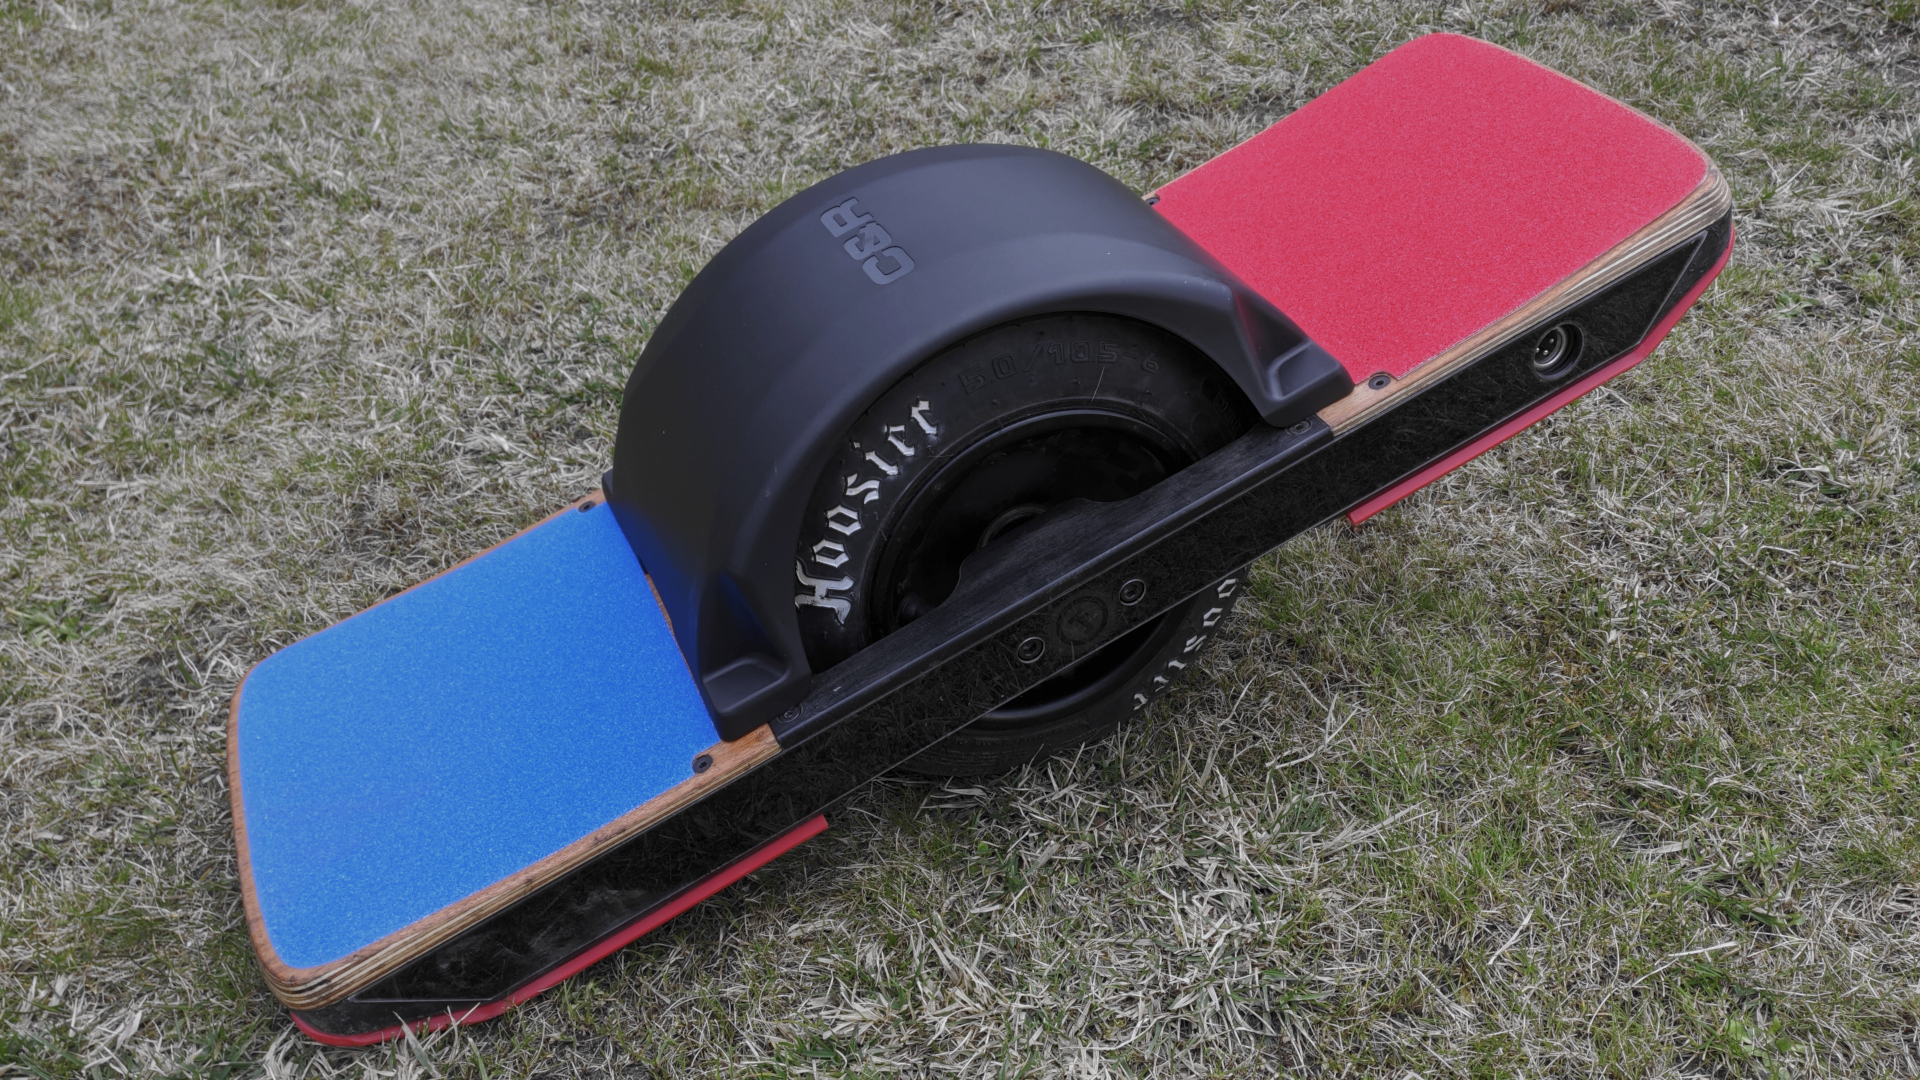
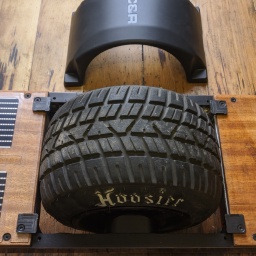
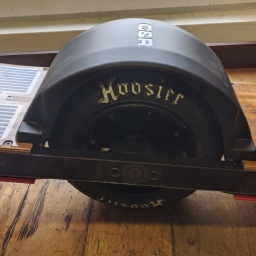
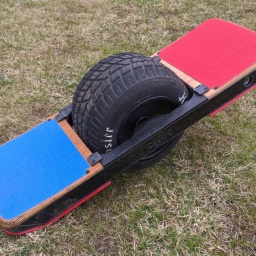
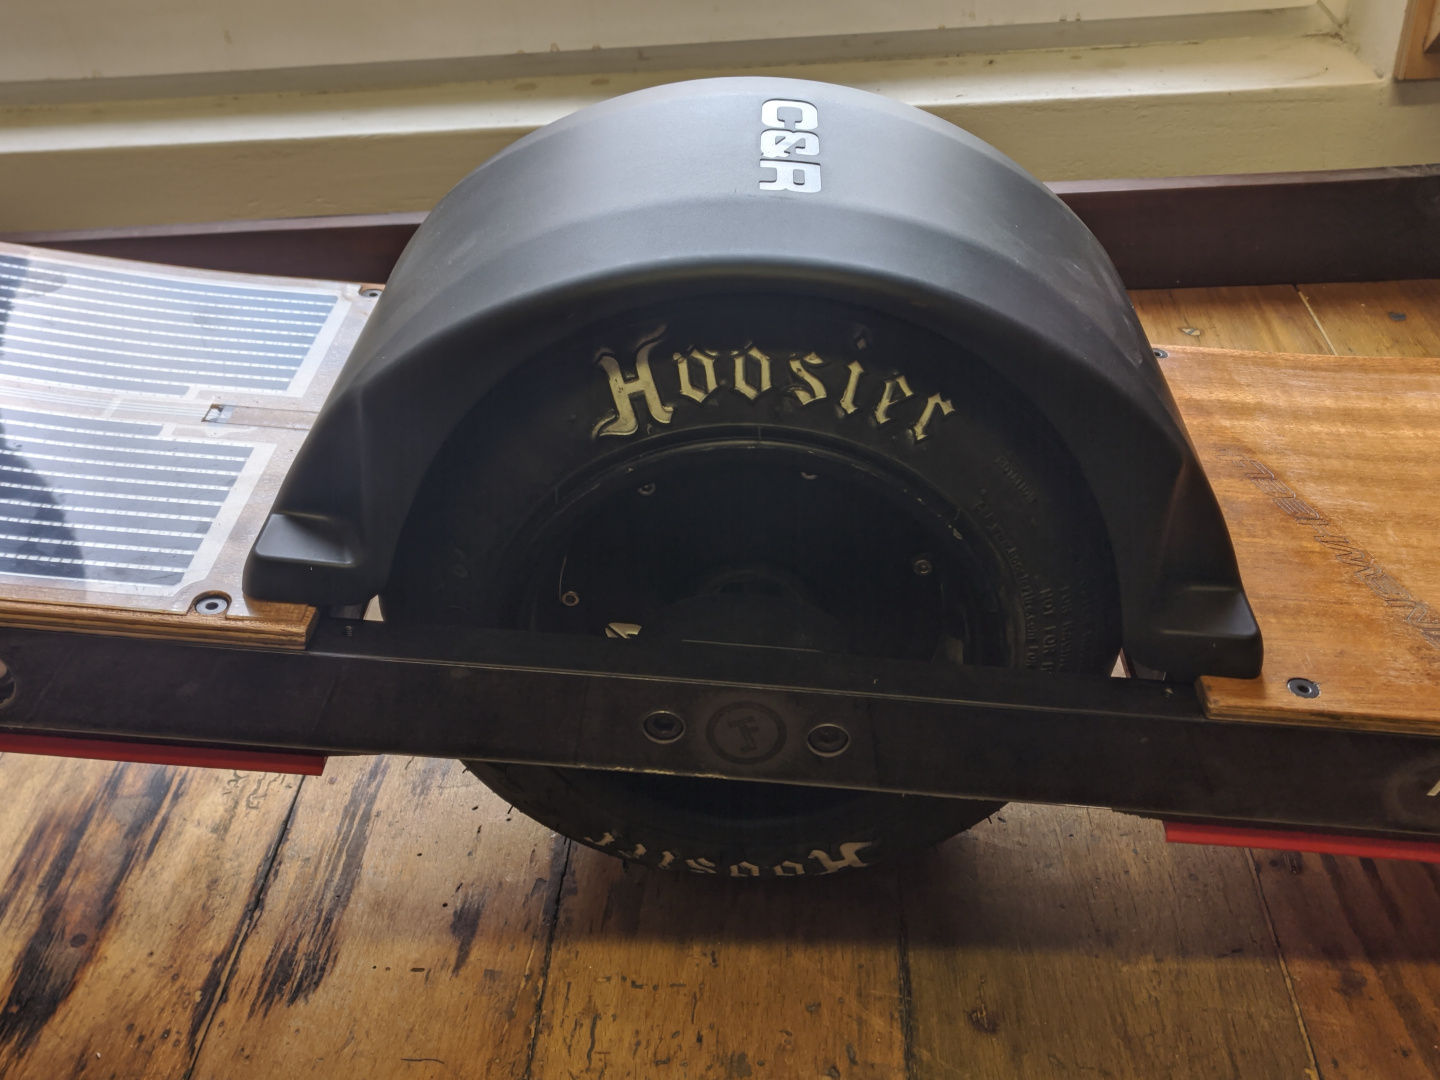
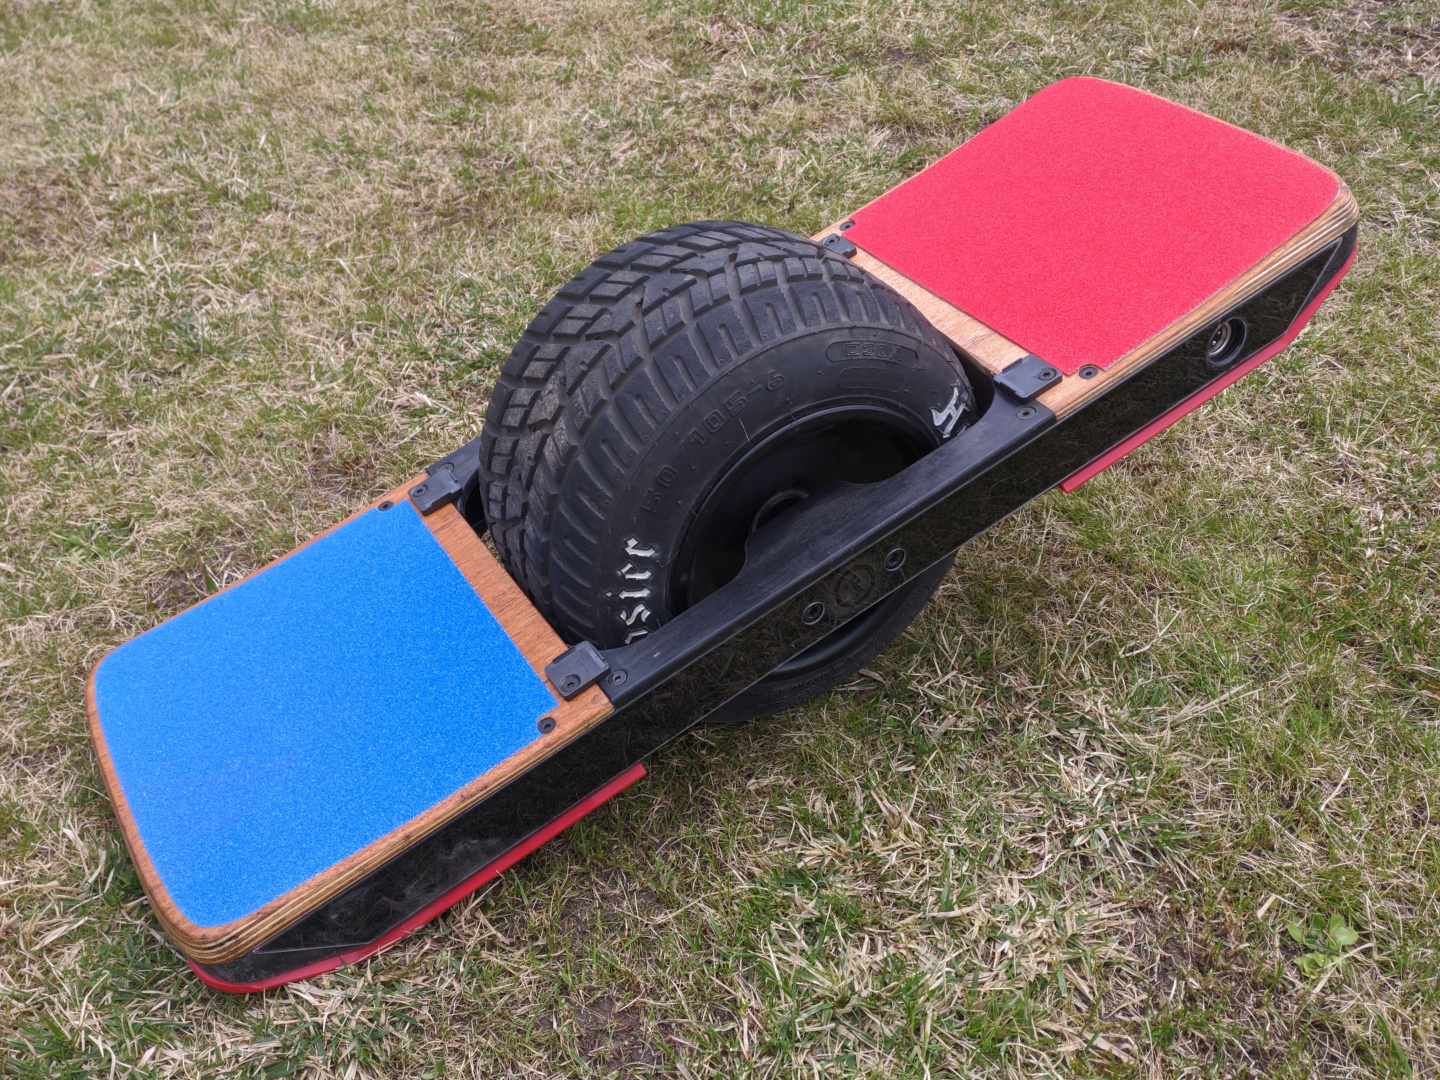
Would you love to ride a Growler but you happen to not live in California? Then you might have a need for a fender. Here’s my DIY solution to attach the Craft&Ride Spectrum Magnetic Fender for Pint onto a Growler.
Step 1: Lay Out the Holes for the Fender
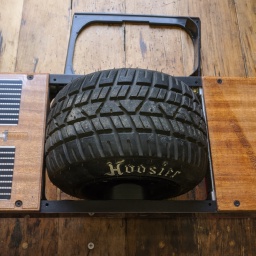
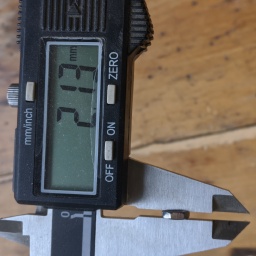
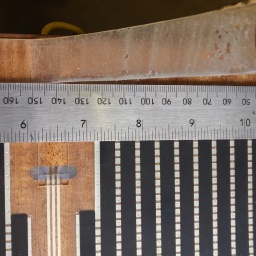
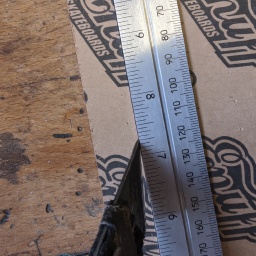
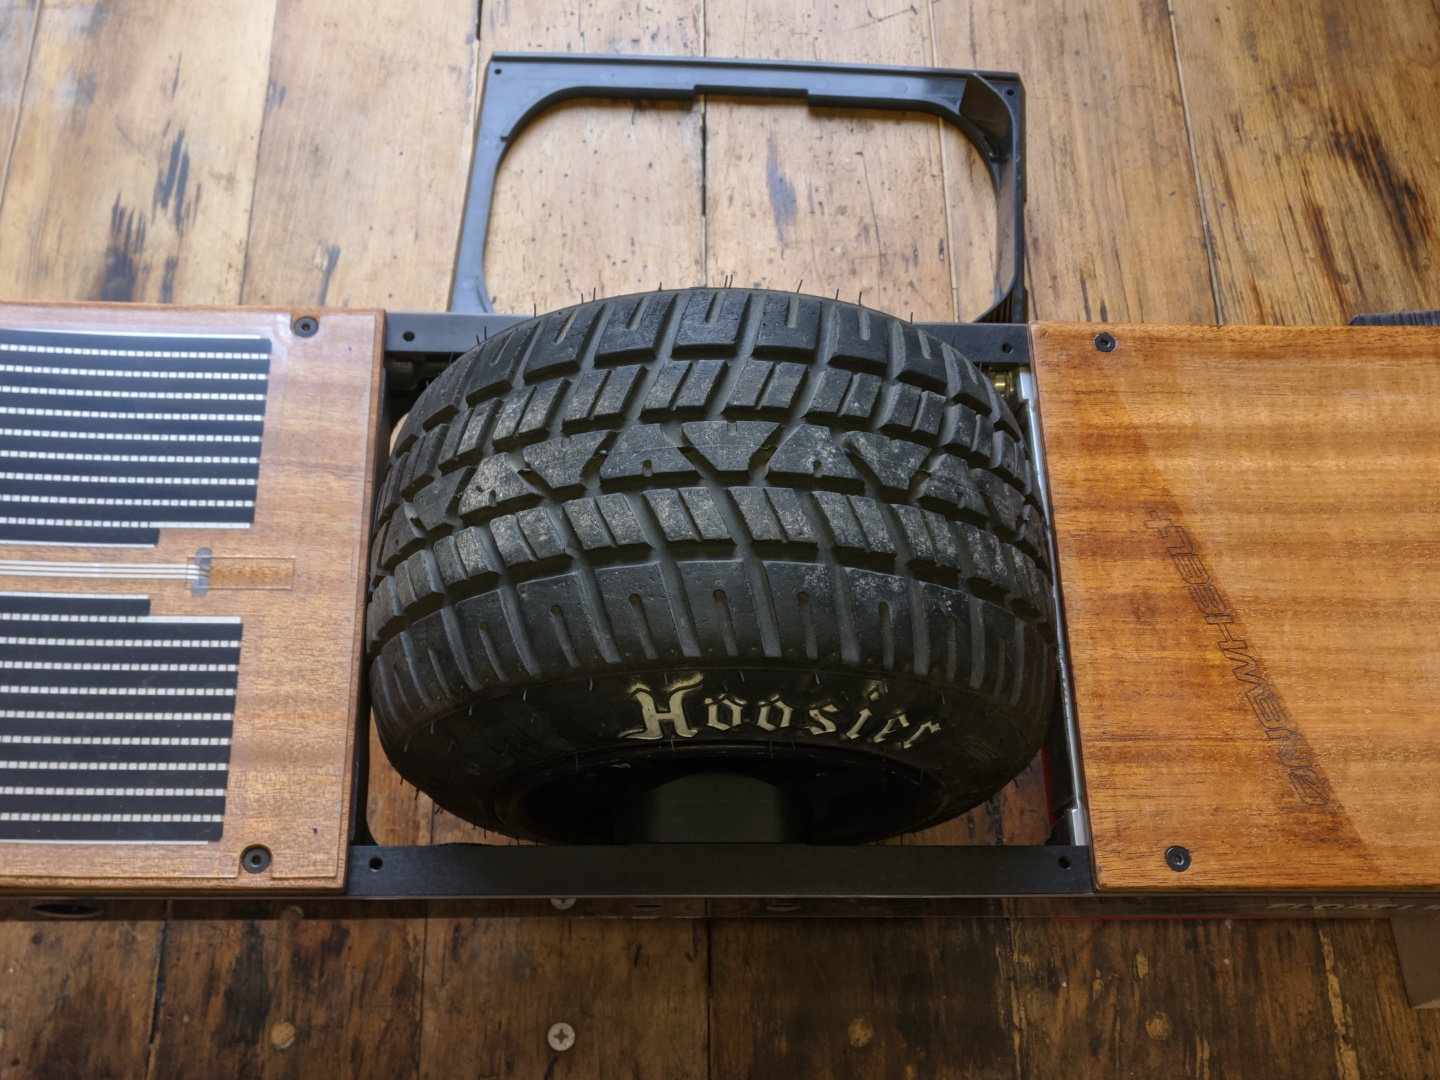
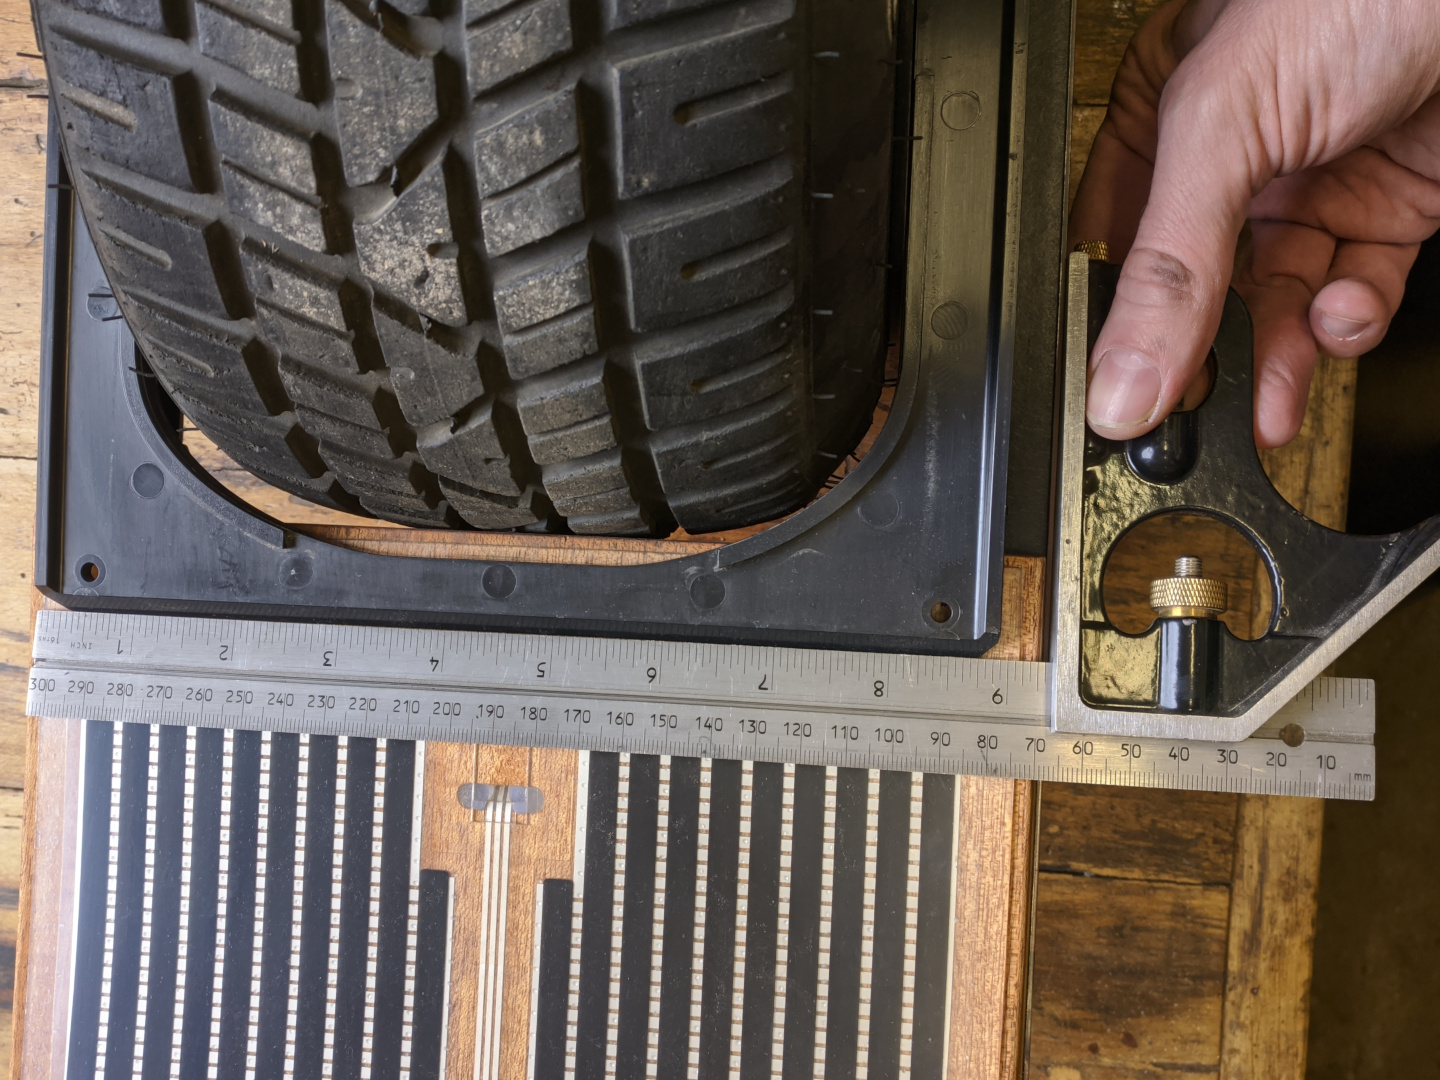
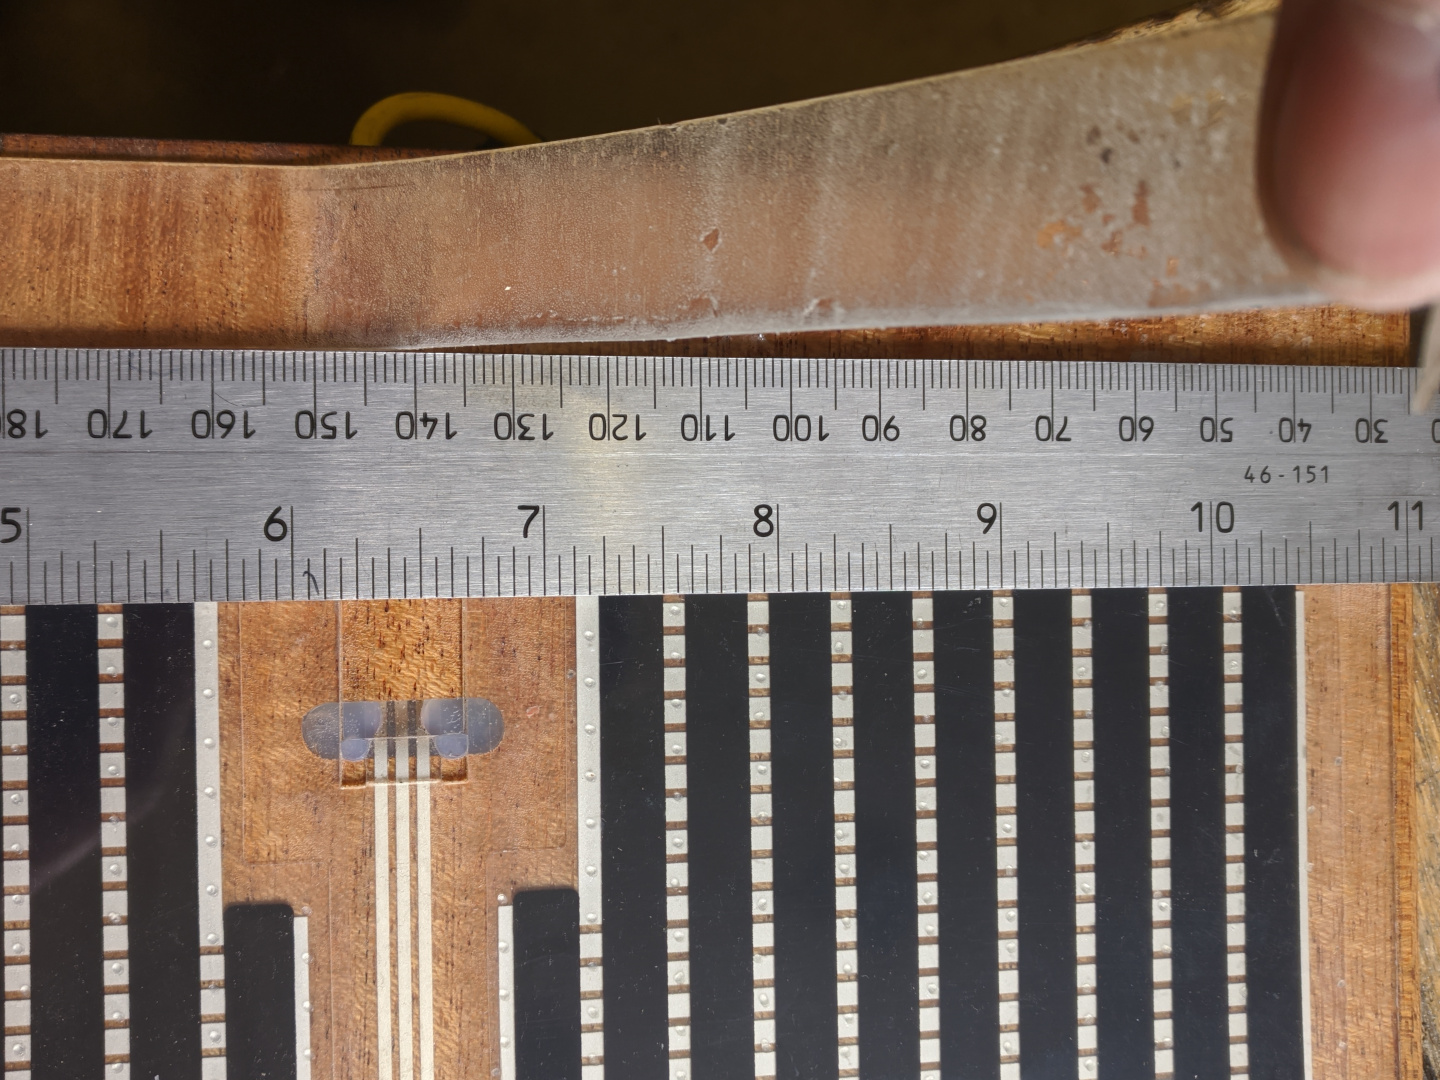
Let’s start by getting the board ready. I’ve taken off grip tape from both footpads so that I can attach the magnetic tabs directly to the wood. Next, lay out the holes. I have a Pint delete at hand so I transferred the holes directly from that. You can also just lay out the holes by measuring, the dimensions are 197mm x 294mm. Just note the Growler motor axle is shifted about 2mm forward. It’s up to you and not a big deal, but I’m shifting the fender to sit symmetric on the tire.
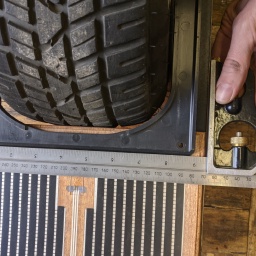
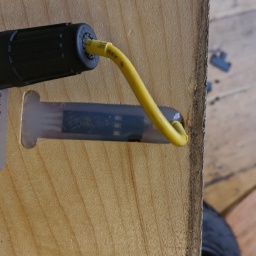
Step 2: Drill the Holes and Insert Nuts
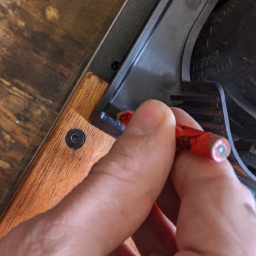
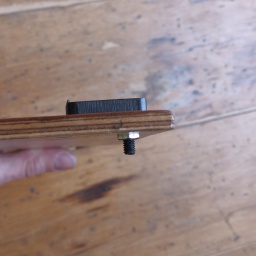
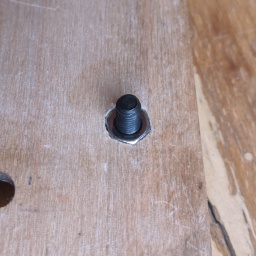
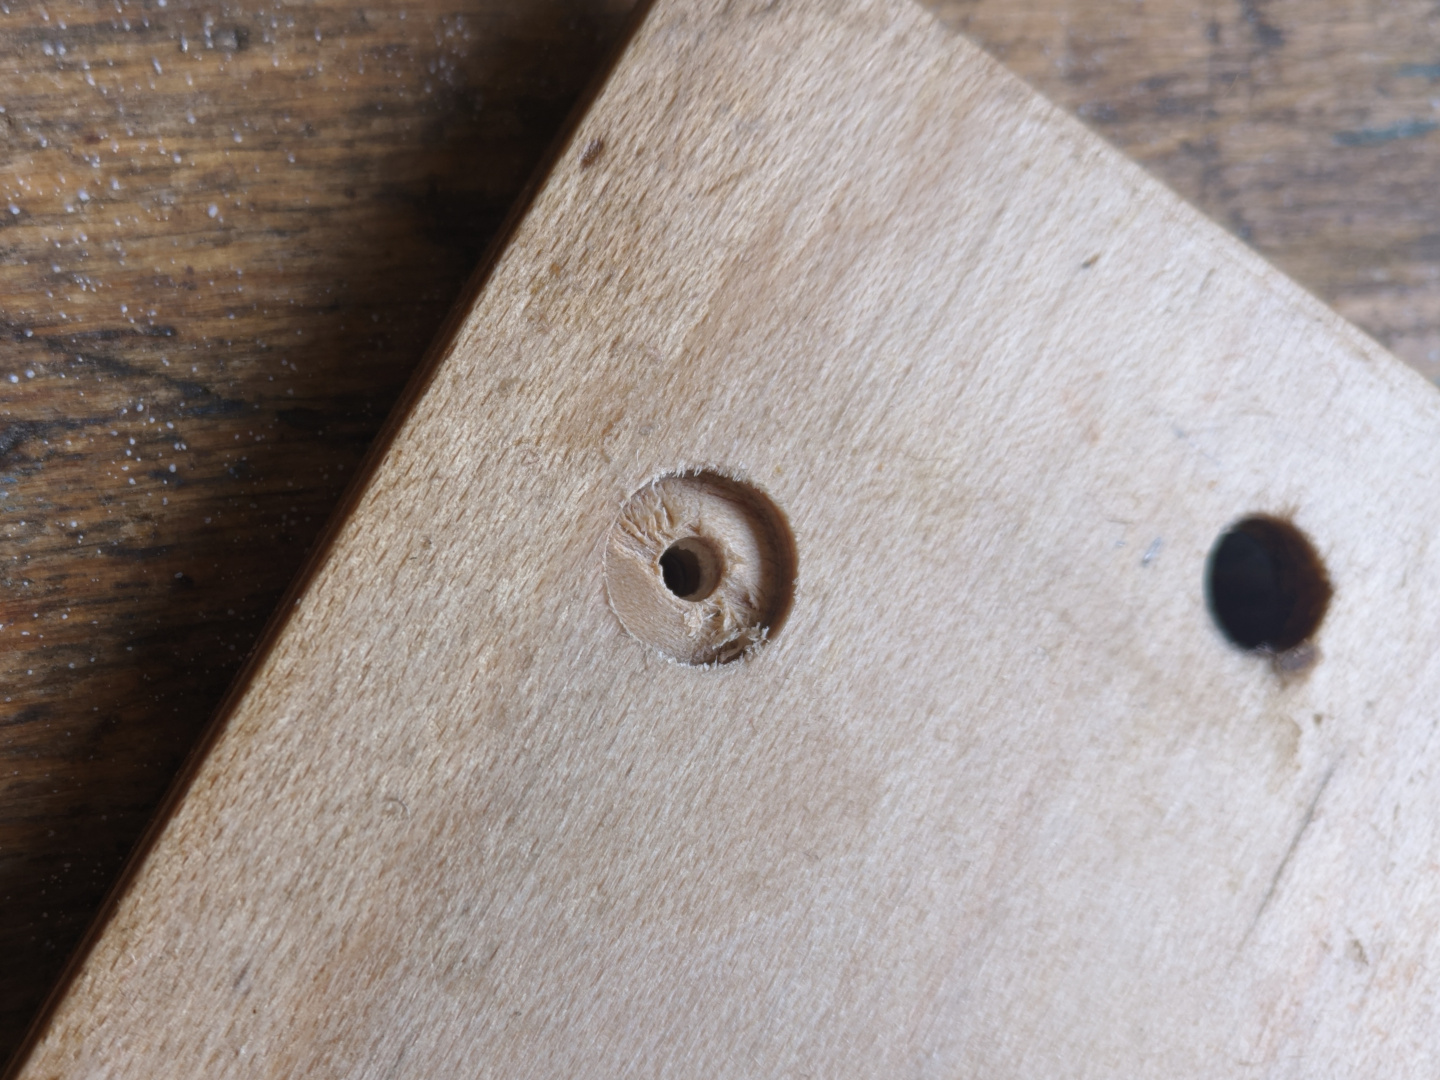
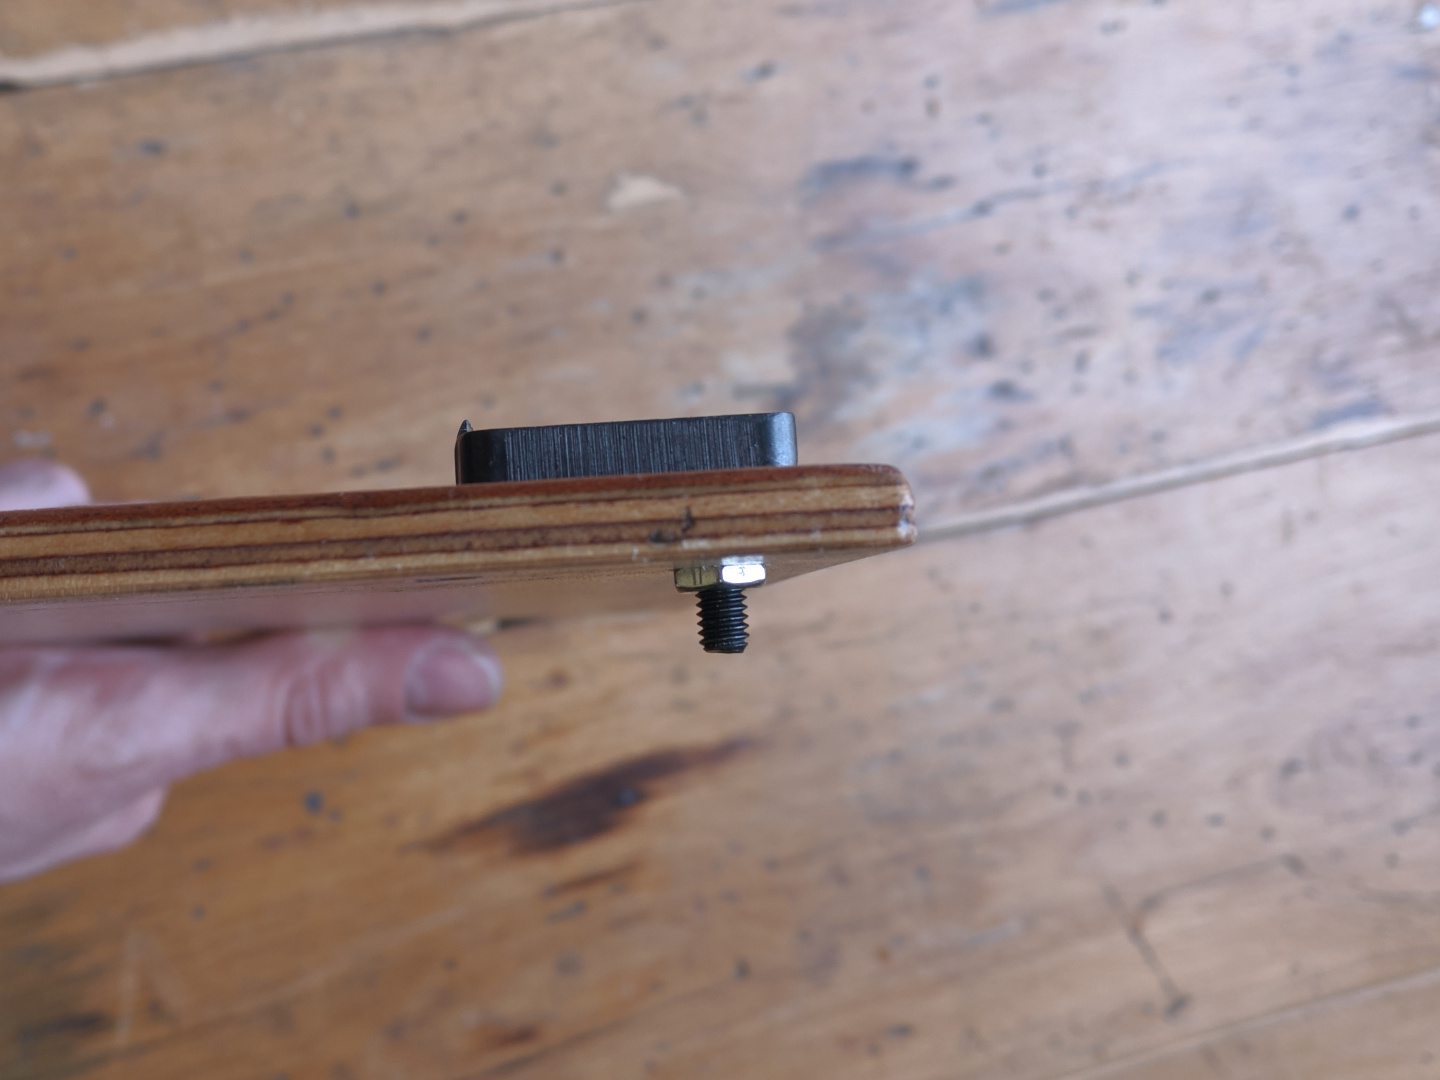
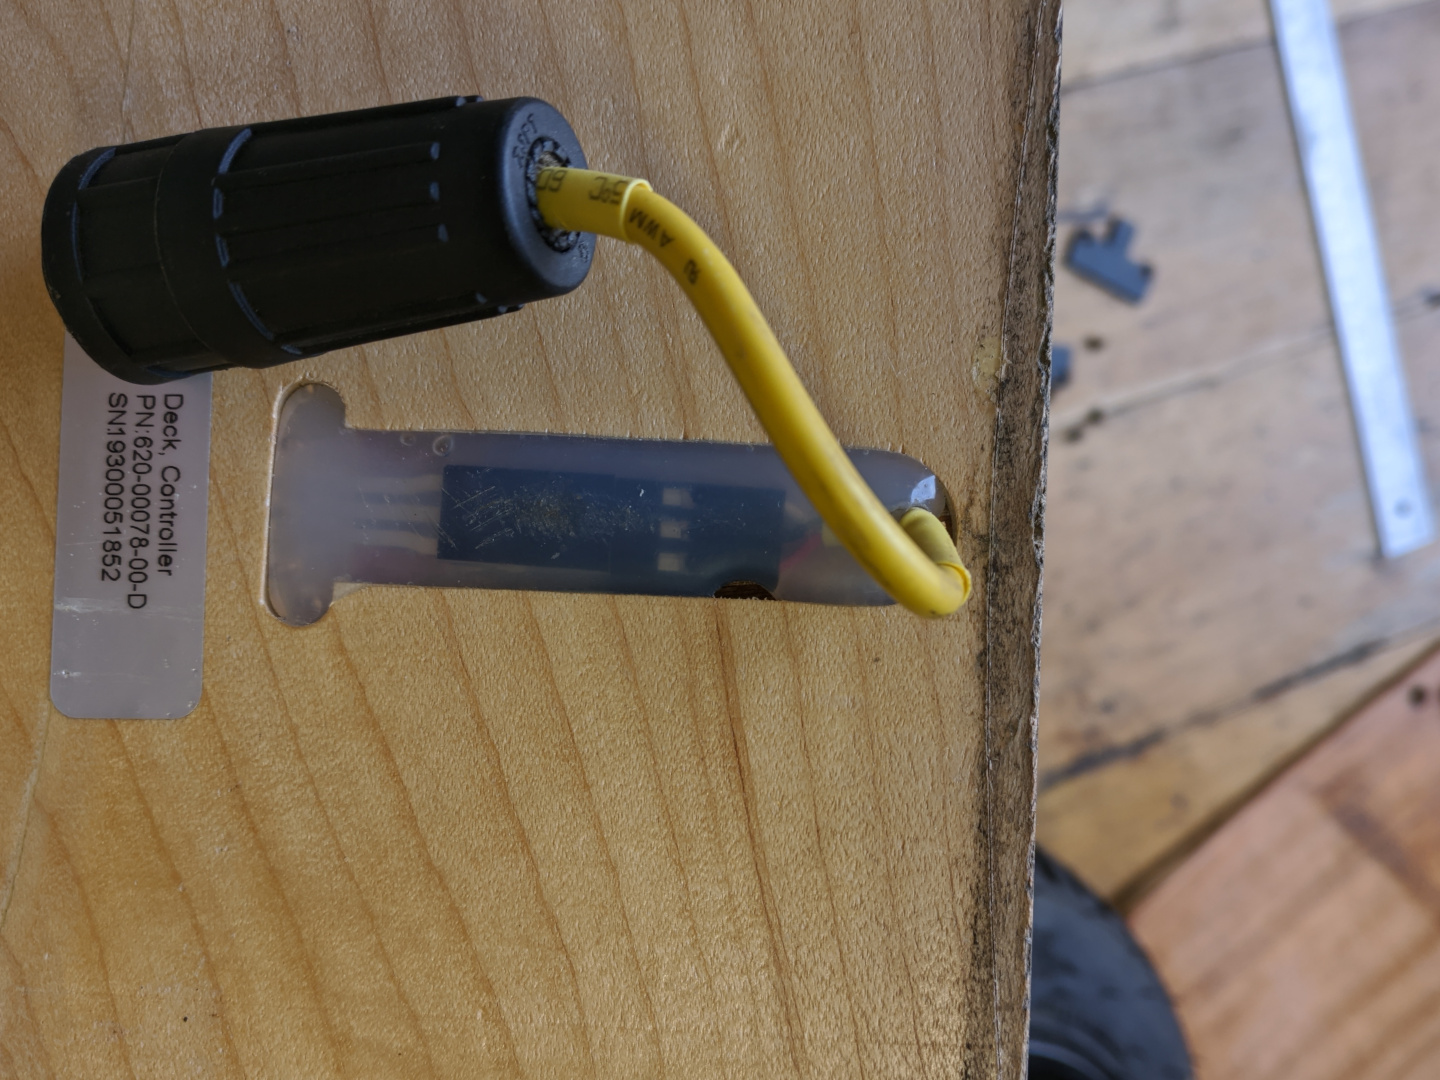
I’m inserting regular hex nuts (stainless, low profile) into the bottom of the footpads to screw down the metal tabs. When inset into holes of the right size, they hold pretty well. On the front pad I’m just drilling right through the sensor plastic for now.
I’ll mention this in advance, do make sure to use loctite when you screw down the tabs for the final time, or you’ll lose some for sure.
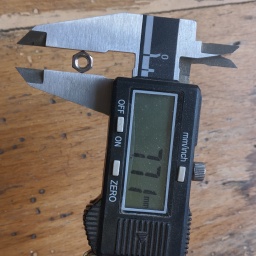
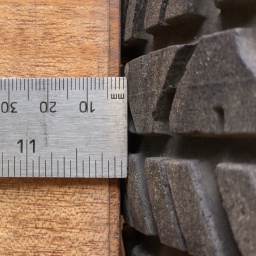
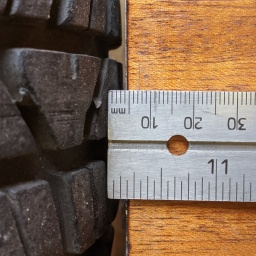
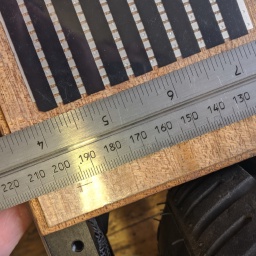
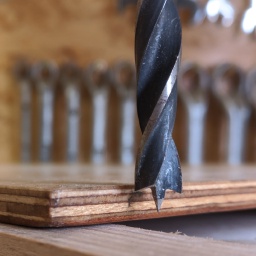
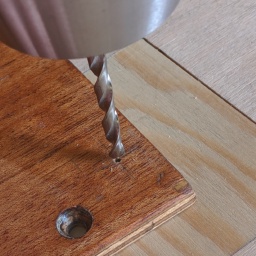
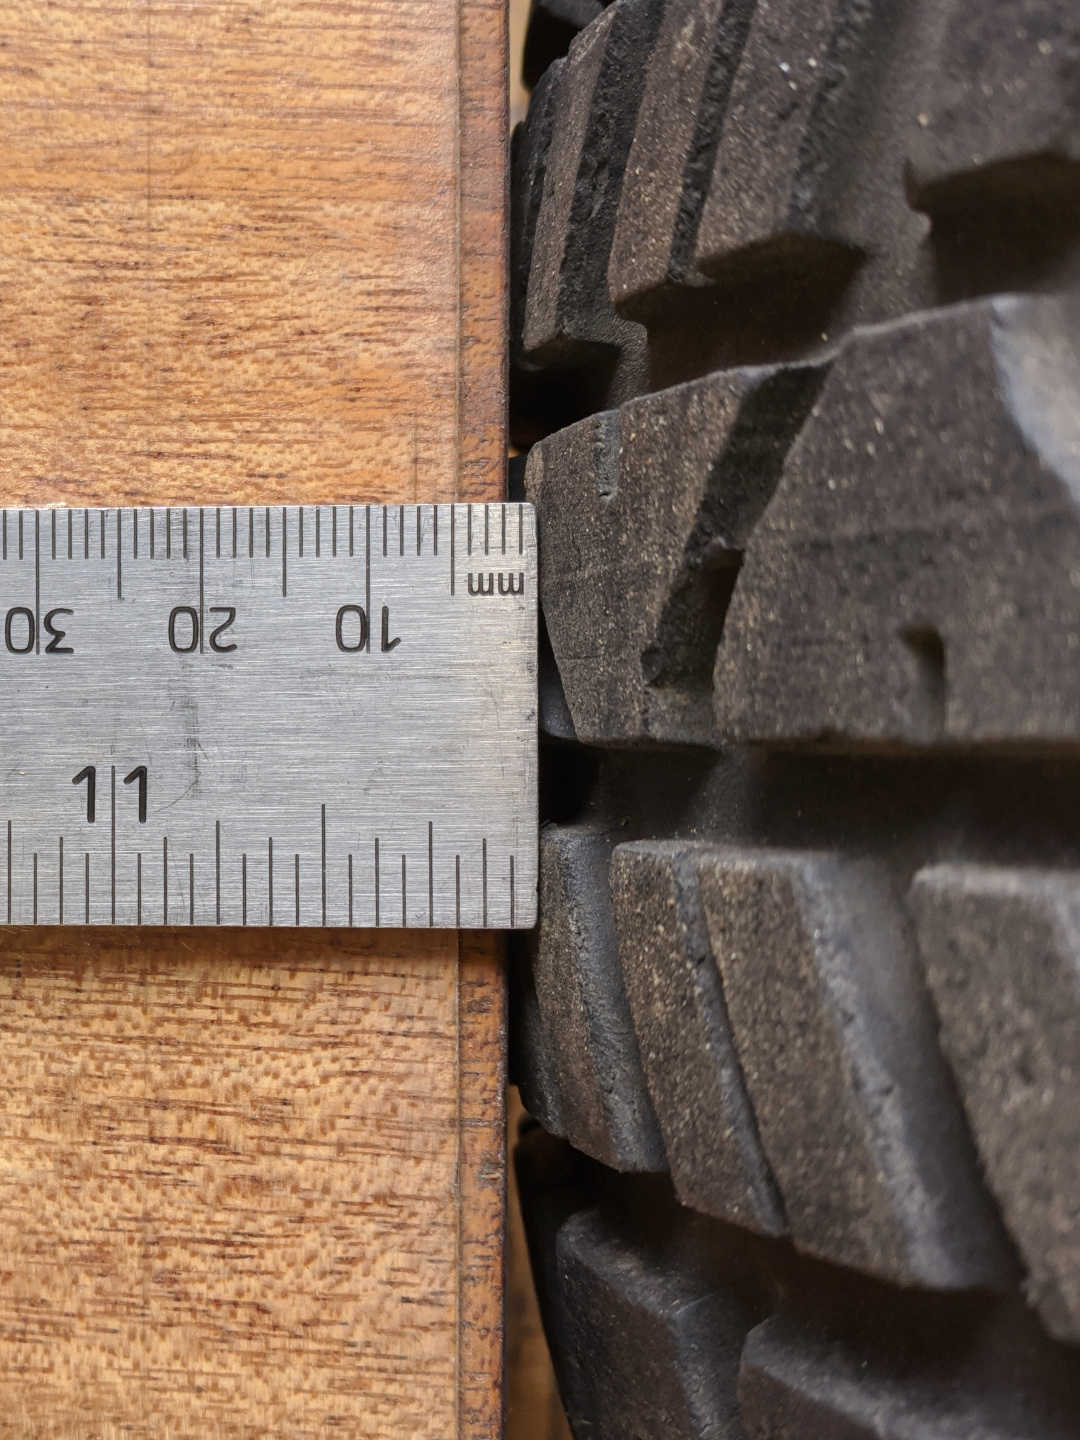
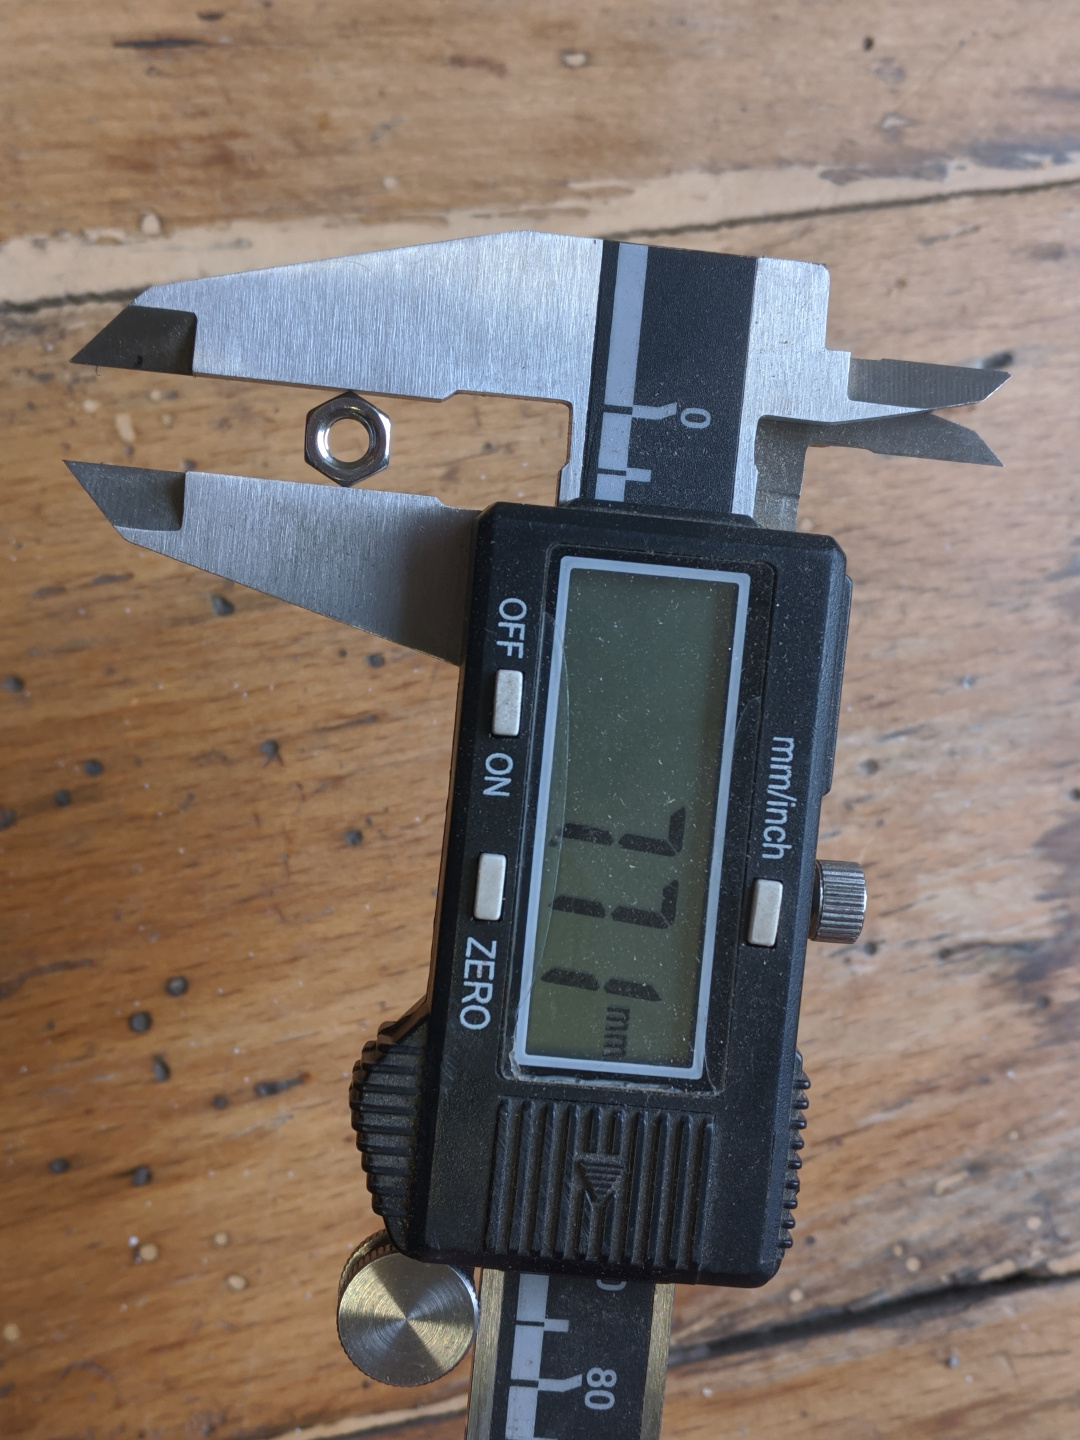
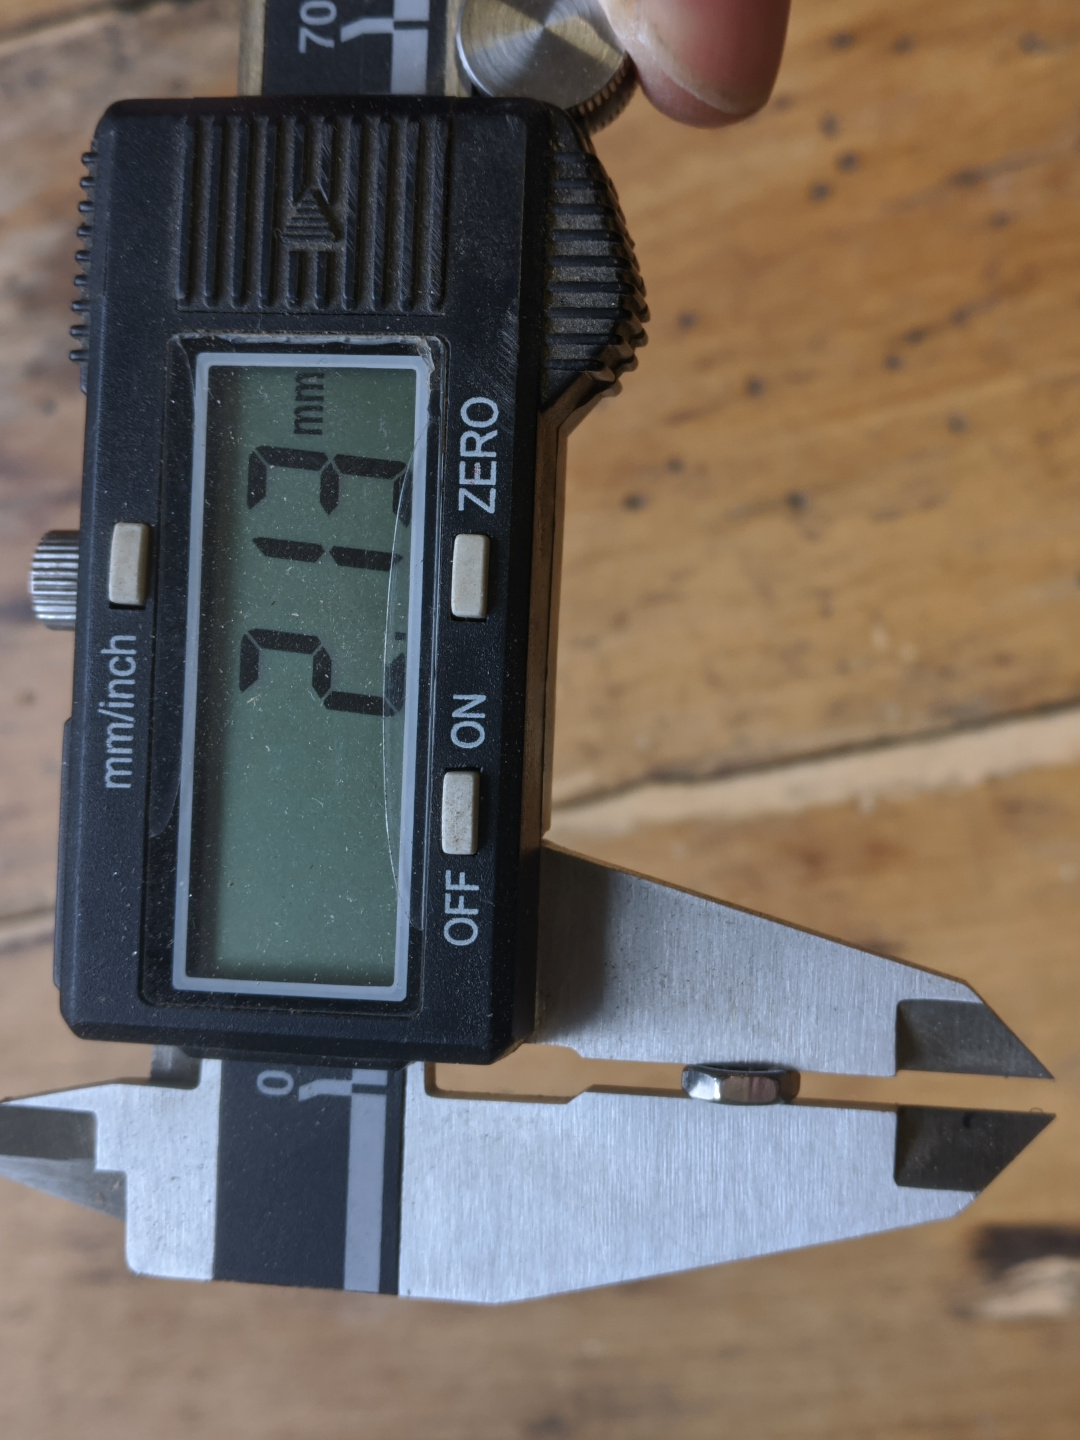
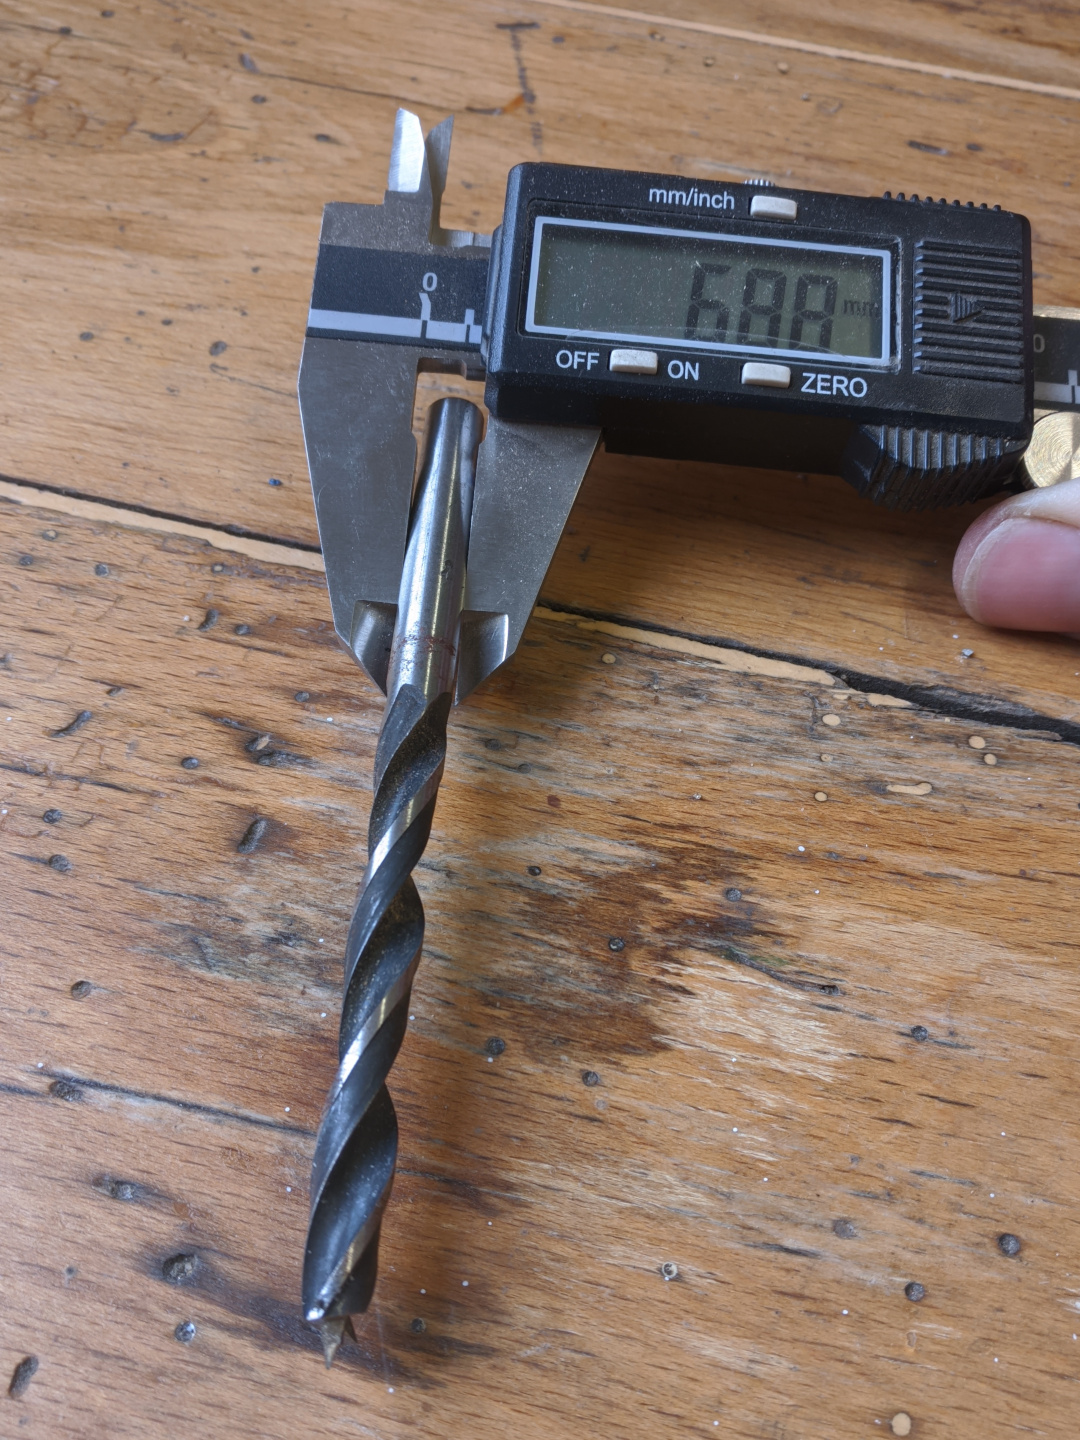
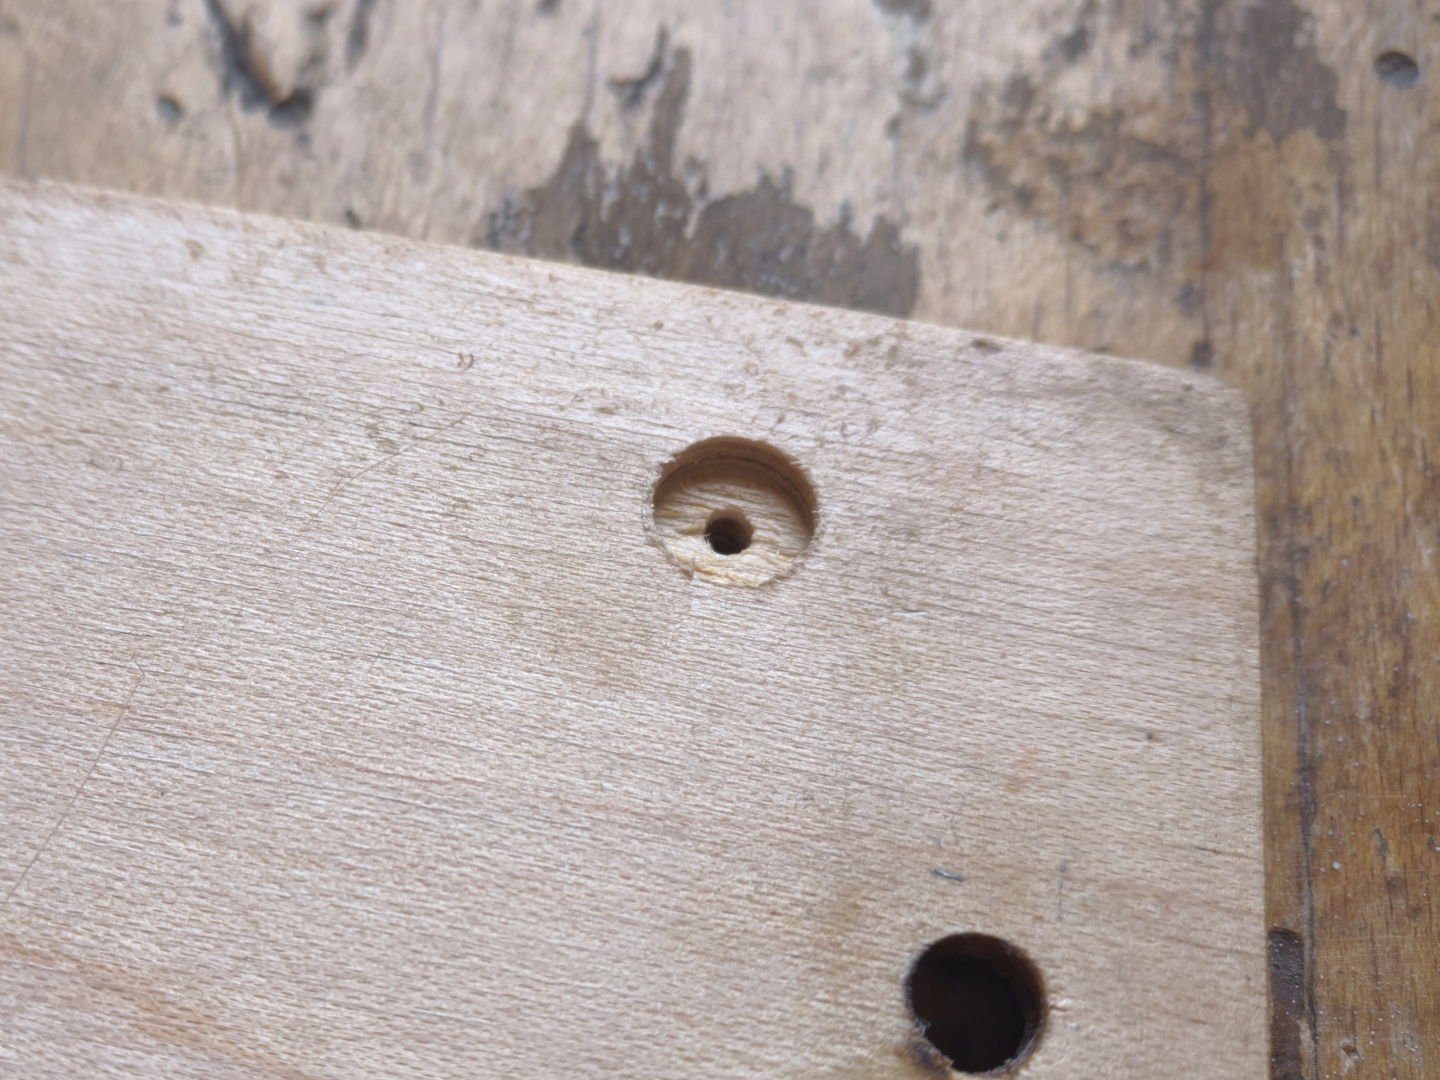
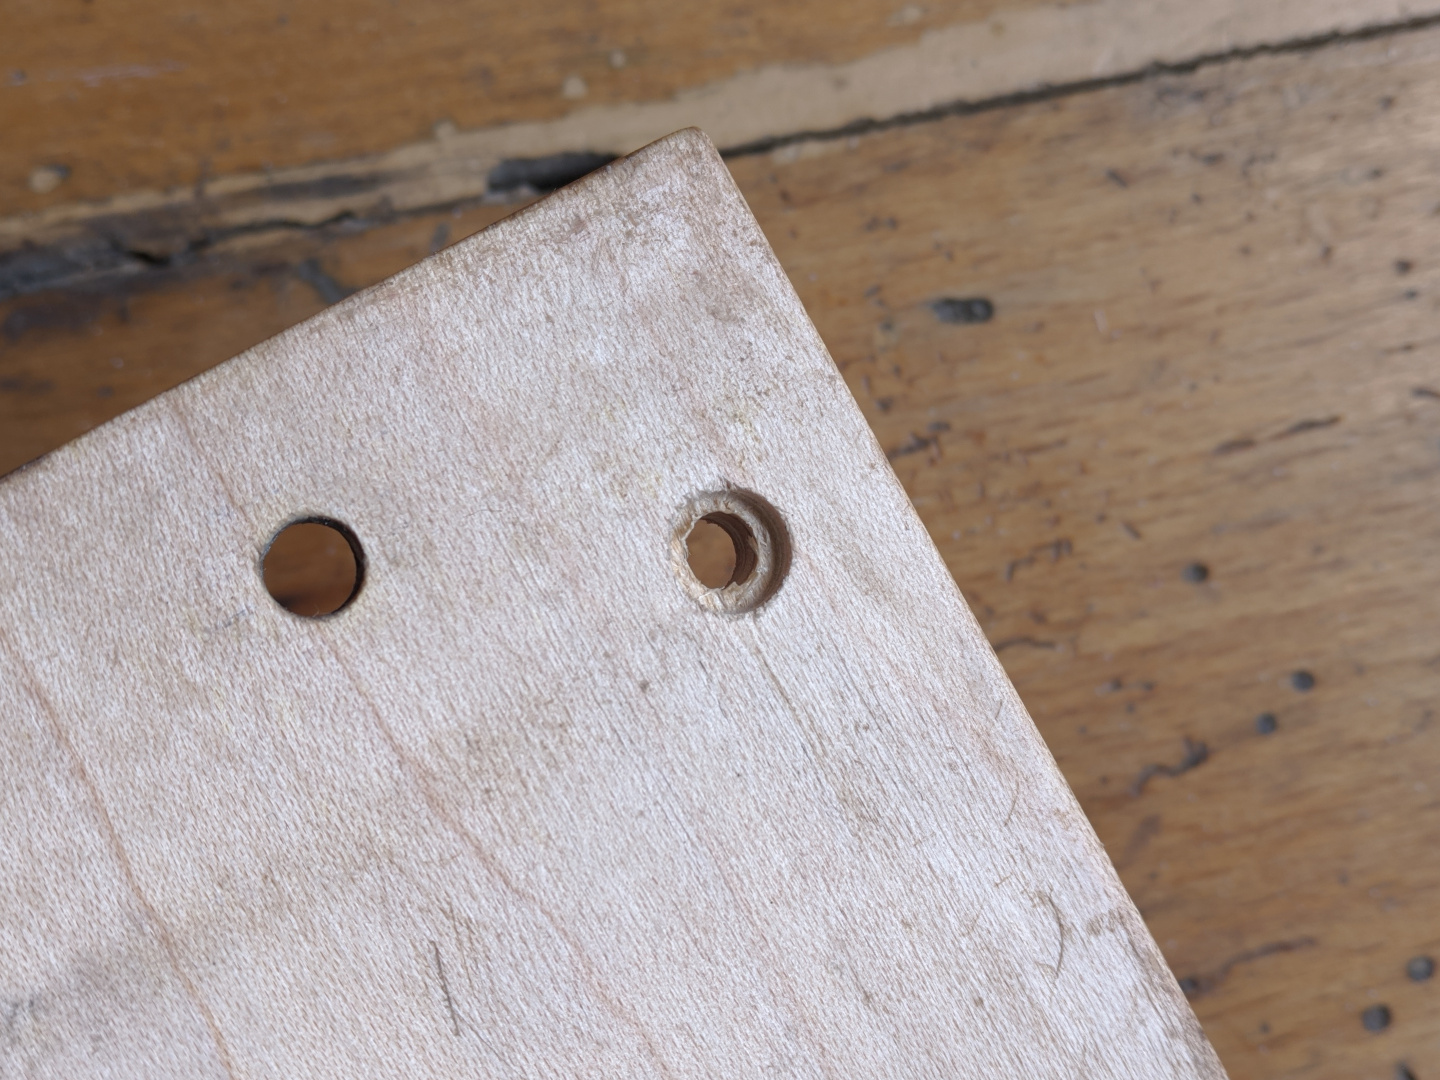
The outer diameter of the nut is 7.7mm, a 7mm drill bit will make a hole just the right size to press the nut into.
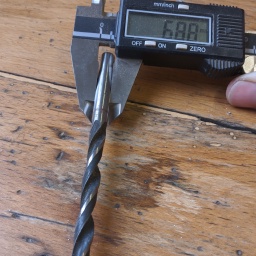
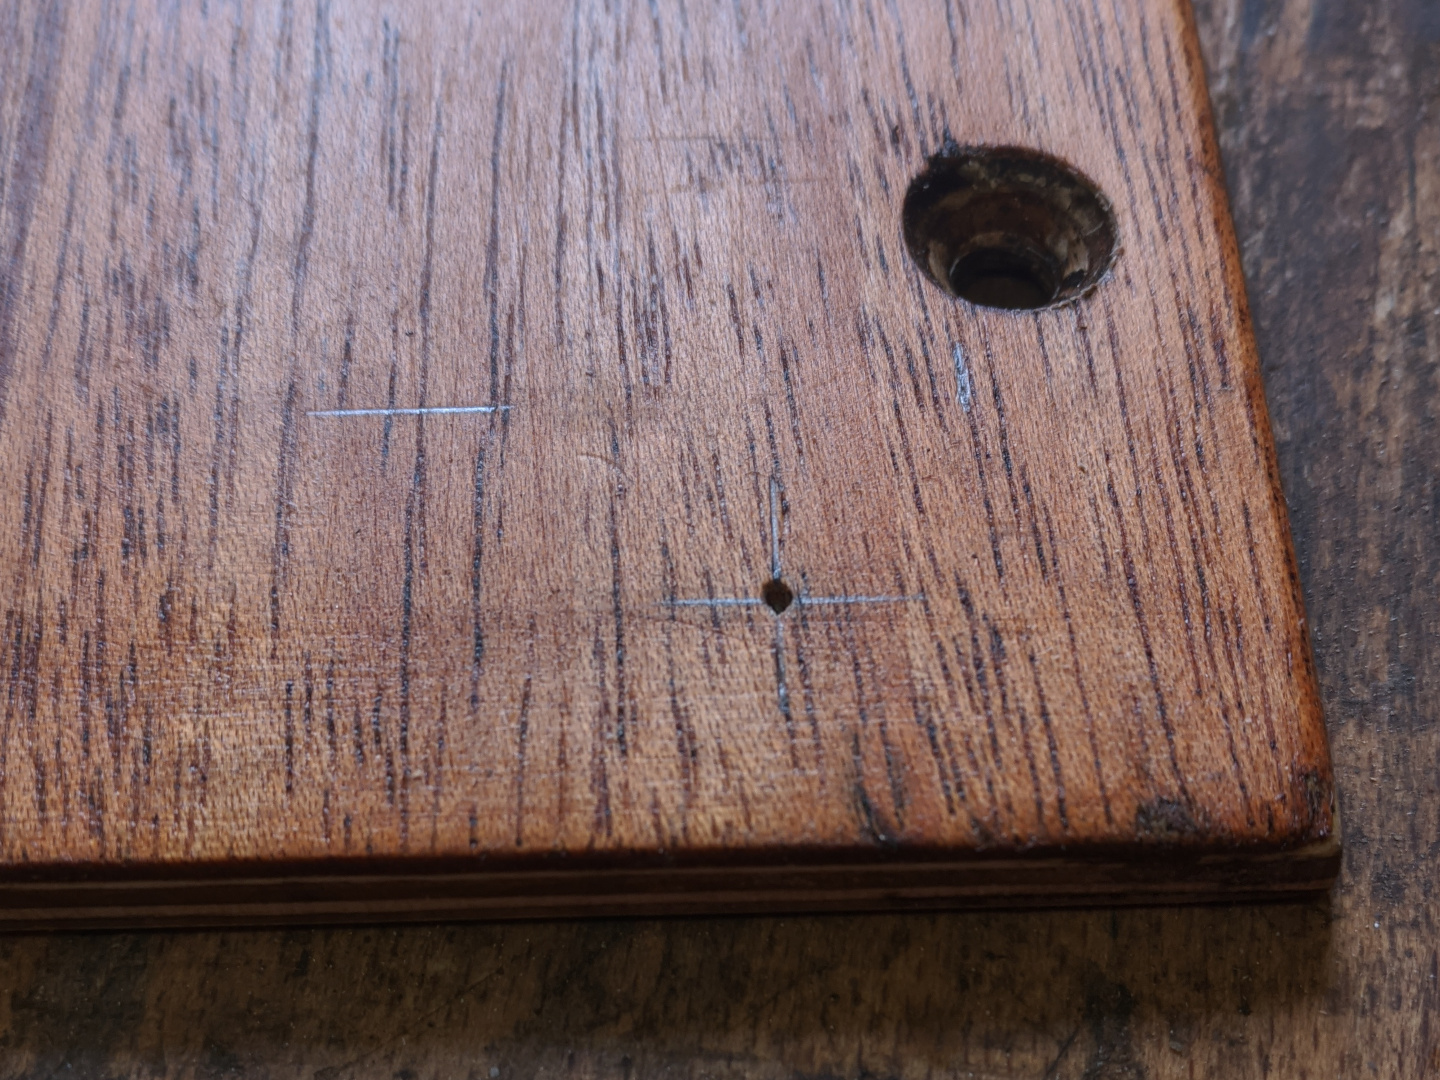
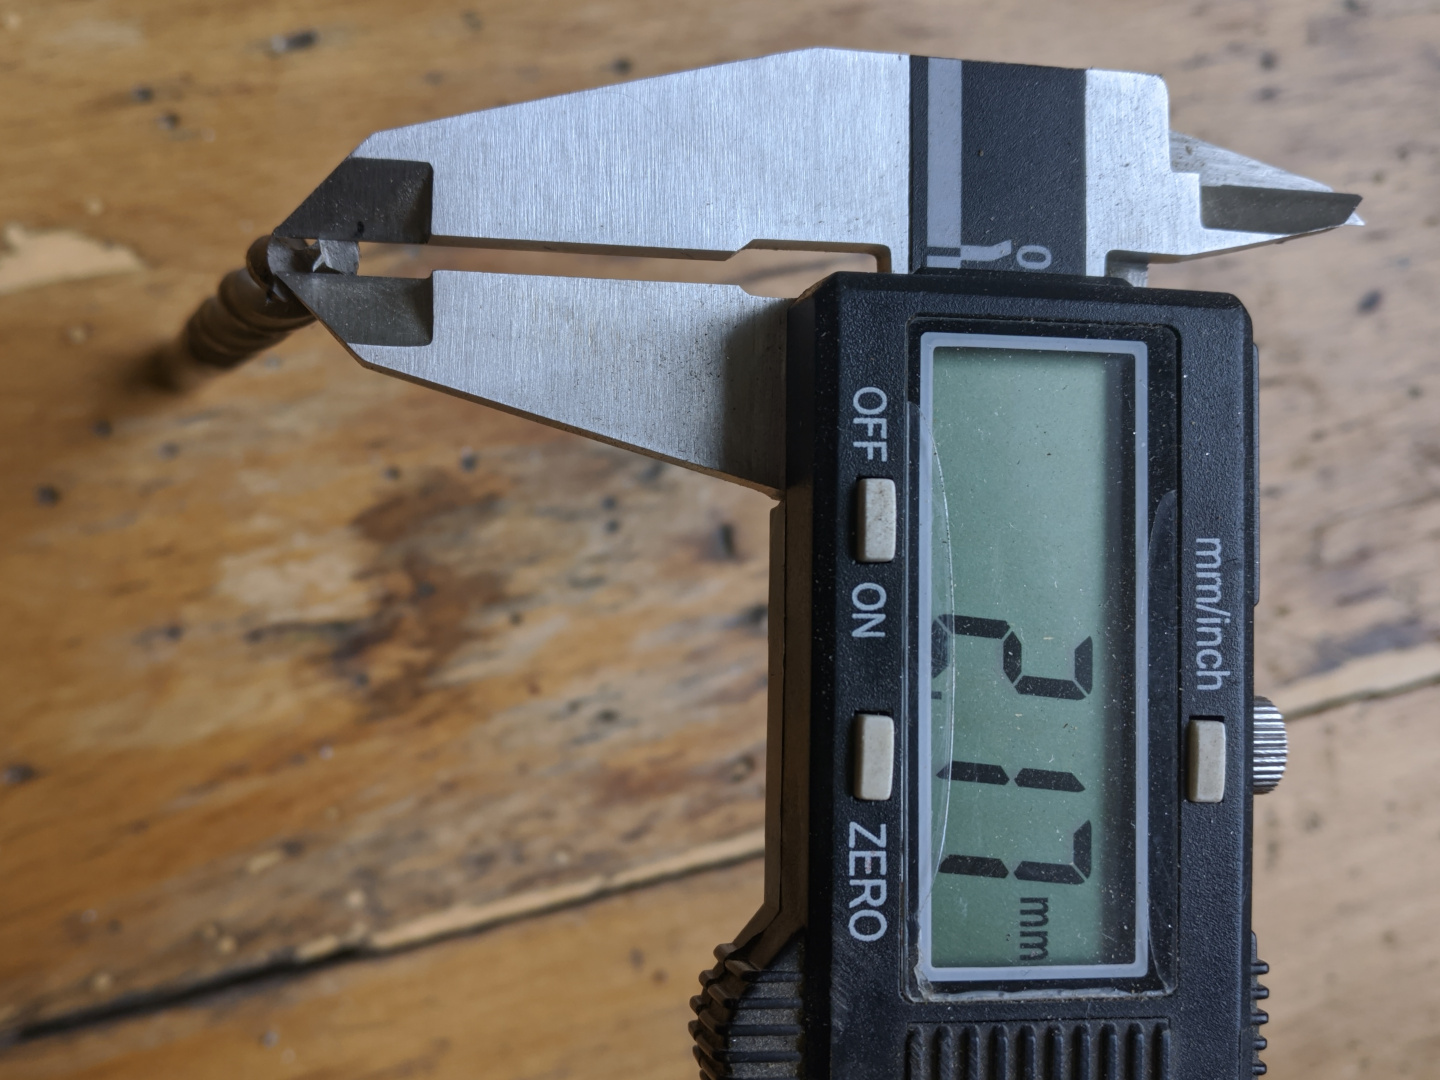
The wood drill bit is guided by the pointy tip, this is the maximum size of a pilot hole that will guide the bit accurately.
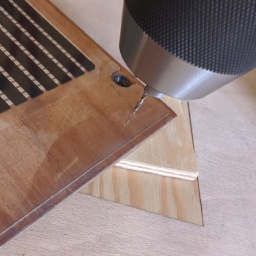
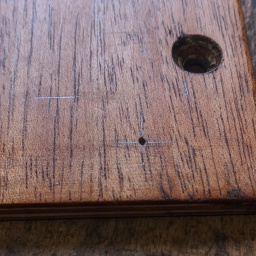
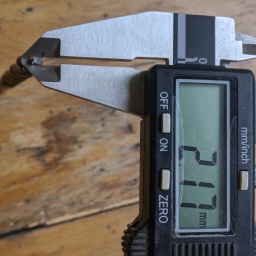
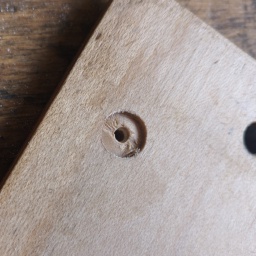
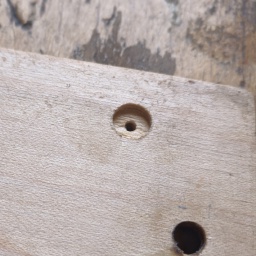
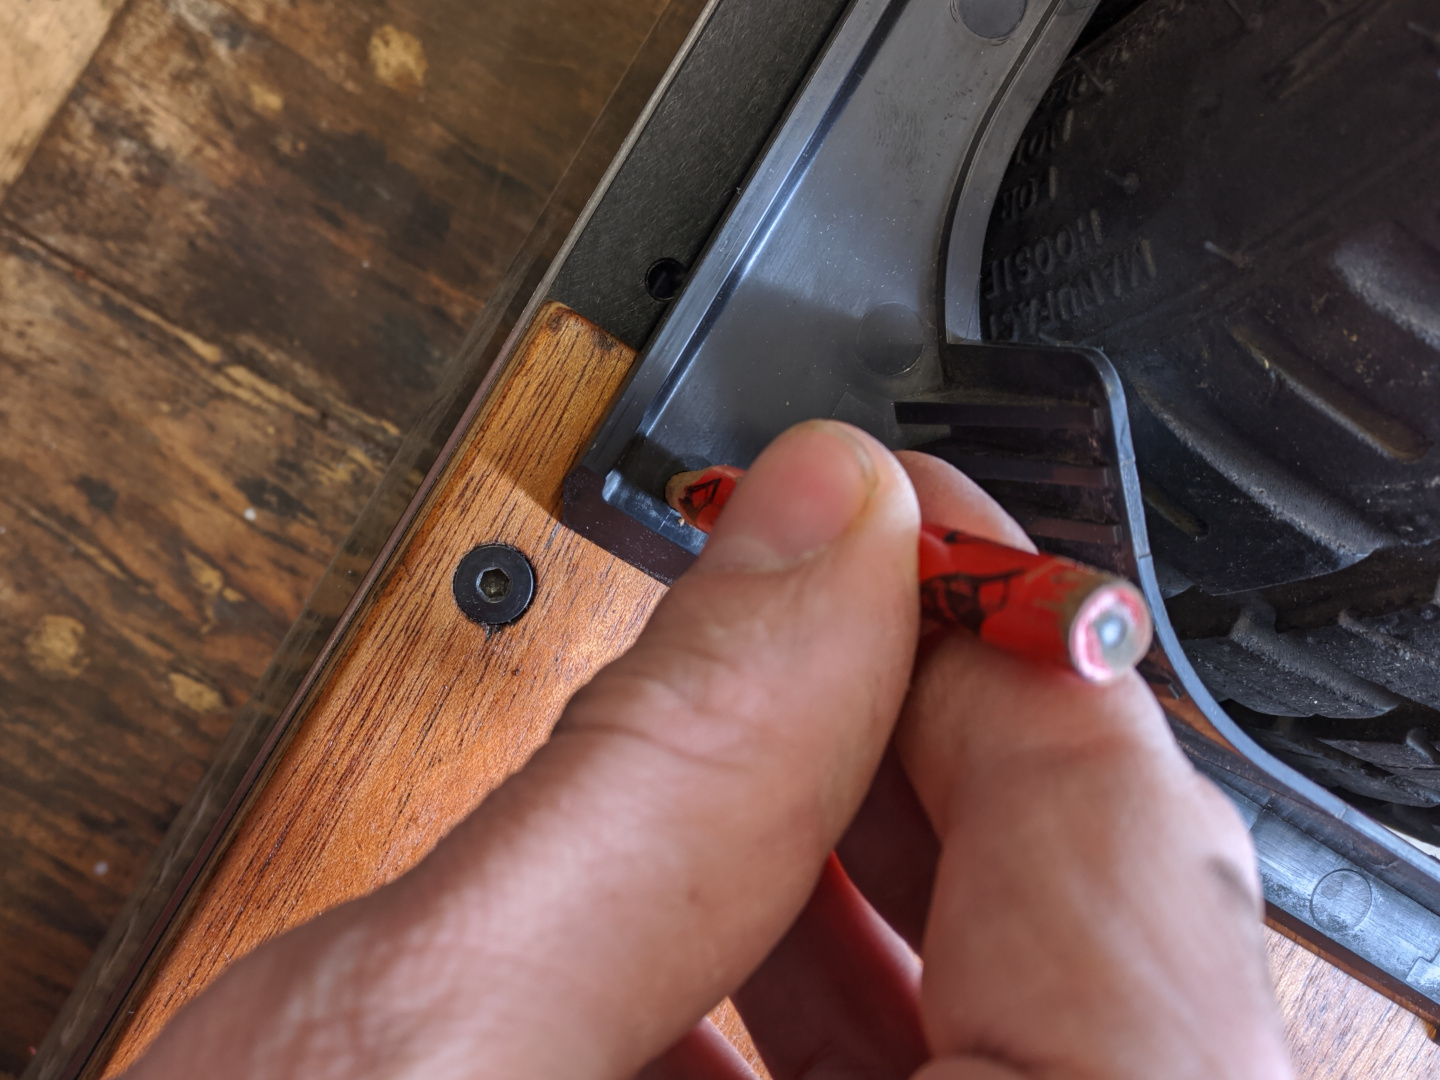
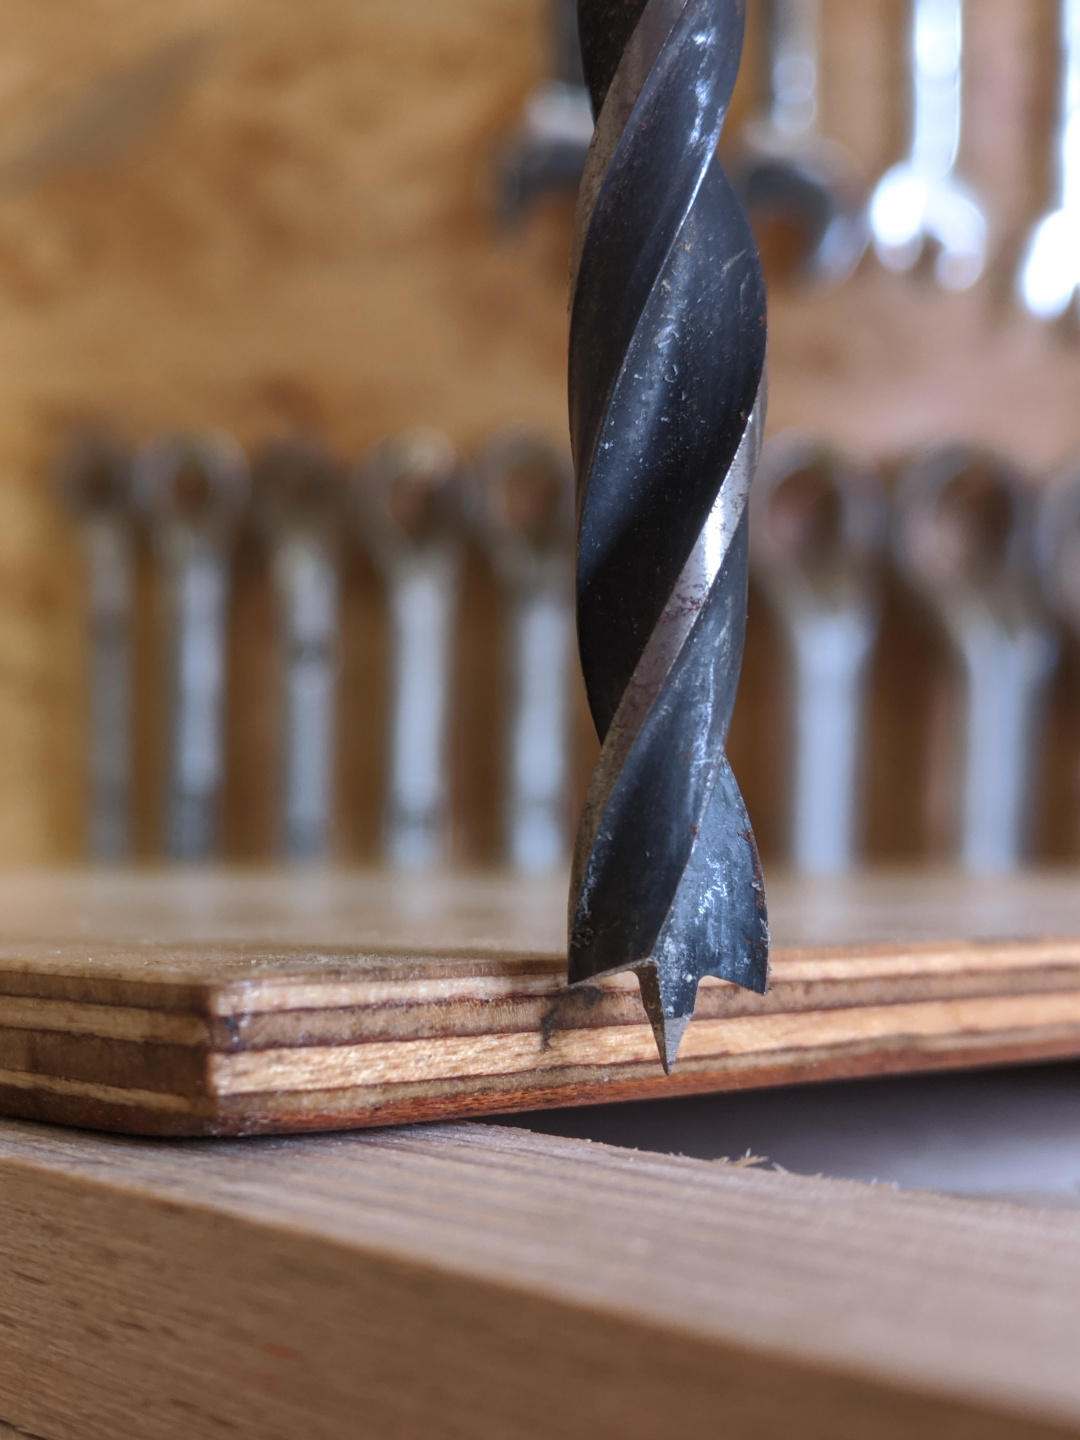
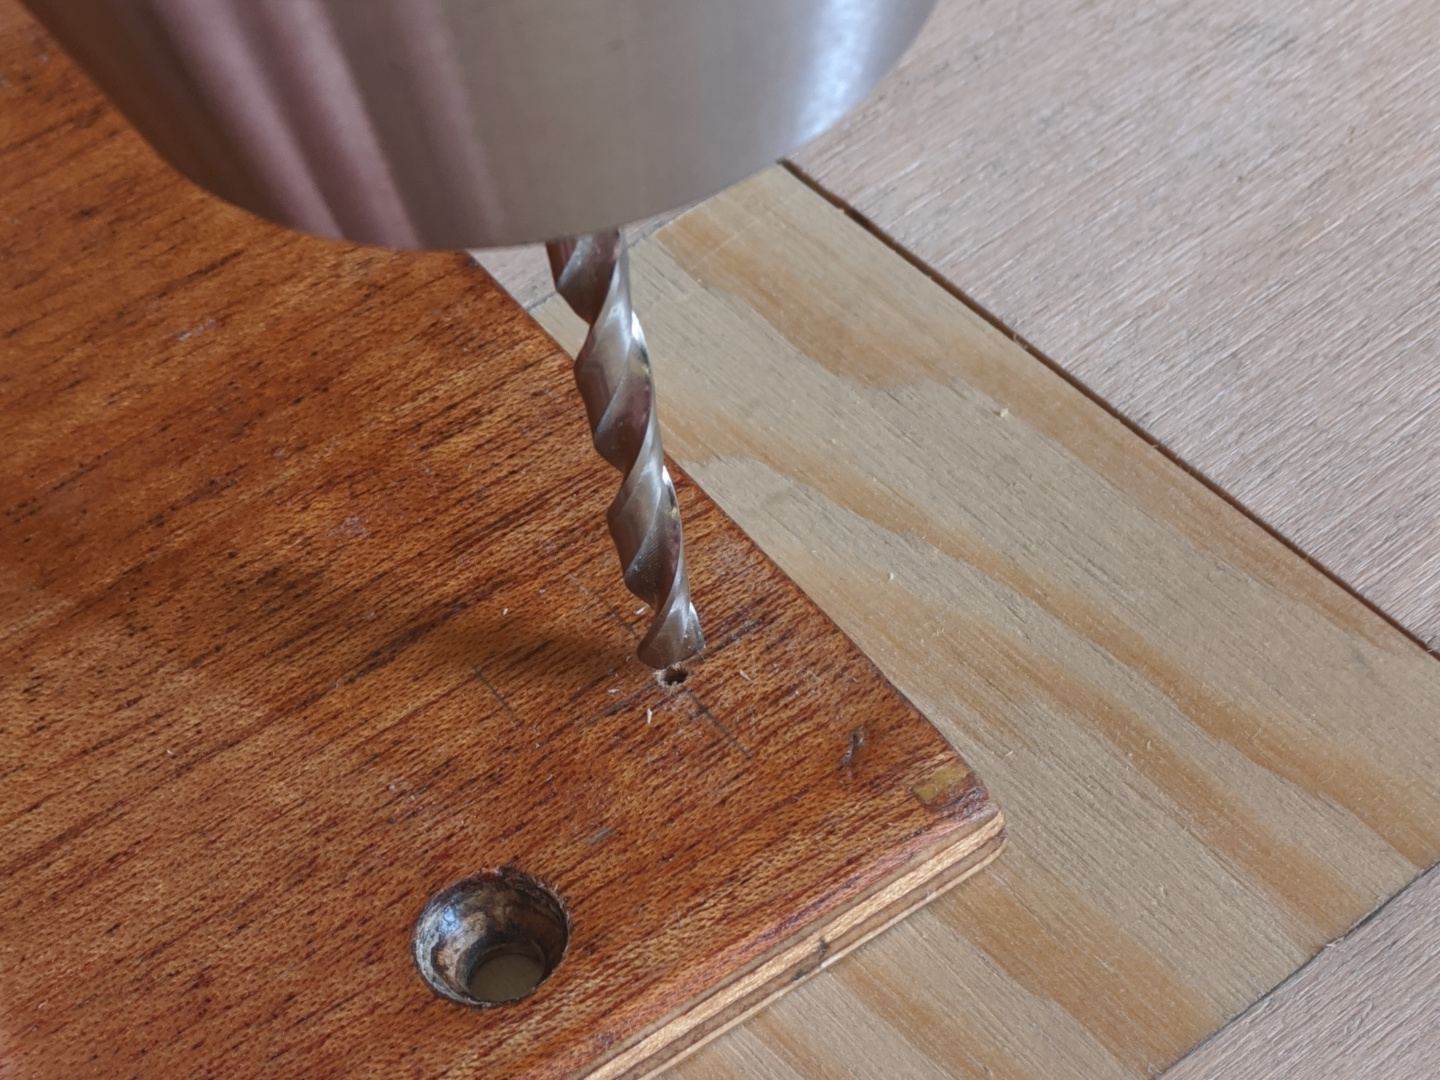
We've marked the holes from the top, but drill the inset holes for the nuts from the bottom. Here I'm drilling a pilot hole from the top using a 2mm bit, so that I can then drill the nut holes from the bottom.

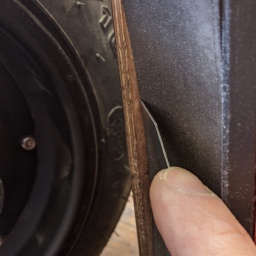
Step 3: Cutting off a Strip of the Sensor
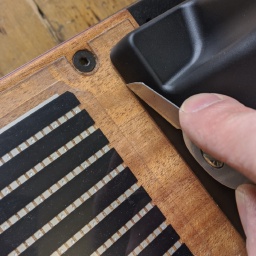
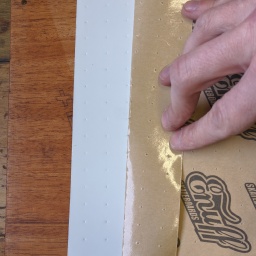
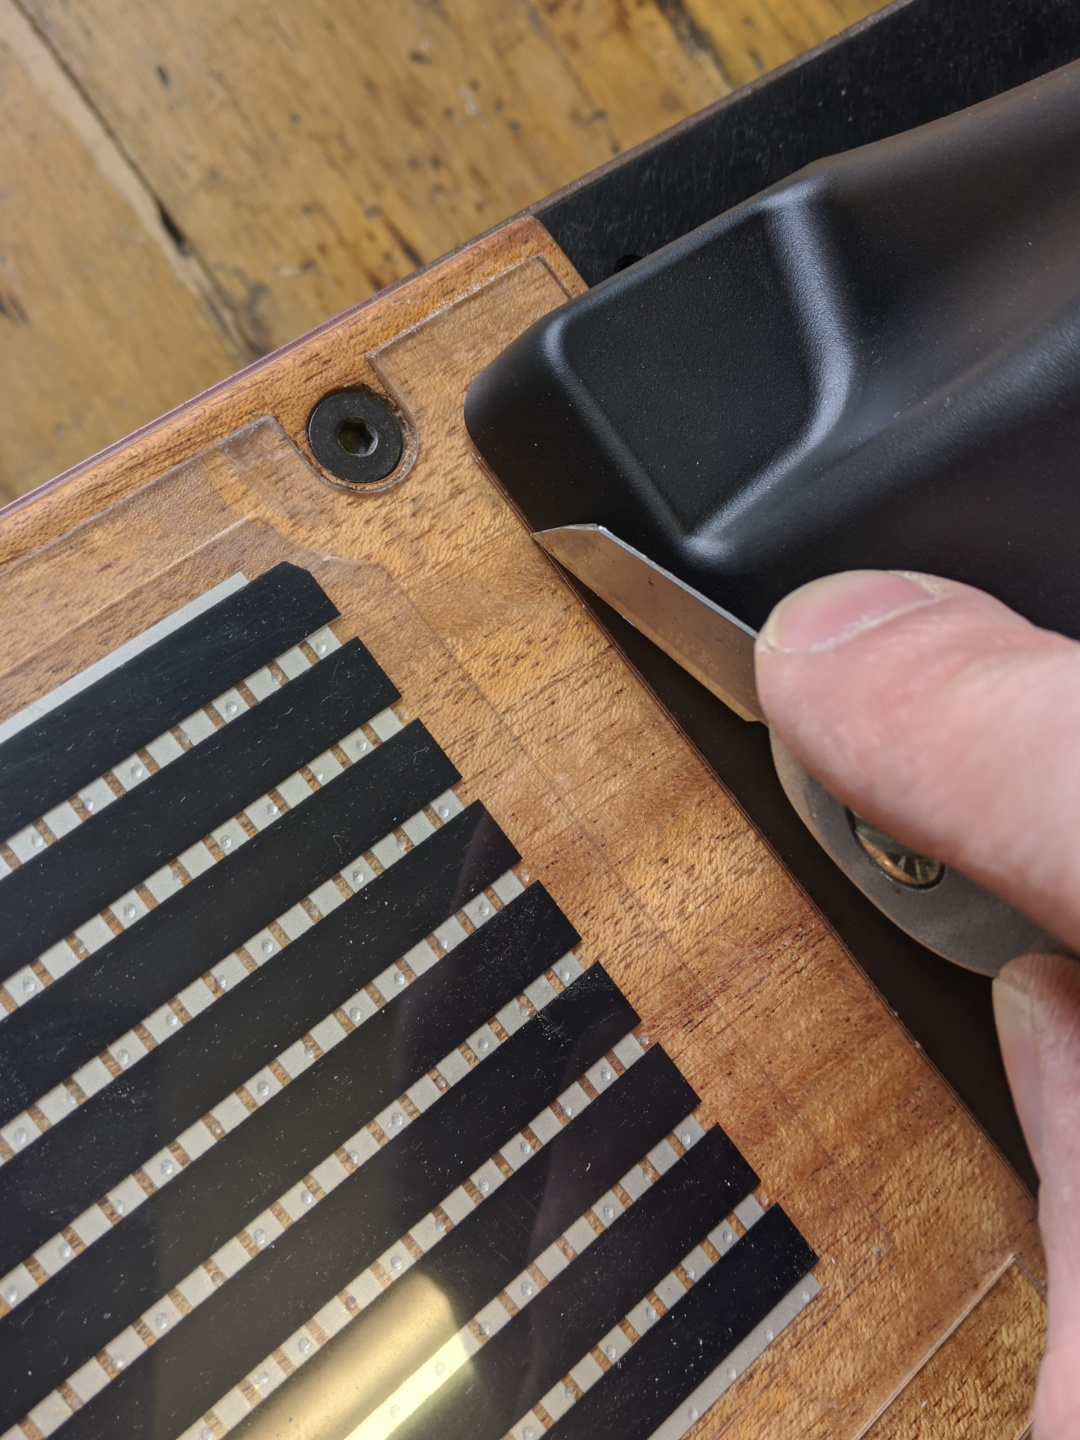
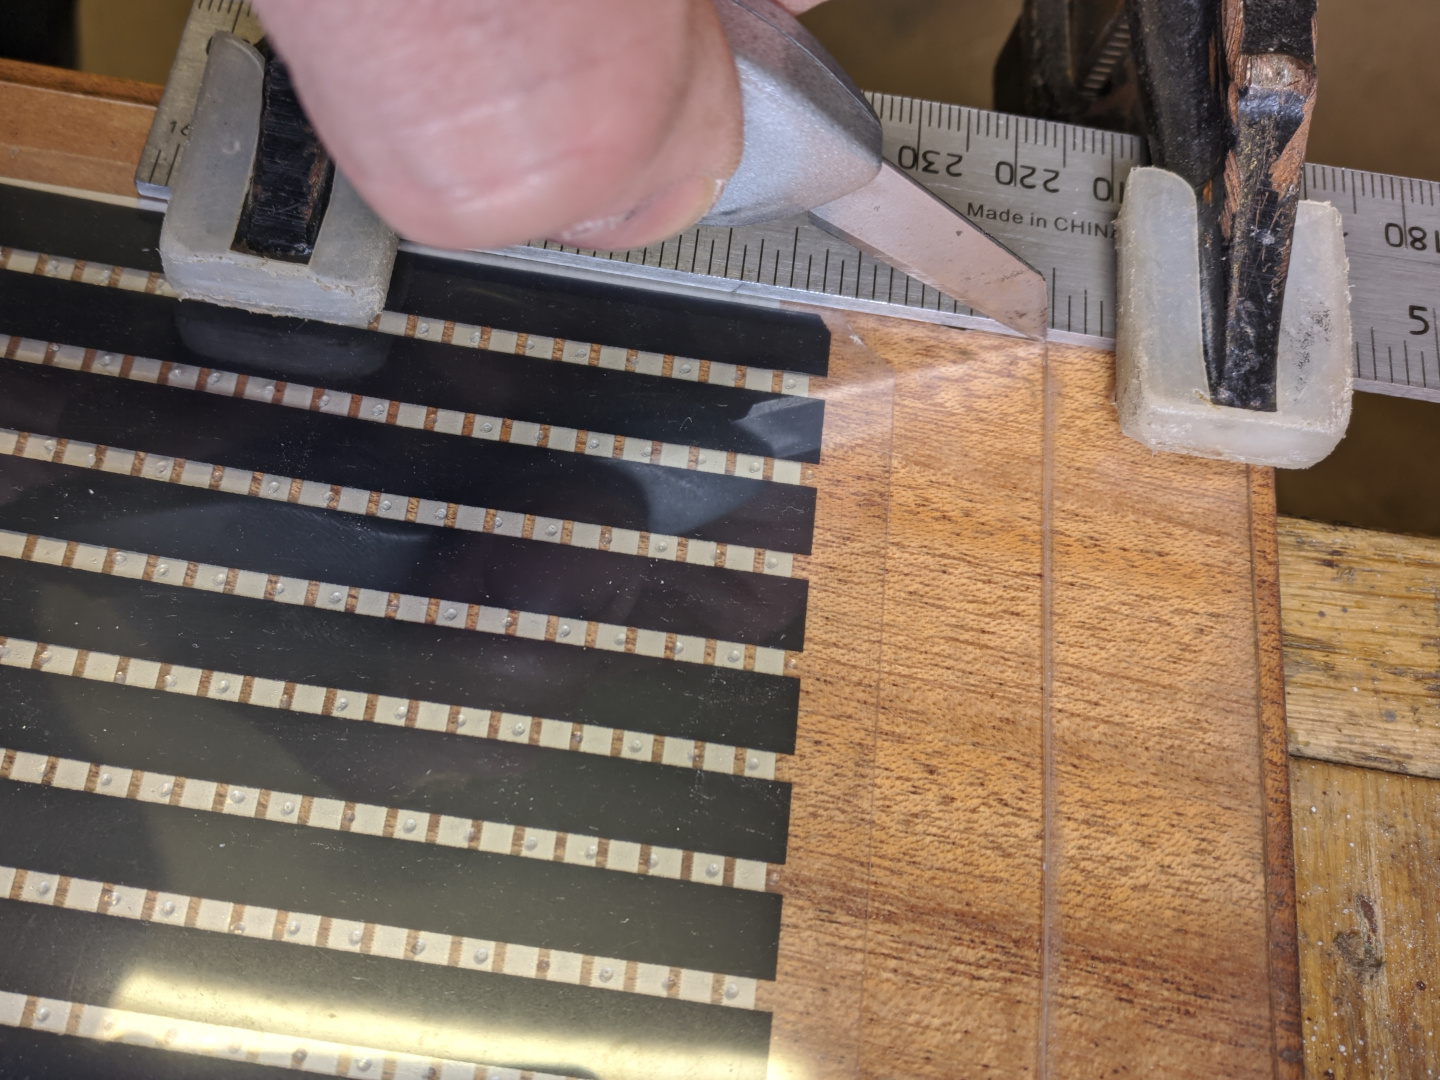
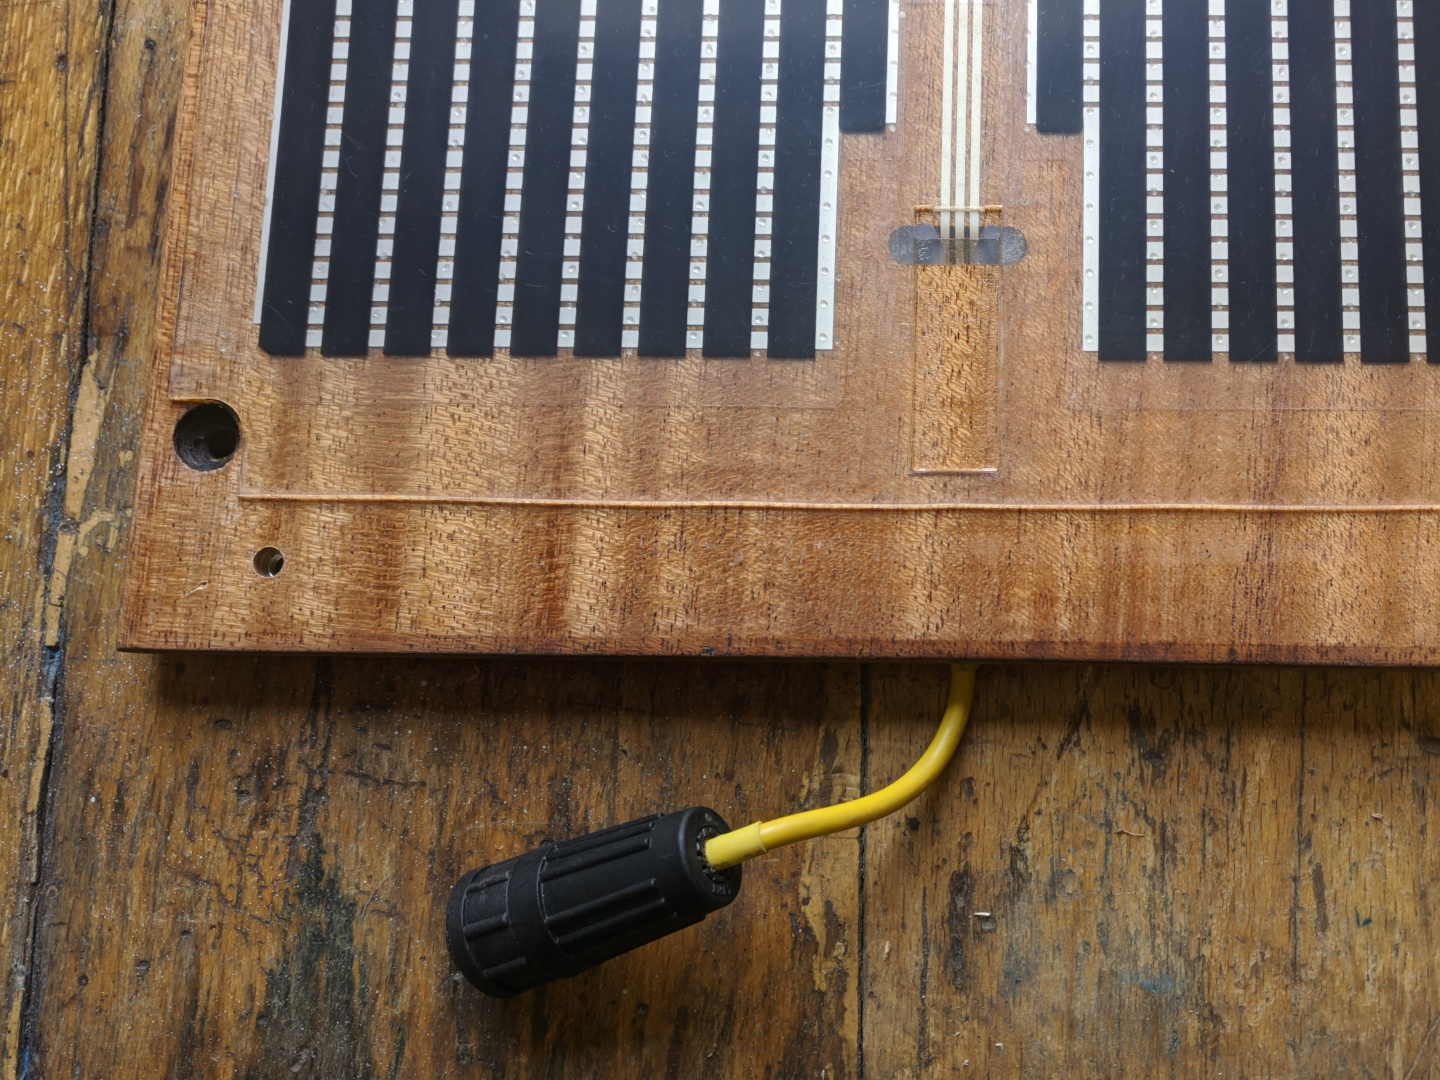
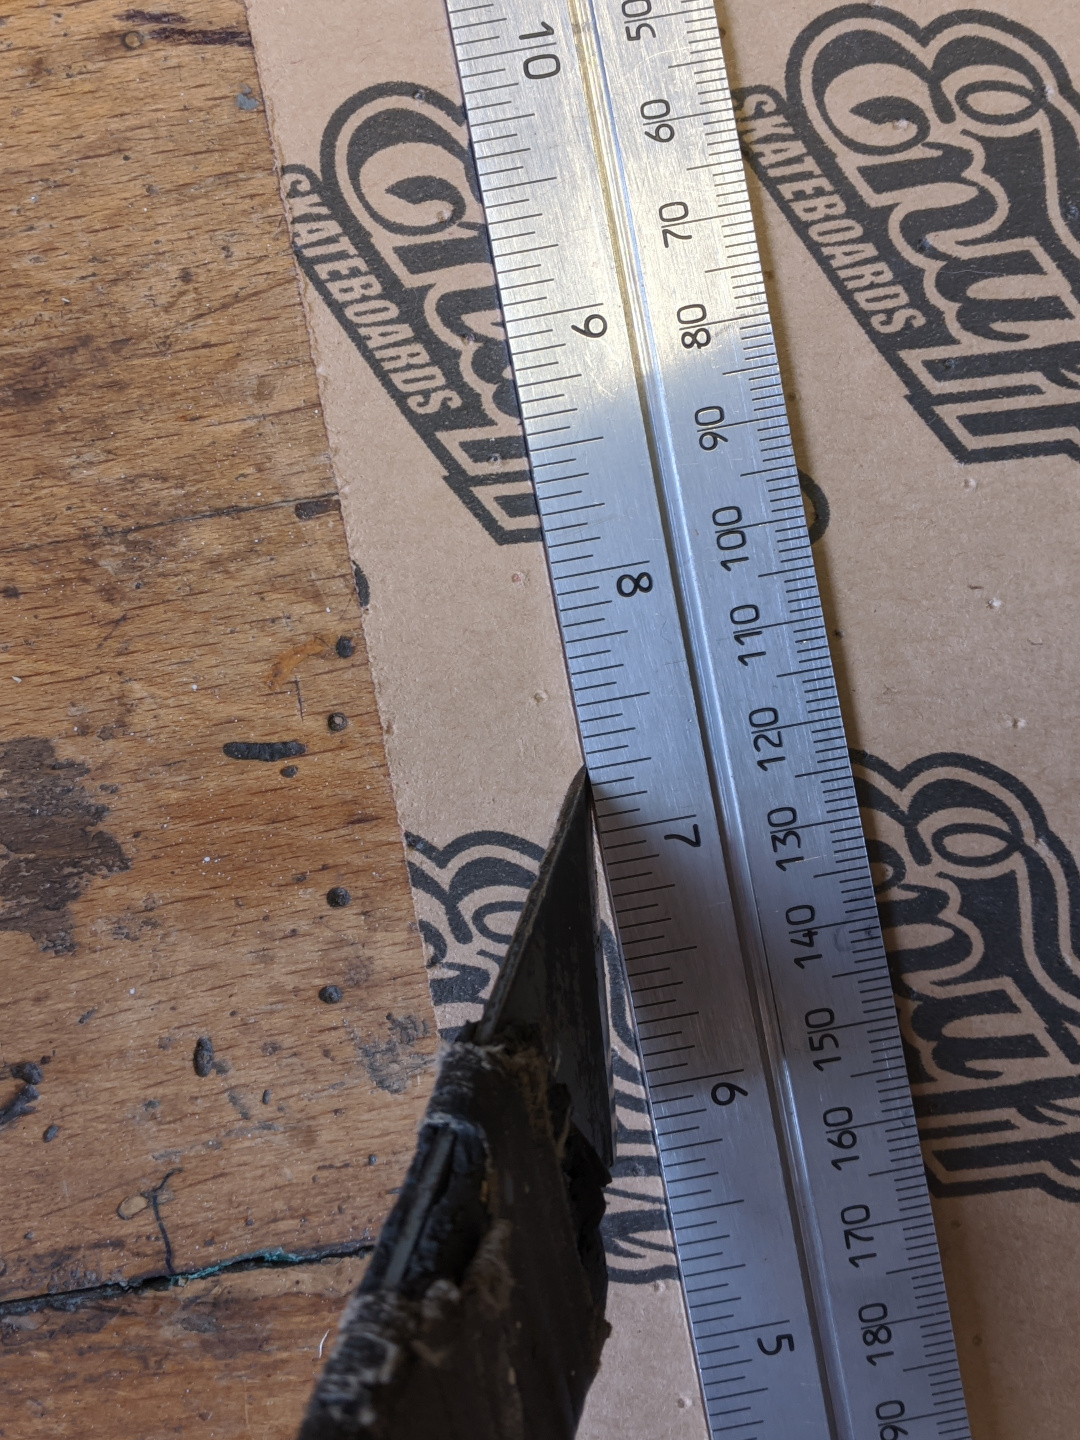
I wanted the fender to sit on the bare pads, with the grips (and the sensor) just lining up with its edge. I put the fender on and mark a line with a knife along the edge of the fender, then use a steel ruler and do multiple cuts until cutting through the whole plastic. Start with light pressure and gradually increase, multiple lighter cuts are better than a single strong one.
On the sides the cut comes very close to the footpad screw holes. I cut the strip perpendicular there to line up with the holes and was left with a single strip of the sensor plastic, for the case I ever wanted to put it back. But that’s really unnecessary, you can cut the strip straight and then cut off the small pieces separately.
You’ll be left with some glue residue on the pad, clean it off with a solvent.

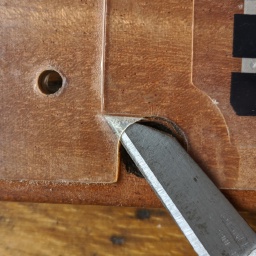

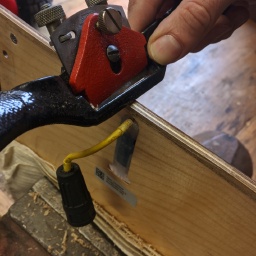
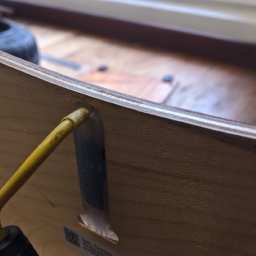
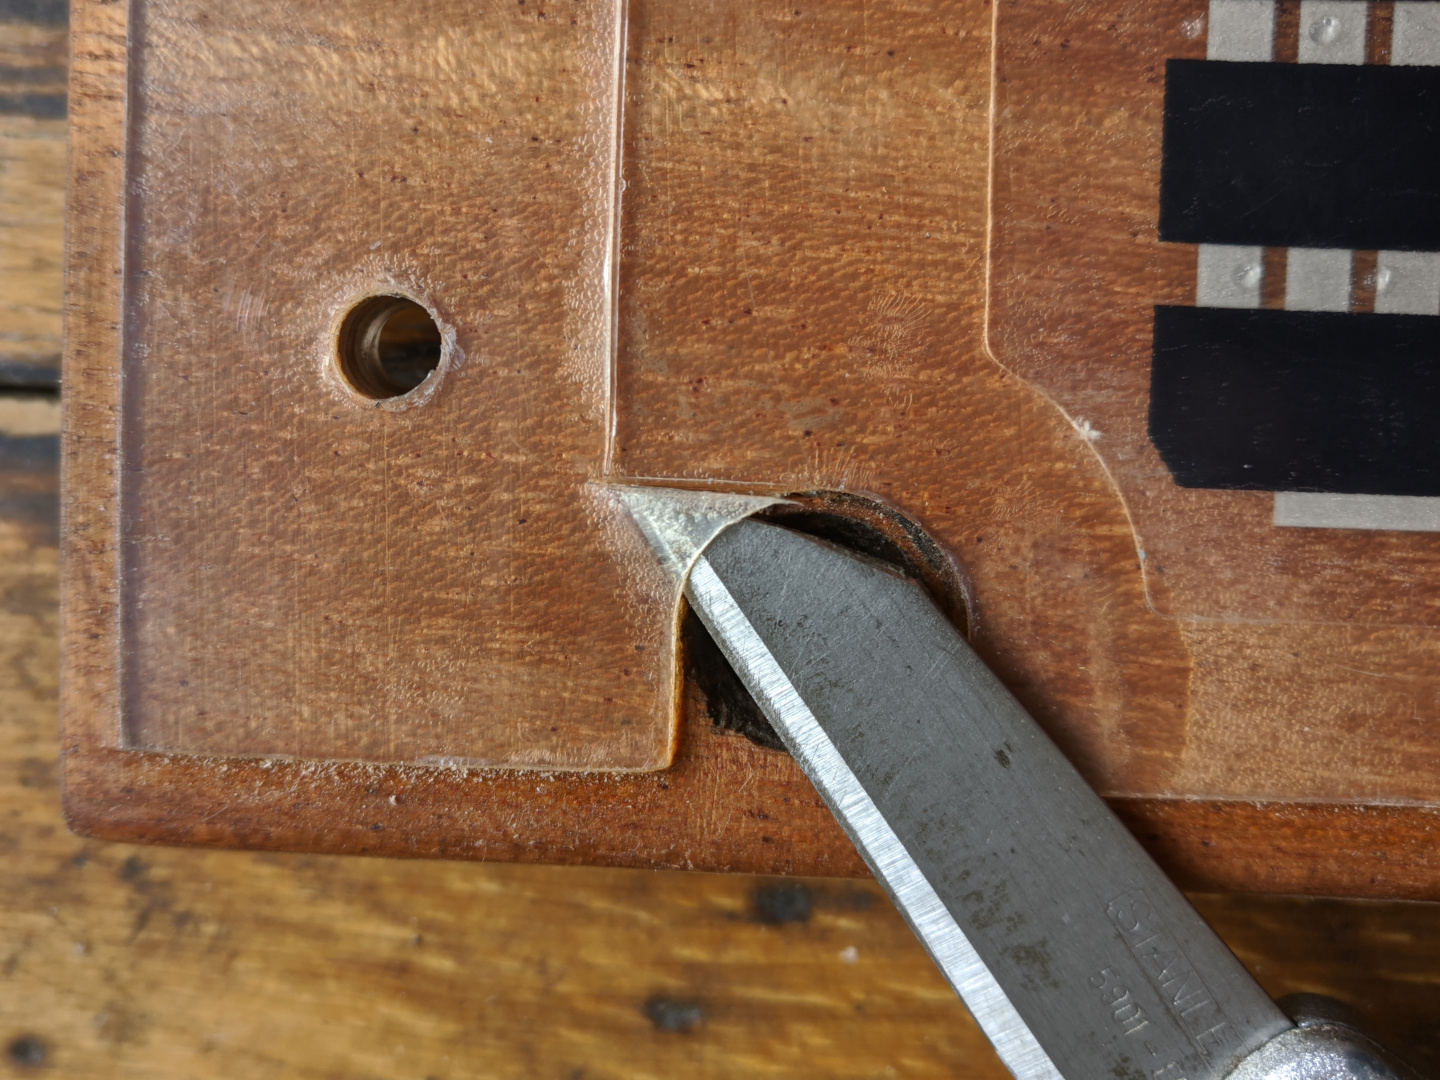
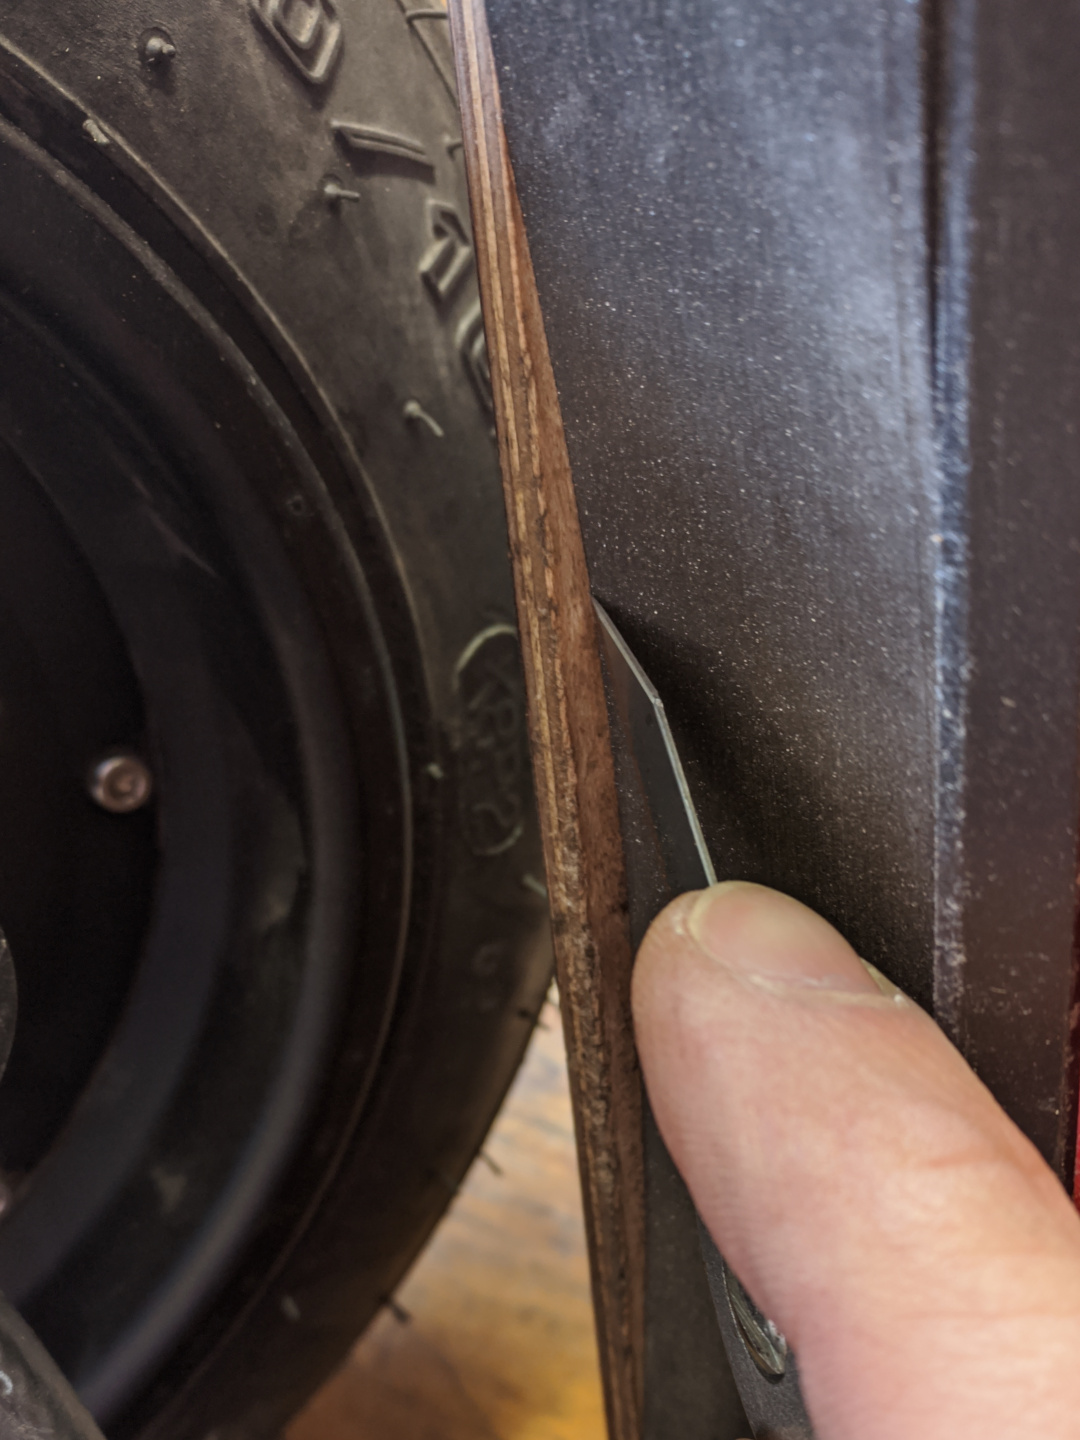
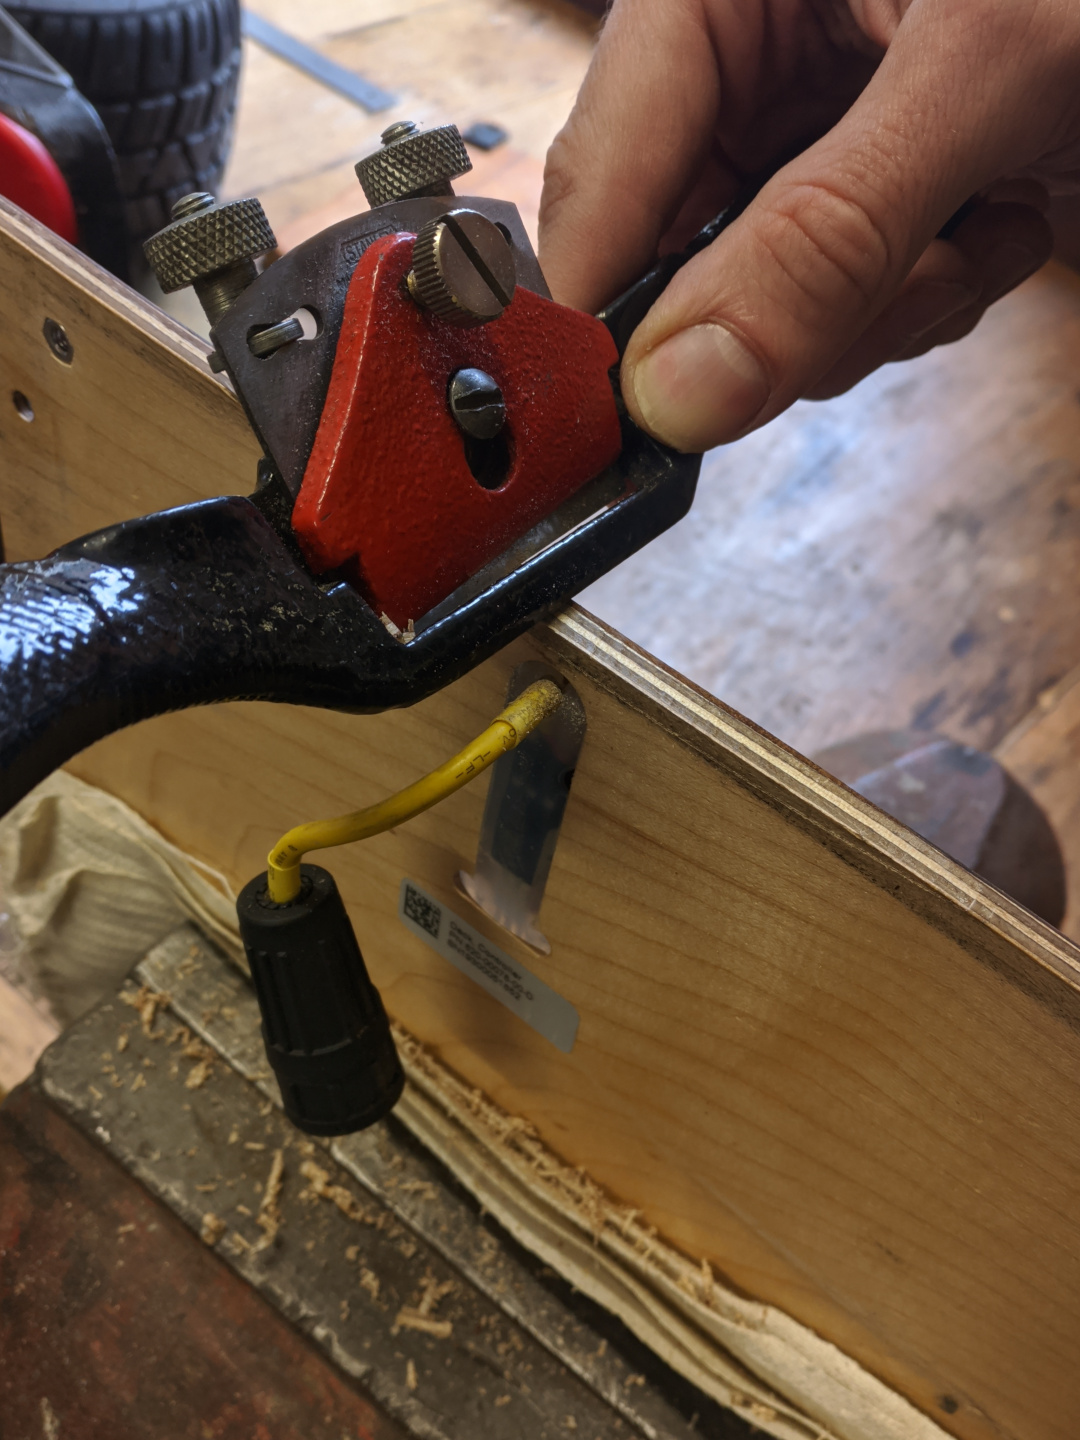
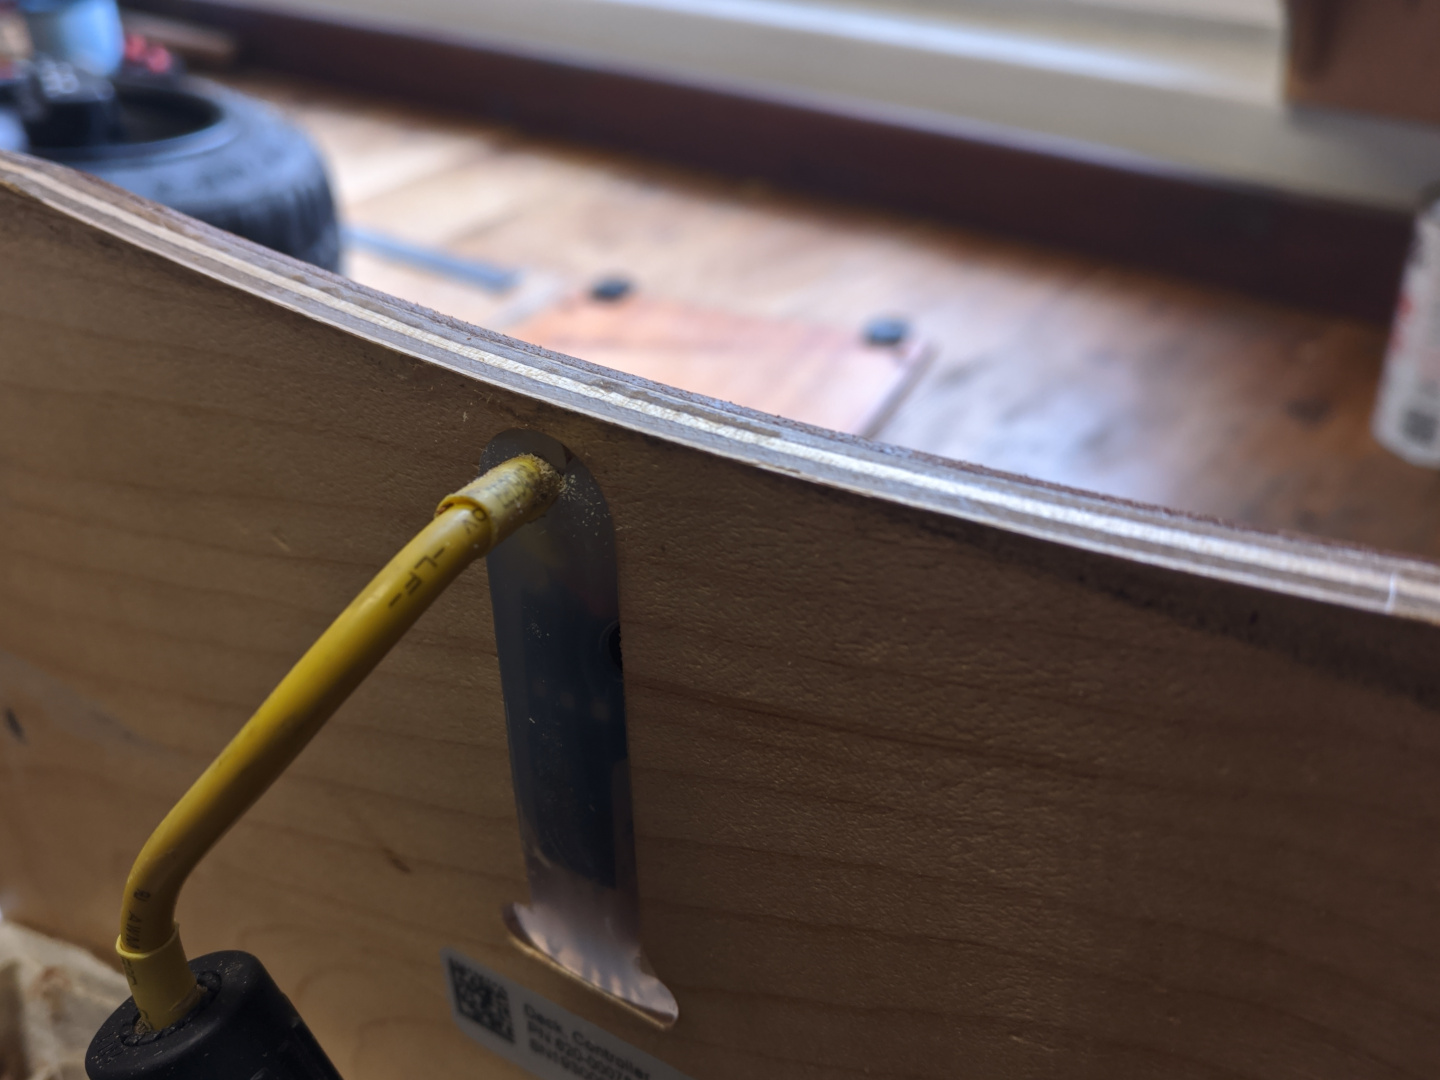
Step 4: Grinding off Some of the Front Footpad
This step is optional, you may have already done it or decide not to do it. Since the motor axle is shifted forward, there’s less clearance between the tire and the front footpad. Jeff suggests to grind it out a bit in the Growler conversion video. I’ve 3D printed this excellent connector shield to replace the stock XR one. It curves around the tire to have more space there and I’ve used it to mark and cut out the footpad as well.
Then I’ve used a spokeshave to make the cut-out, but you can also use a rasp or a power grinder. You could also make periodic small cuts downward along the length of the curve you want to make and then pop the pieces off with a chisel or a knife.
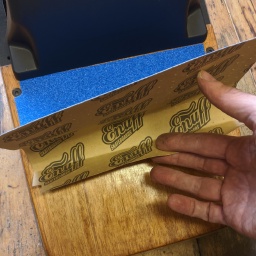
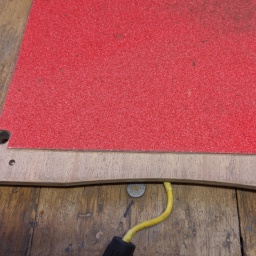
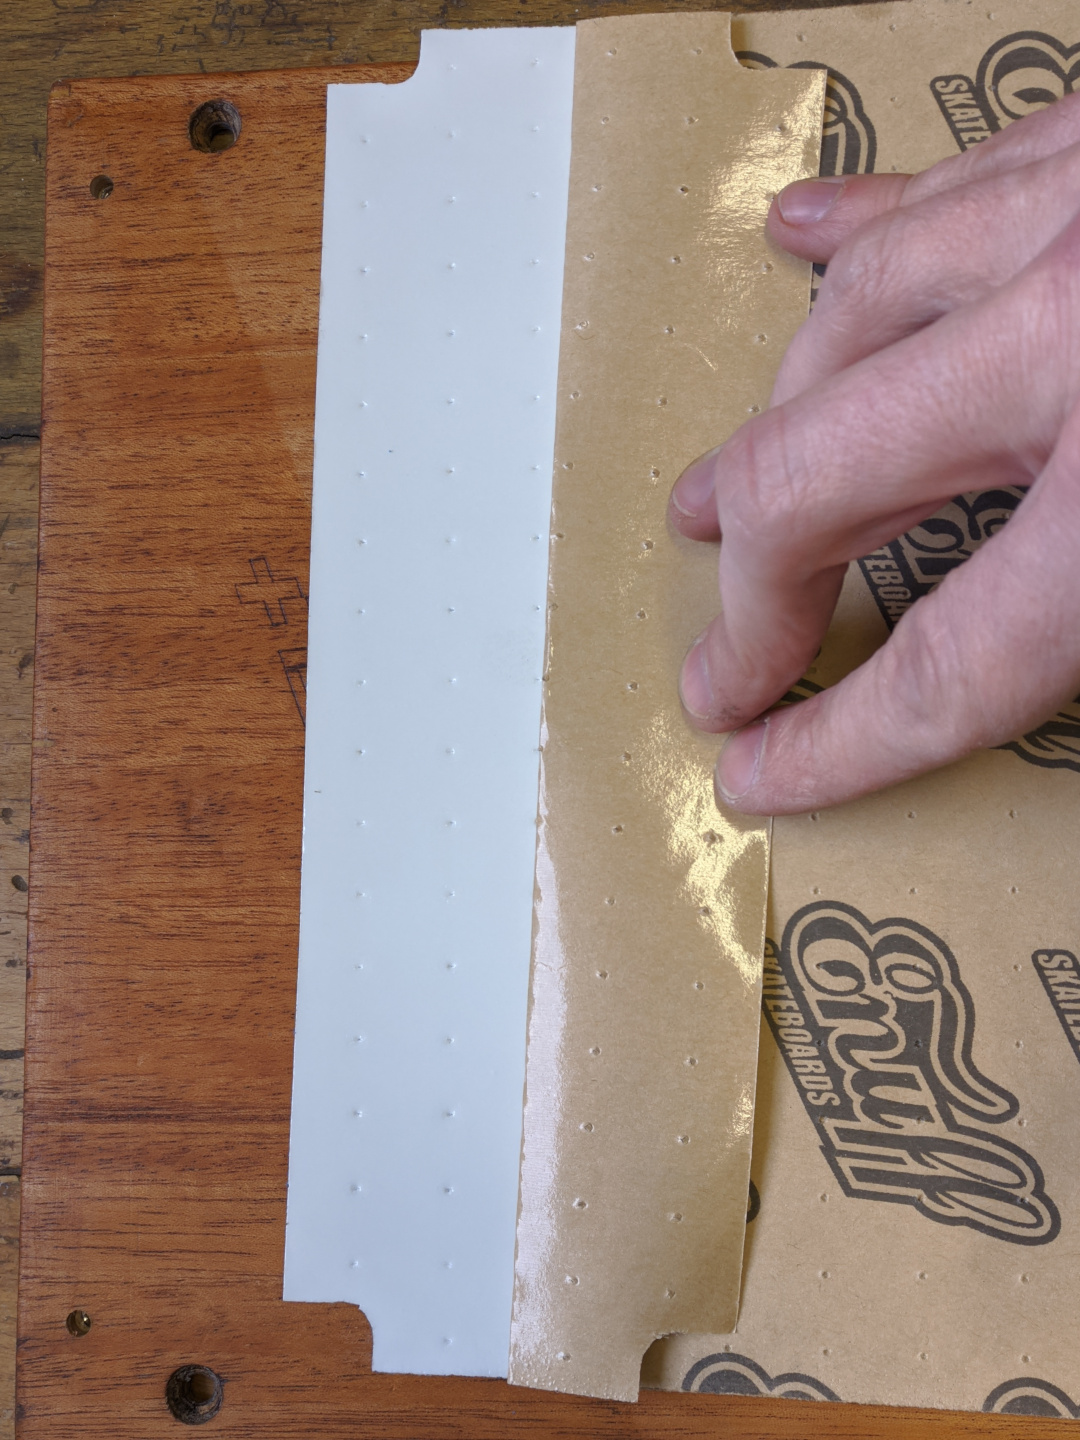
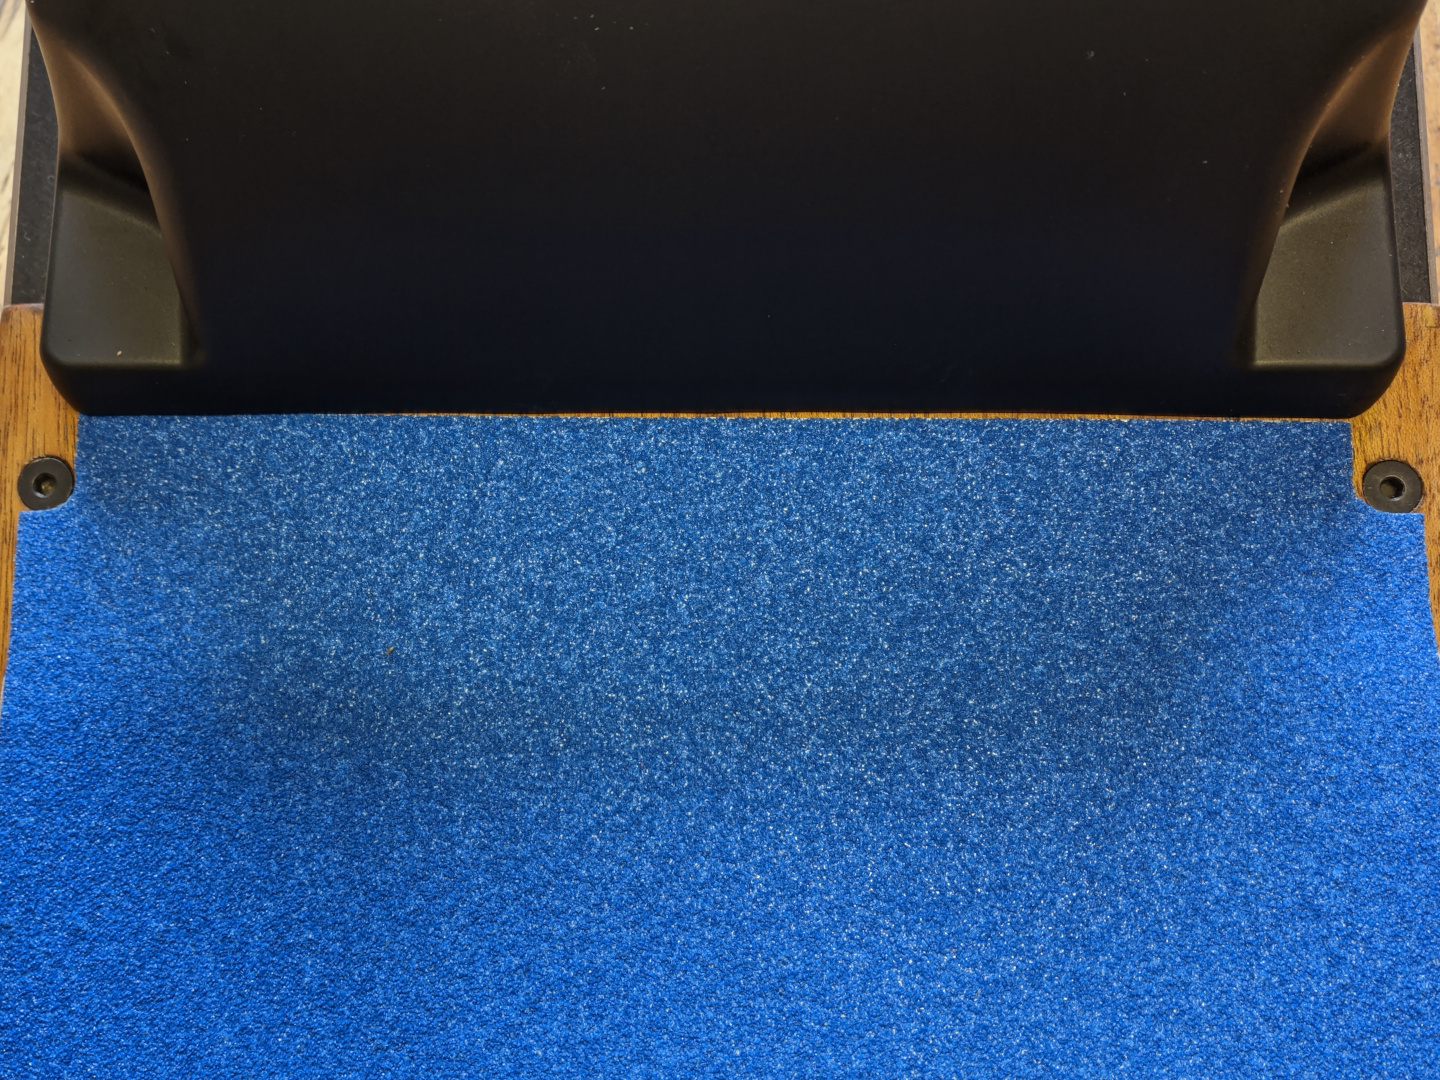
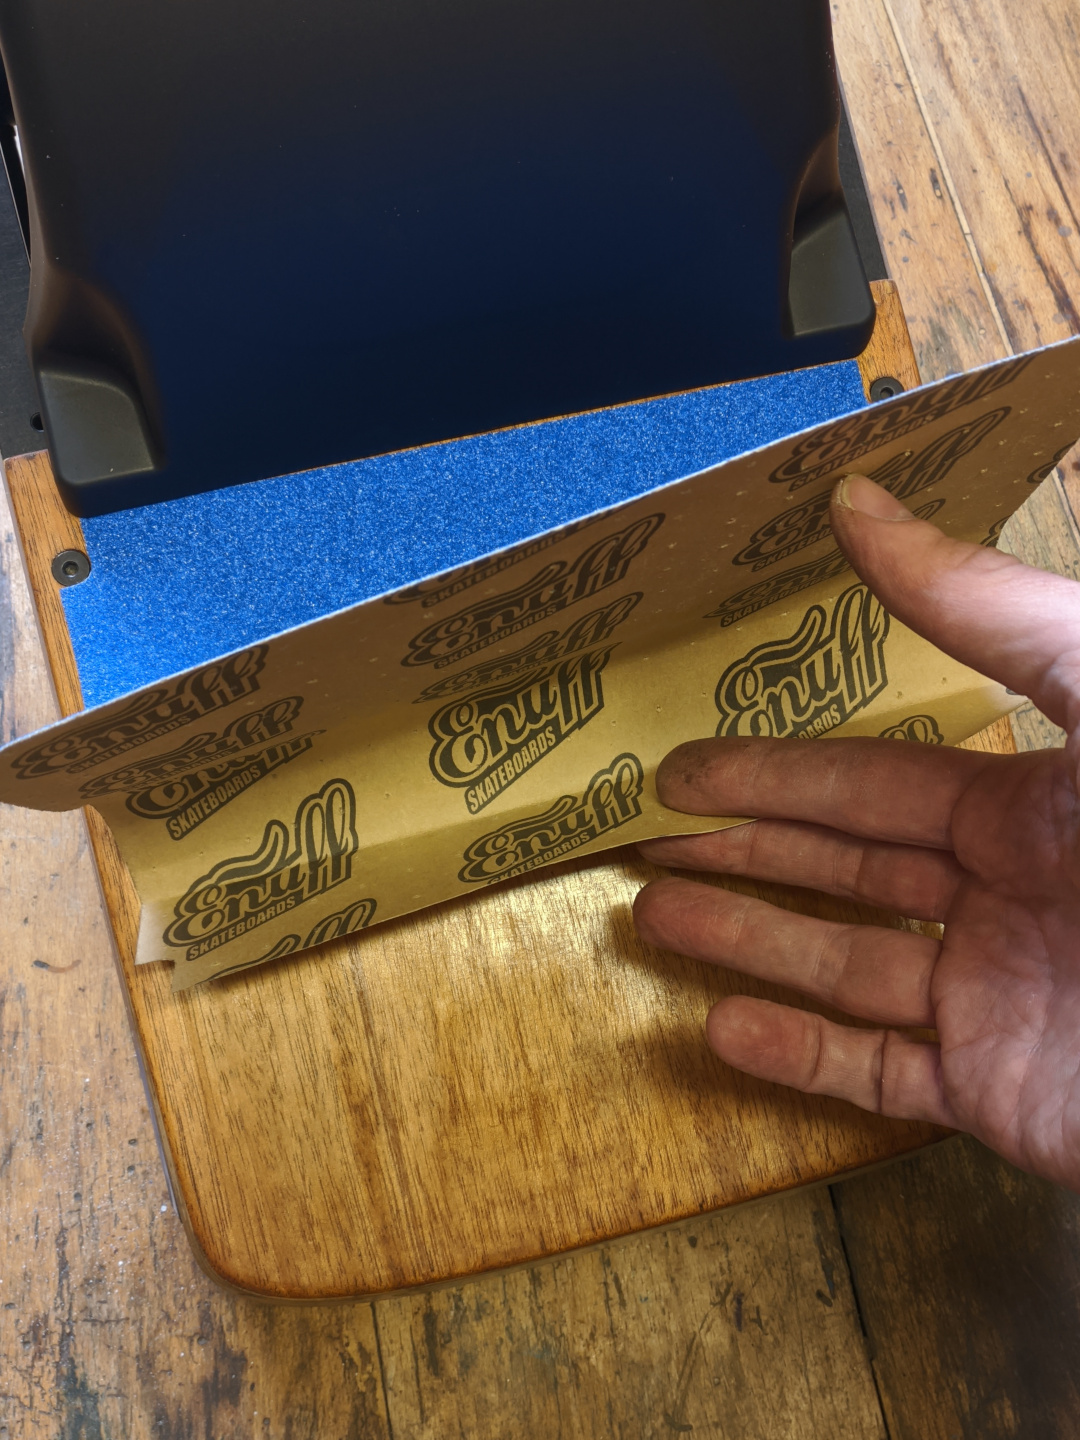
Step 5: Sticking on the Grip Tape
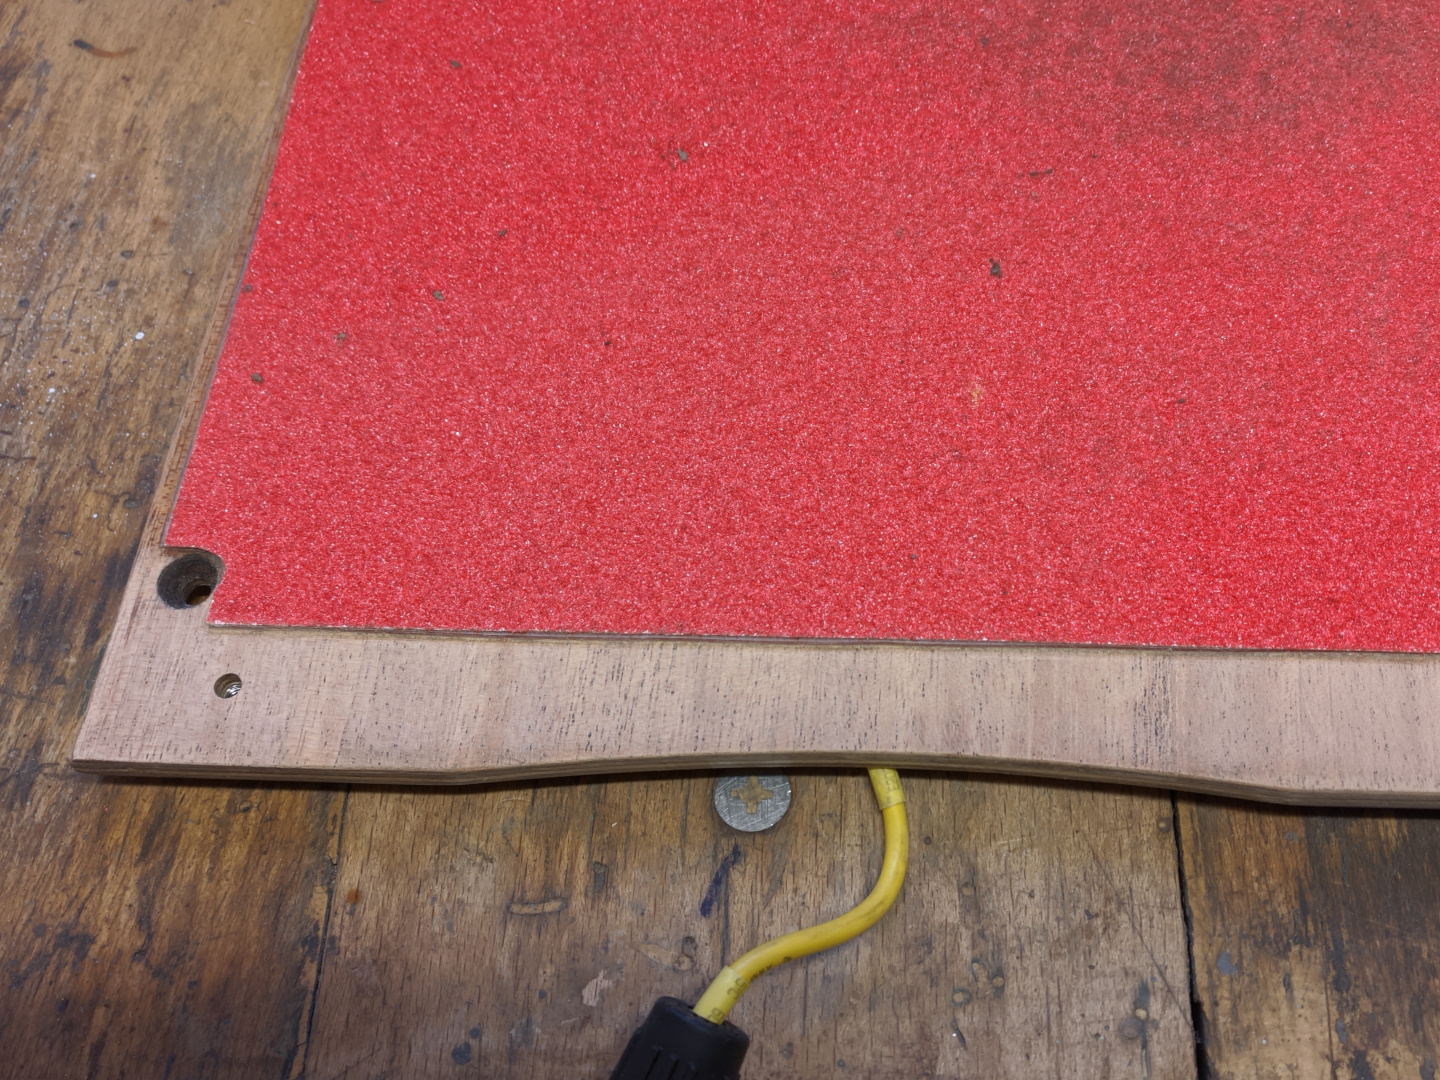
Finally, you can stick on some fancy new grip tape. Measure how much you need to cut off to line up with the fender. Best probably to measure from the edges of the nearby hole cutouts, then cut with your beater knife using a straight edge.
I’ve also sanded and re-finished the edges of the footpads where needed (not pictured). I’ve used Osmo oil that I had on hand, you can just as well use a generic polyurethane wood finish.
Again, when screwing down the tabs for the final time, use loctite! Being held only by a single screw, the tabs get loose easily.

Conclusion
I’ve actually installed the fender in the spring of last year and I’ve been riding the setup for the whole season. It worked well enough, the fender held on, I never had any water coming onto the footpads from under the fender or other functional issues with the fender.
But, the tabs rust easily and the single hole attachment is not good at all. They kept swiveling no matter how I tightened them and, not using any loctite at first, I’ve lost one of the tabs roughly two days after I put them on. For that matter you could drill a second hole or make your own tabs with two holes to attach, it’s just more work. The original tabs have small sort of nibs on them which may seem to help with alignment, but in my opinion they are useless. The tabs could just be flat and also symmetrical (with how they’re done each one goes only into its own corner). The way it is, a replacement set costs $25 and after replacing one, you end up with three others that only fit a single corner each. (I didn’t buy the set, I made a replacement tab myself, with no nibs on it)
Another disadvantage is using the stock rear footpad, though you may be able to attach the fender to 3rd party footpads too. And then, when the time comes to replace the footpads, you need to go through the process again to attach to the new footpad. That’s far from ideal.