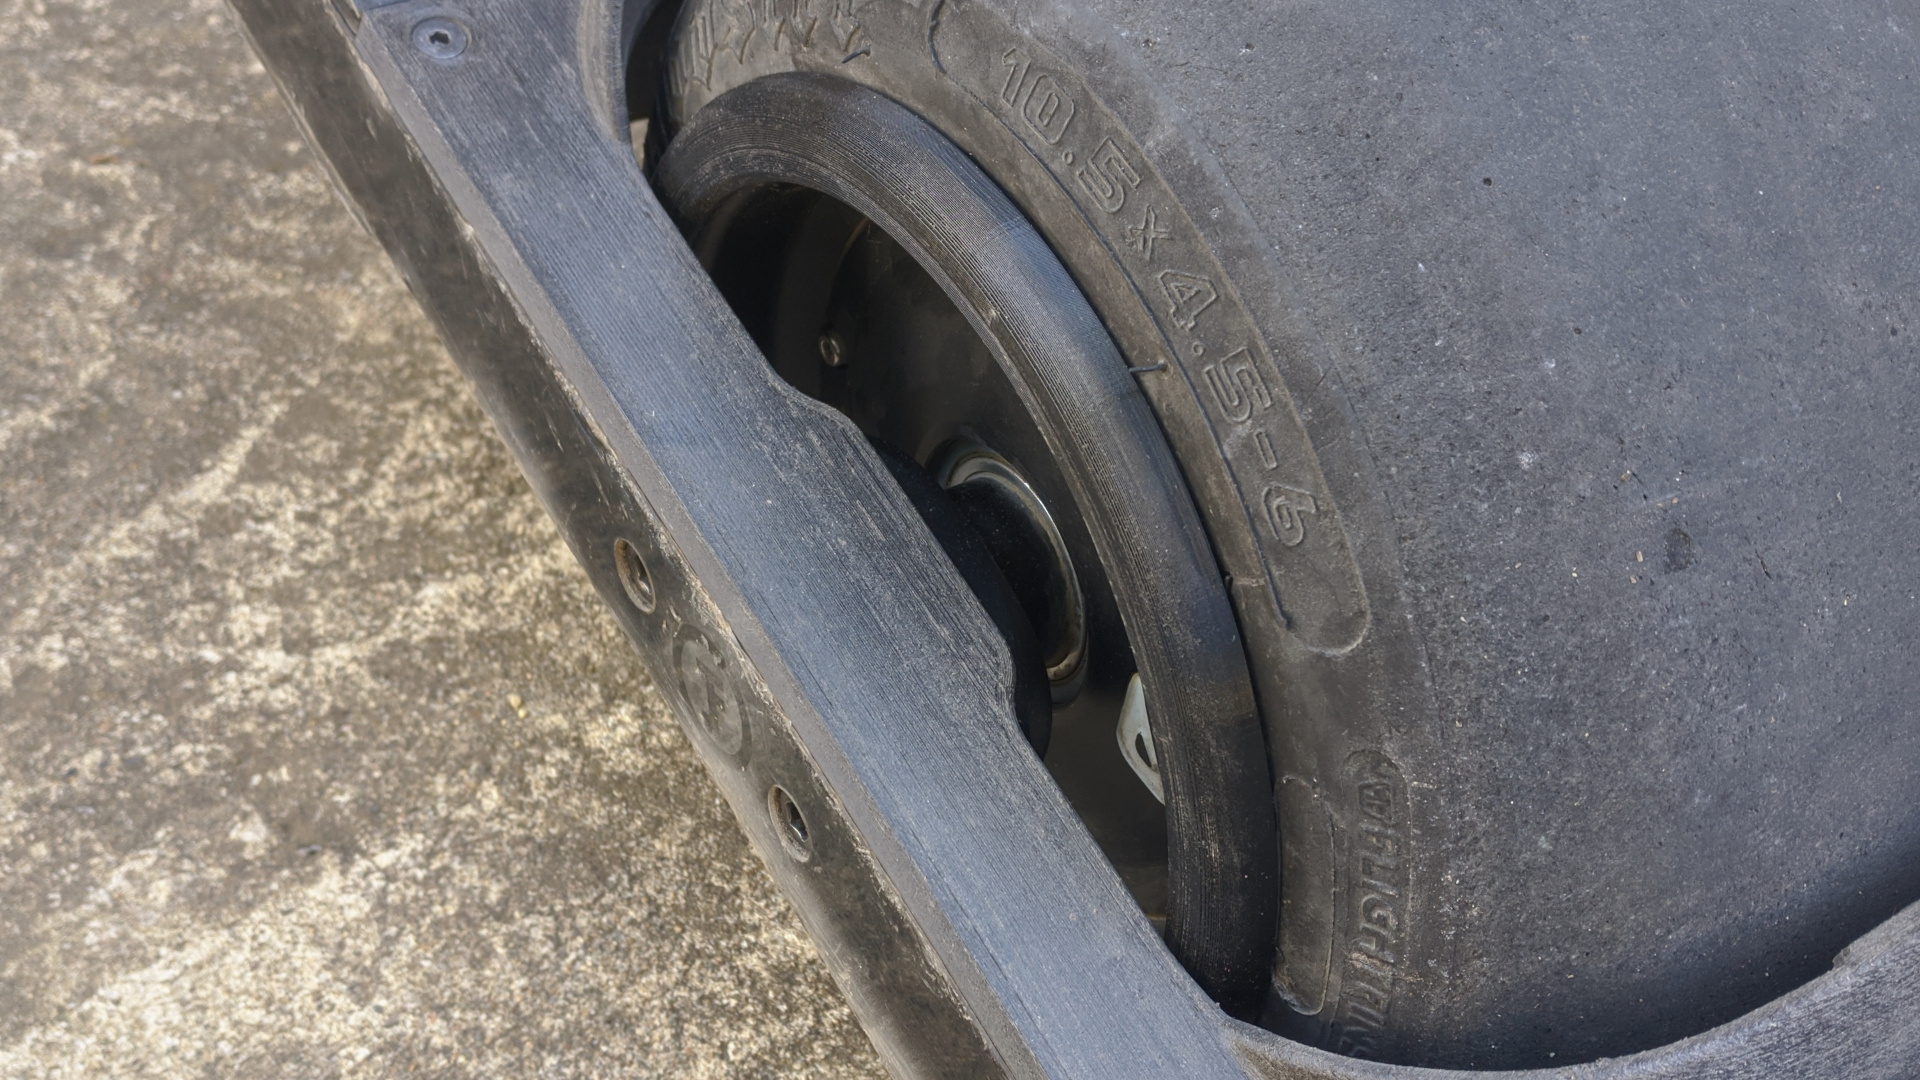
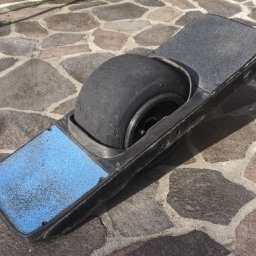
It won’t save your life, but it might save your rims.
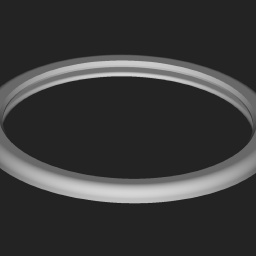
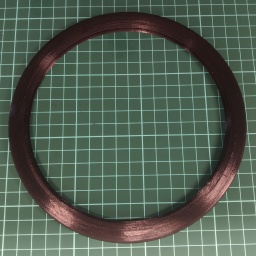
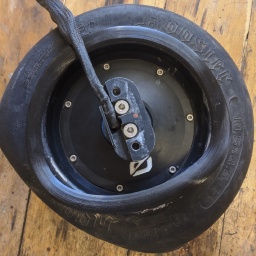
A 3D-printed version of a Onewheel hub rim guard, designed for a good snug fit and with walls thick enough to take some abuse. Printed in 98A TPU.
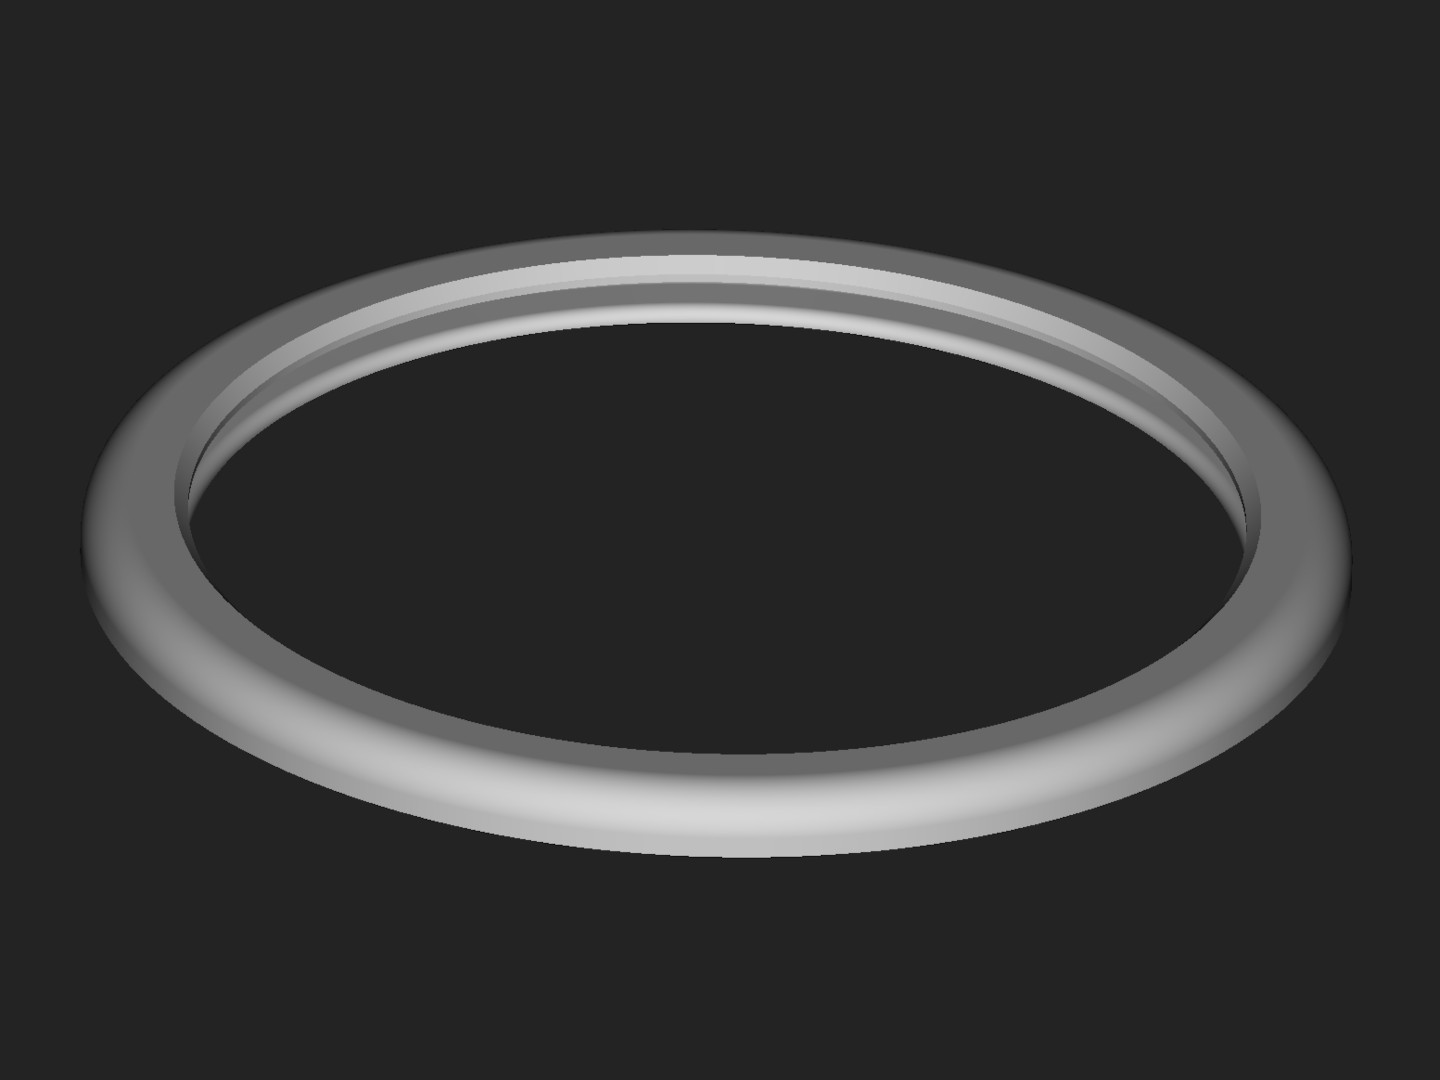
Printing the Model
Get the model here.
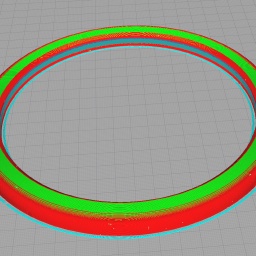
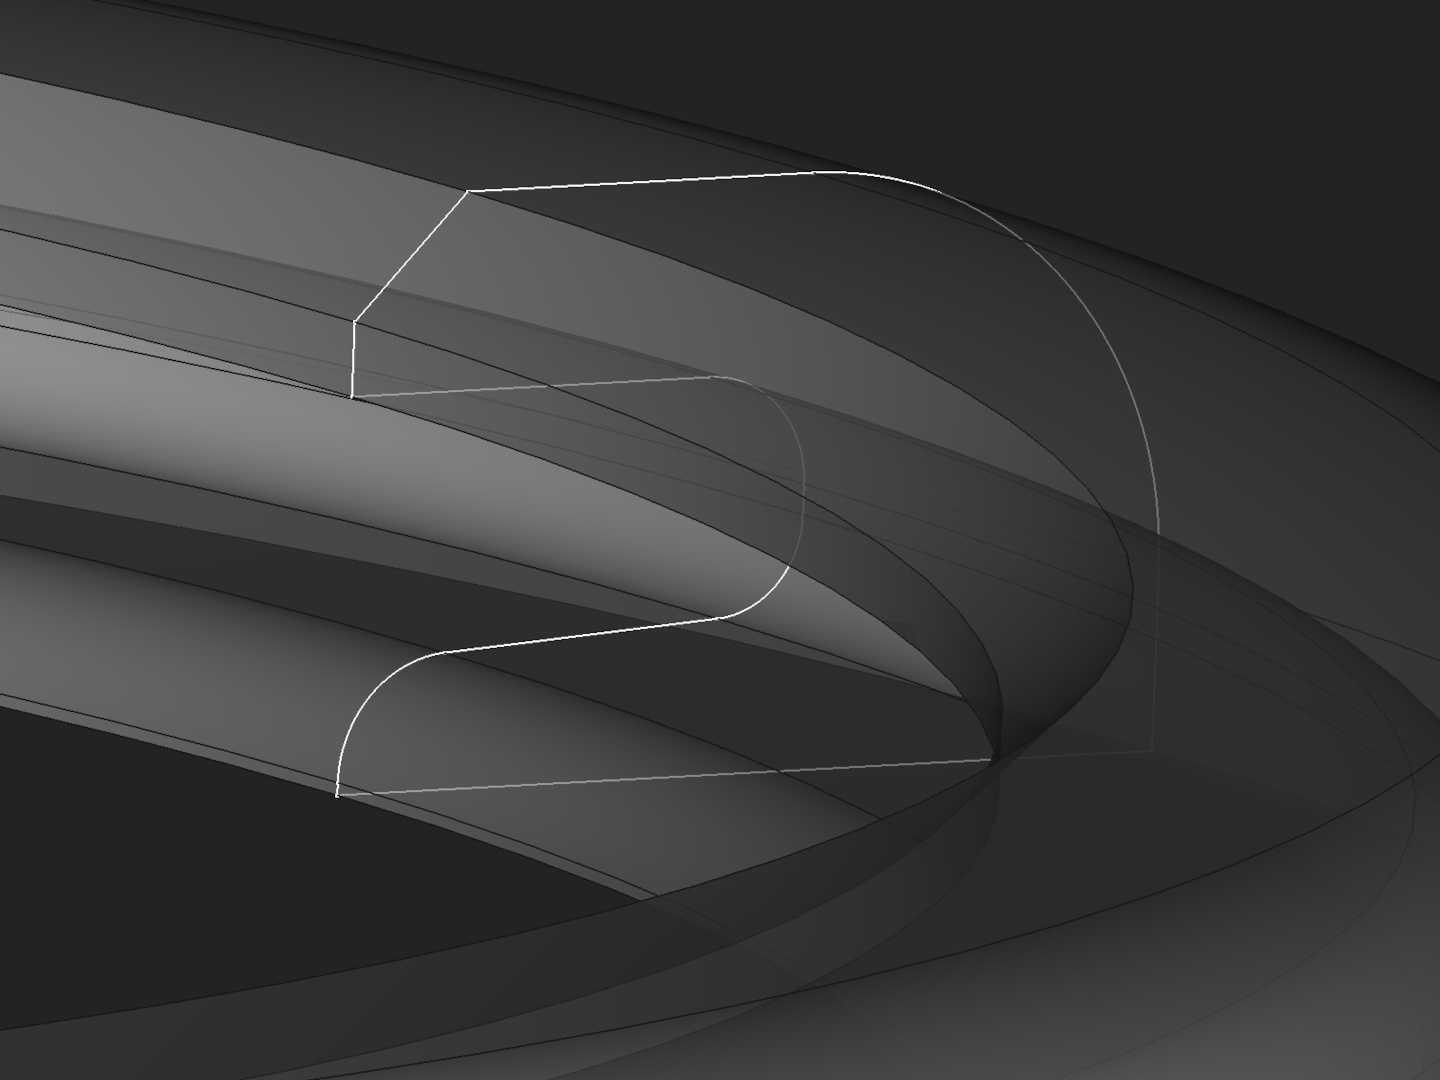
I slice my models with Cura. For this model, I set “Walls > Wall Line Count” to 10, which makes the whole top layer consist of only concentric wall lines for a nice clean look. I also set “Walls > Z Seam Alignment” to “Random”, so that the Z seam is scattered around the perimeter for each layer and doesn’t form a line going across the Saver.
I set “Top/Bottom > Bottom Layers” to 40, which means that there is no infill throughout the model, the inner layers (with a wall thickness of 10 lines) consist of the interleaving “Lines” pattern, improving rigidity a bit.
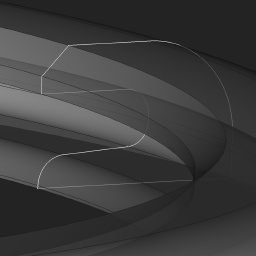
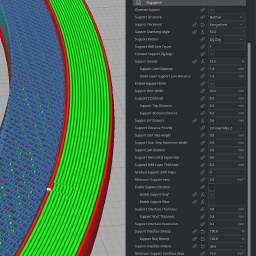
The most important thing when printing this model, though, is the support configuration. You need a good support which you can also remove from the groove of the Rim Saver once it’s printed.
Test and tune your support settings on a test model first, for me the “Support Z Distance” of 0.2mm works perfectly (for both top and bottom of the support).
Then, an important value is “Support X/Y Distance”, I use 0.6mm, which works well and is still quite easy to remove.
For the support patterns I use “Support Pattern” “Zig Zag” with “Support Density” of 25%, and a support interface on top with “Support Interface Pattern” “Grid” and “Support Interface Density” 100%. You can use whatever you find works well, I feel this pattern gives a reasonable support and the roof patern supports the concentric circles well.
After you set up the supports, check them carefully in the print preview to make sure the print lines will work.
I currently use and highly recommend the Fillamentum Flexfill TPU 98A filament. I’ve used other brands and had various issues (prints lifting off the bed due to high thermal instability, quality issues with receiving wet filament), this filament prints very nicely and is a bit stiffer than the other 98A filaments I’ve tried, and for my application, the stiffer the better. I print it at 230°C.
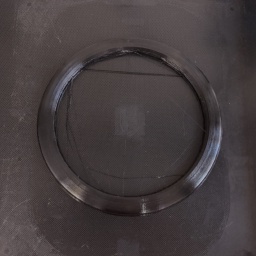
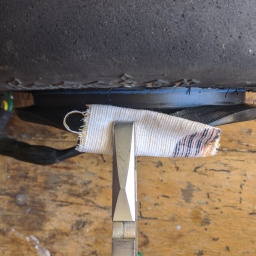
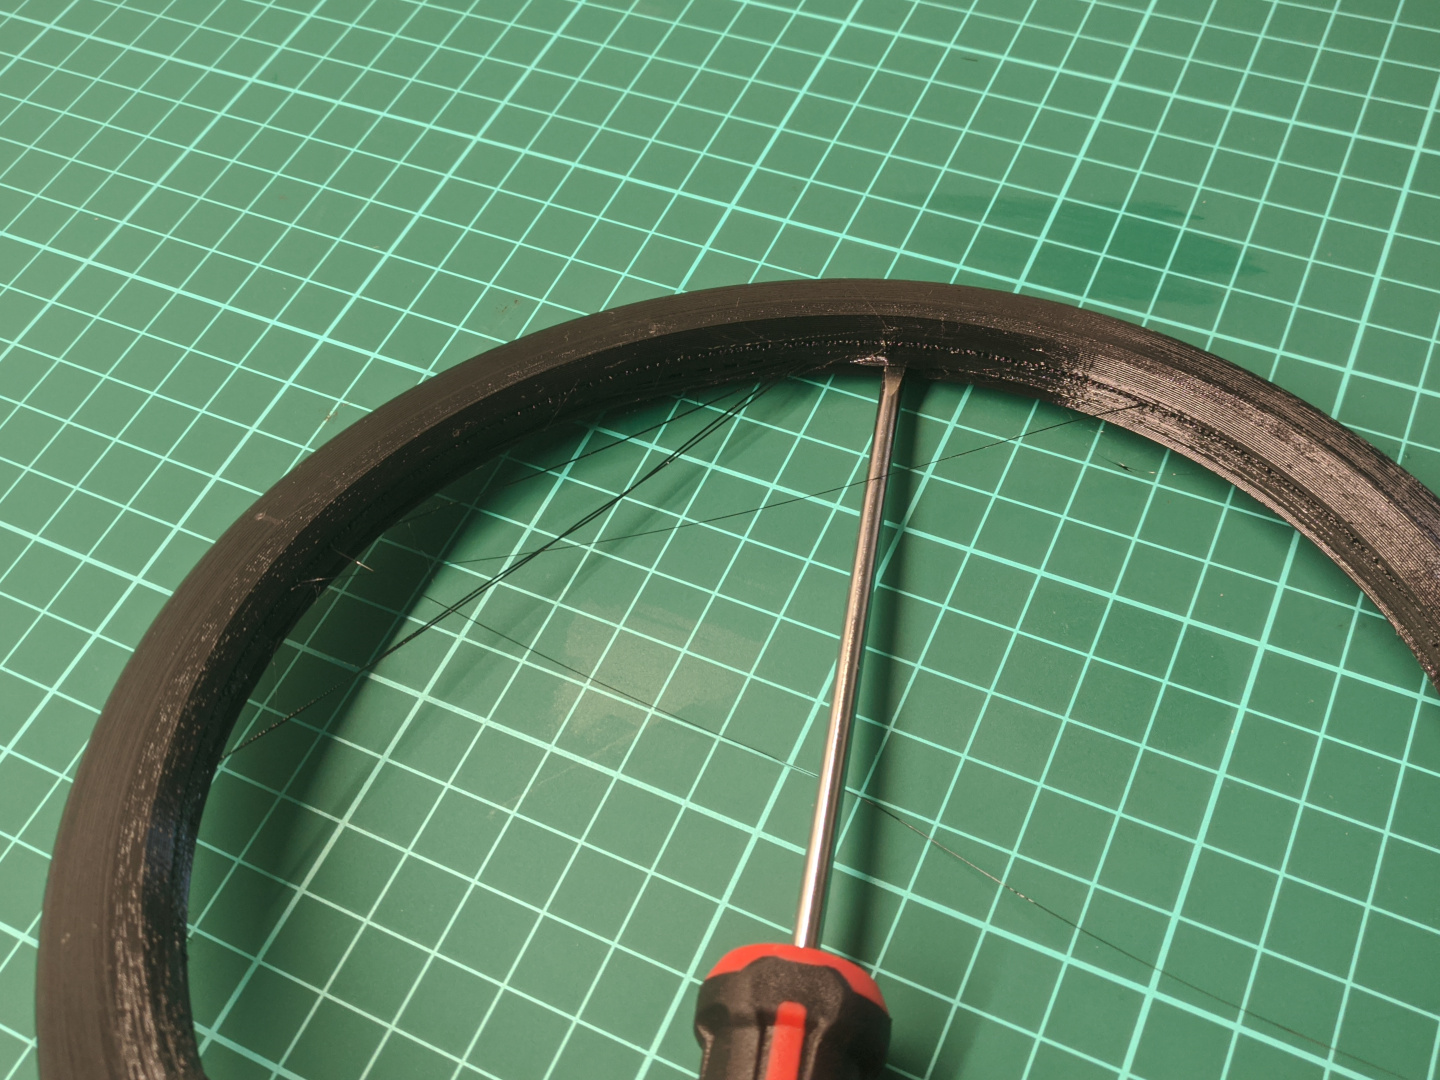
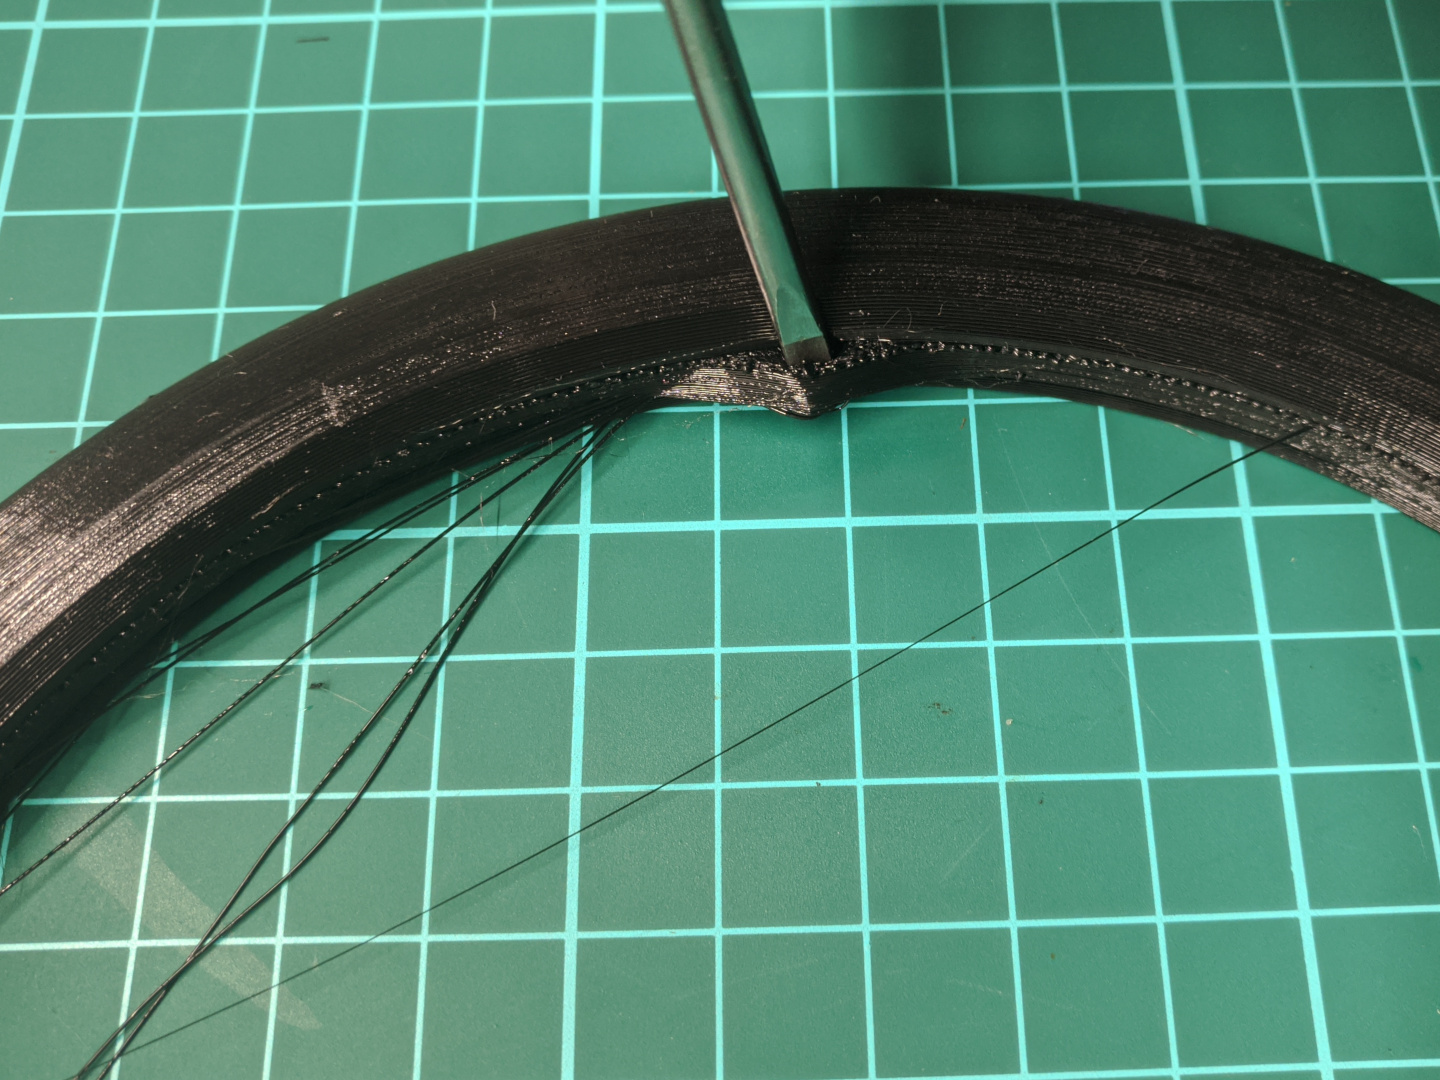
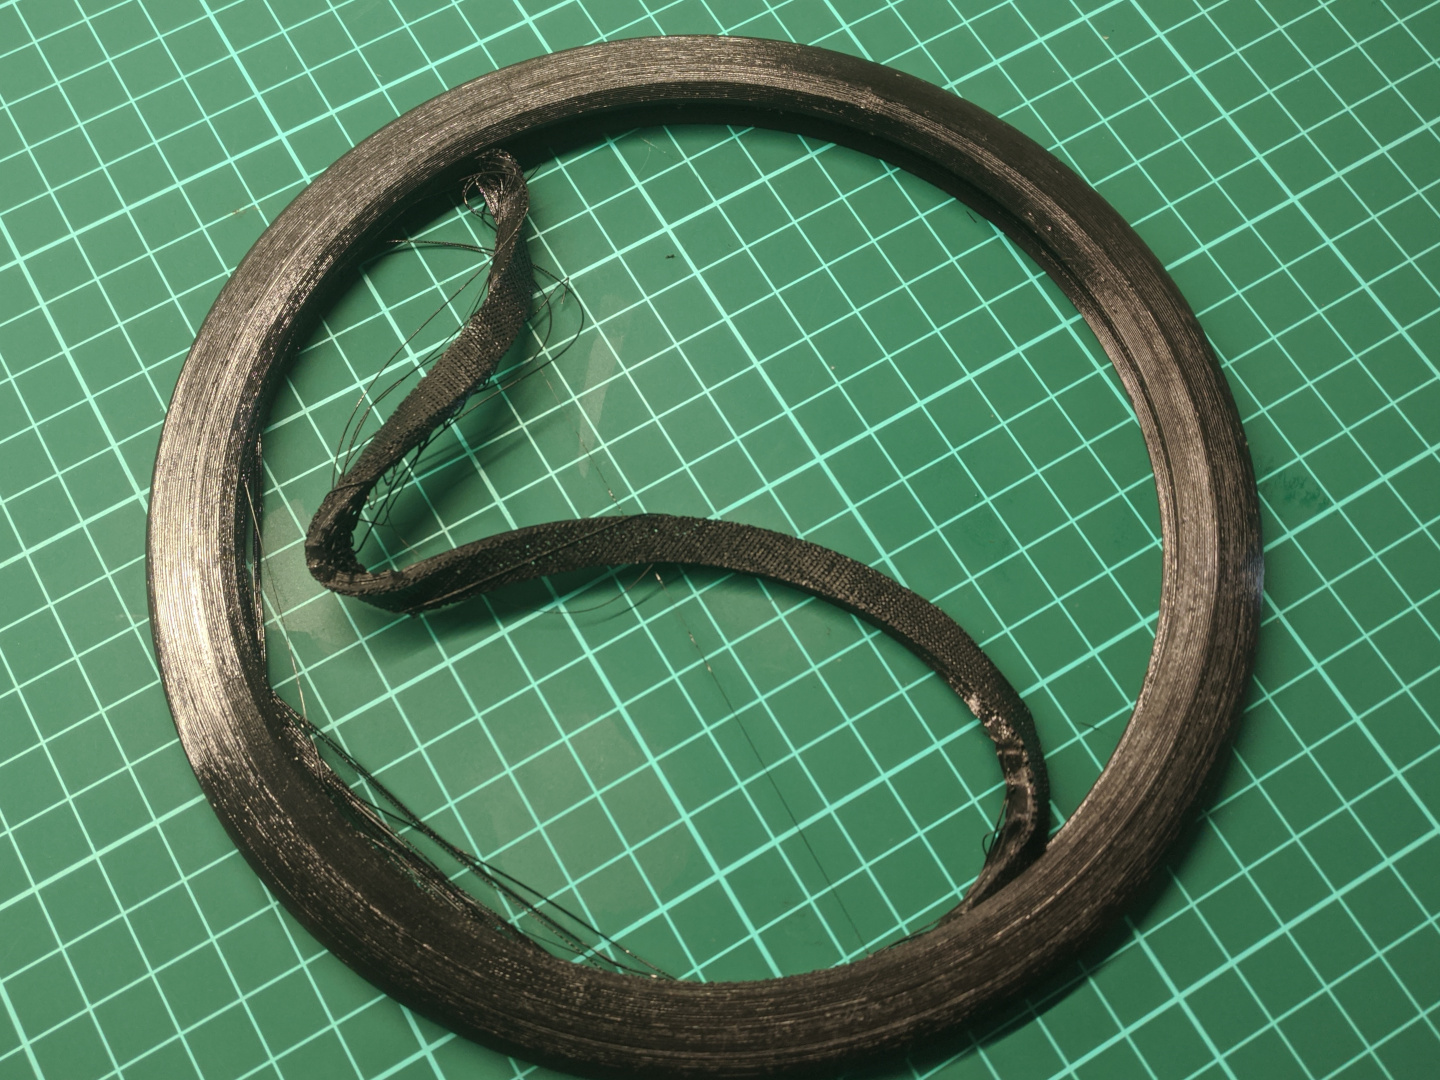
Getting the Support Out
When set up properly, the support should be quite easy to remove.
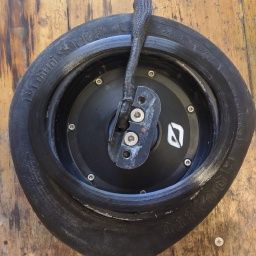
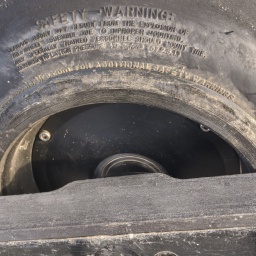
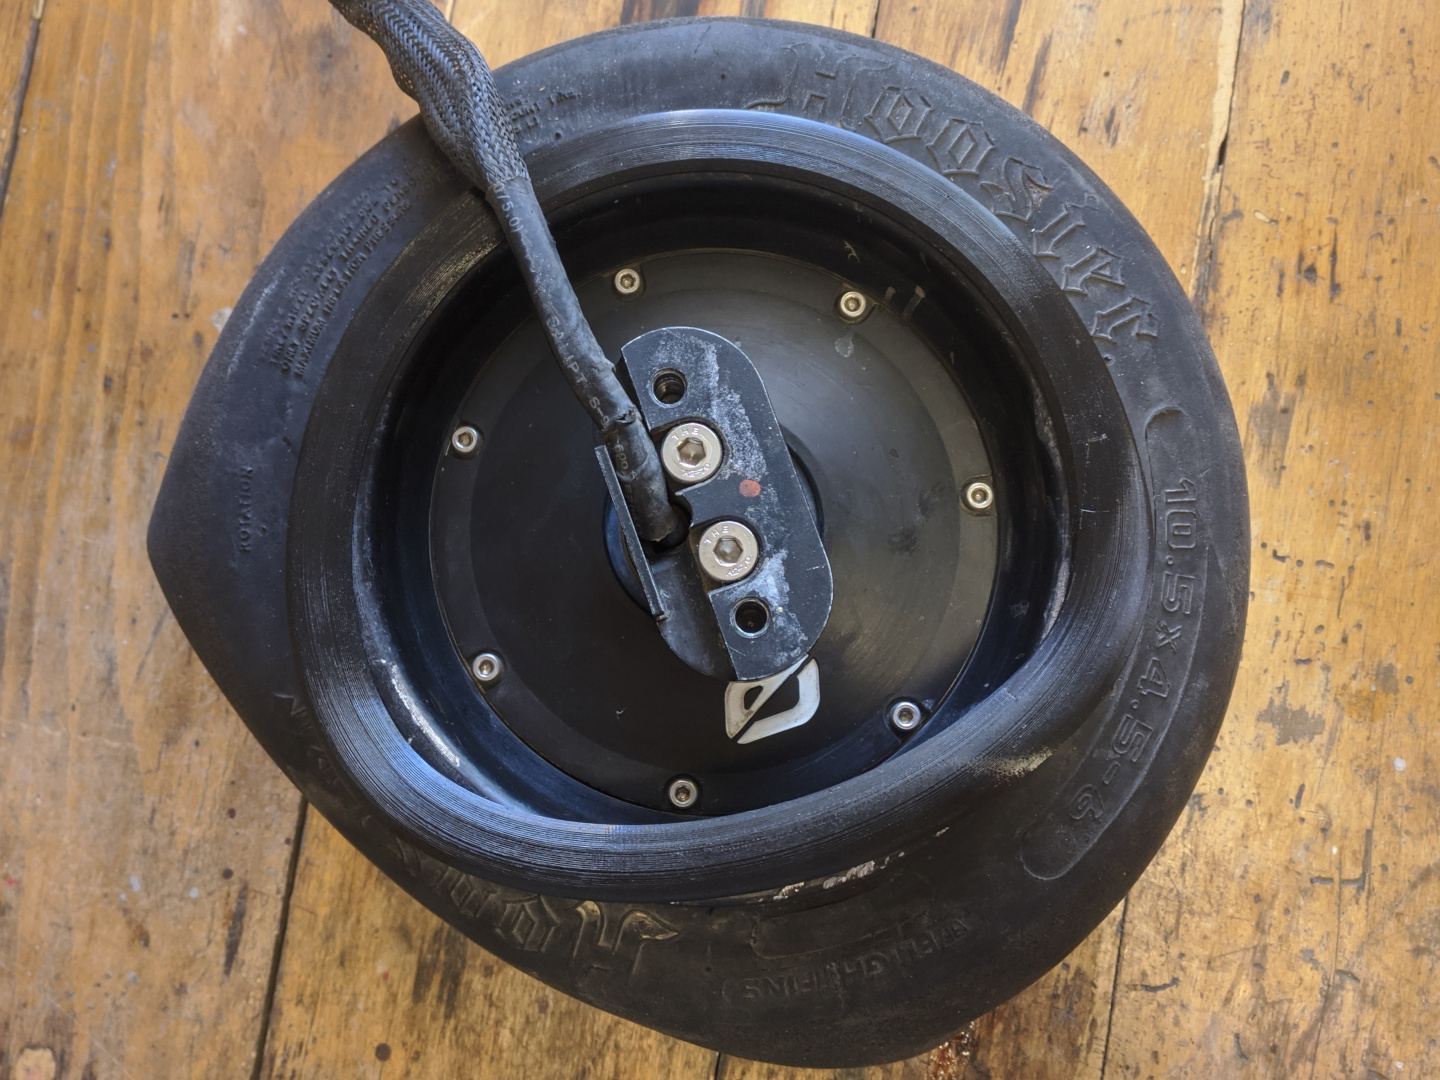
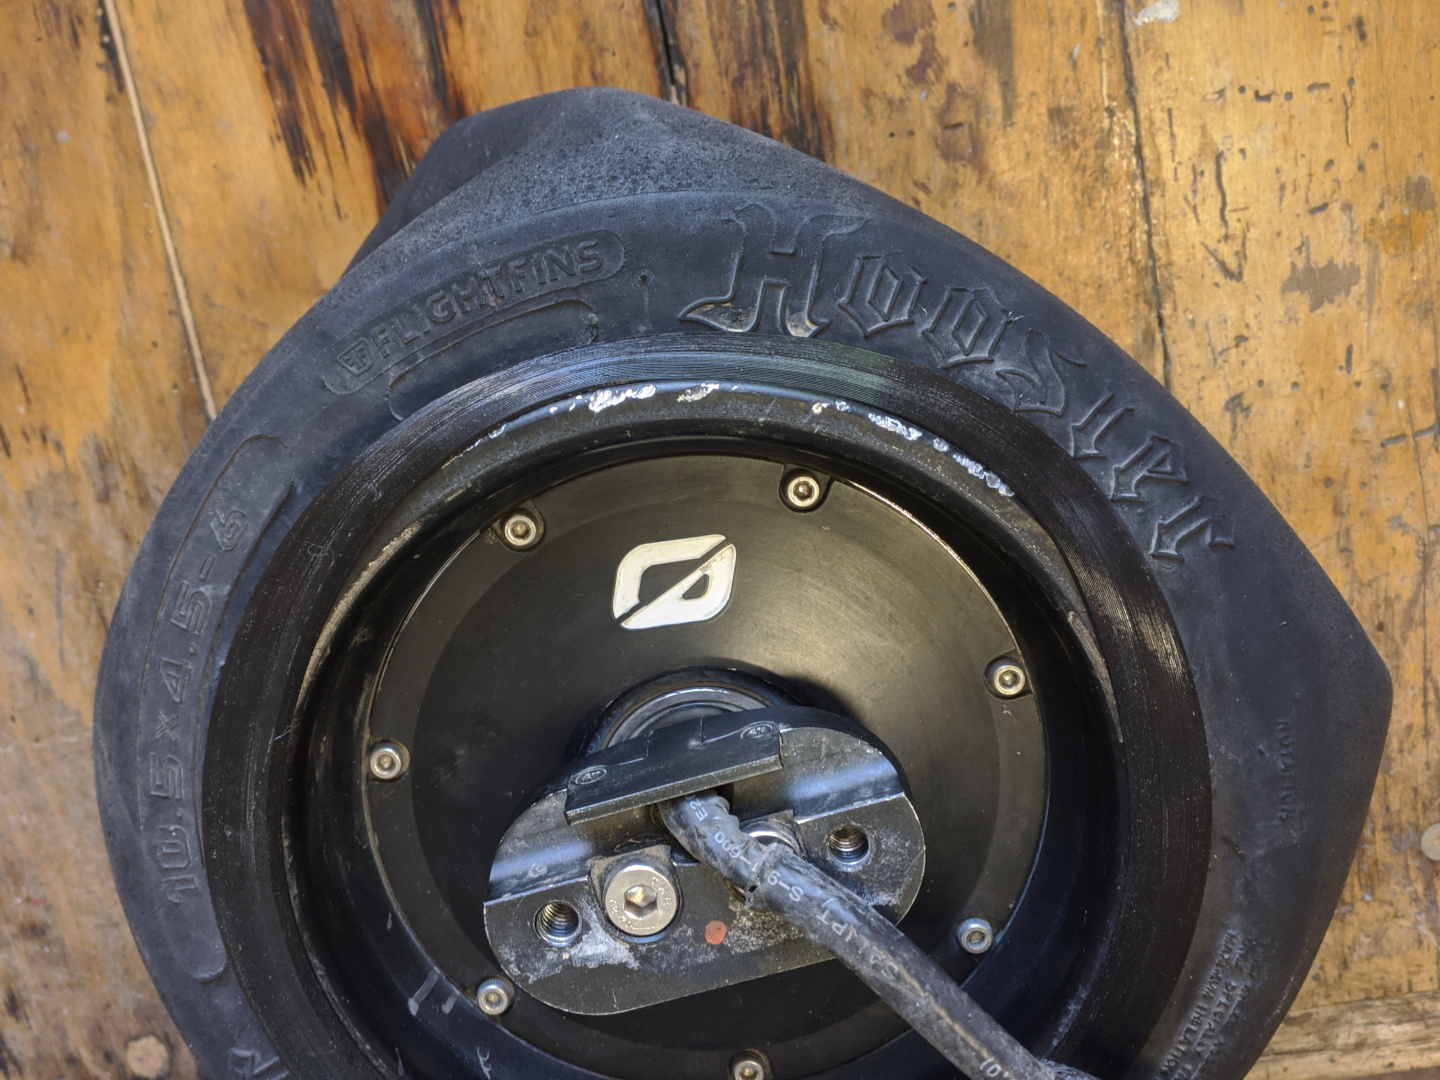
Mounting the Rim Saver on the Hub
Mounting the Rim Saver on the hub requires some effort, but it’s not that hard. All my prints so far have been much easier to put on than the TFL Life Savers (which were tough even with a heat gun). You can use a heat gun to soften up the Rim Saver to make it easier for you, but it should be possible without it as well. Just gradually pull it over the rim, trying to set it in place as you work your way around the perimeter. Once you start getting close to the last part, it’s easier to just pull it completely over to the other side of the rim, and then pulling it back towards the outside will make it pop into place.
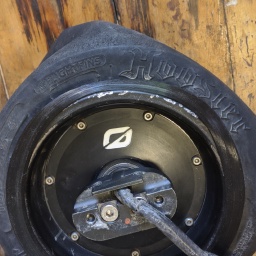
Work your way around and press the Rim Saver onto the rim. Around halfway through is the toughest part, I find what works best is to press the Rim Saver down onto the rim with your palm. By forcing it down it should gradually pop into place.
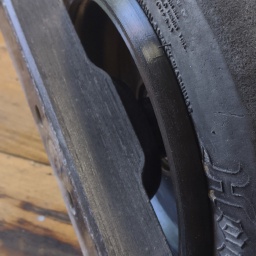
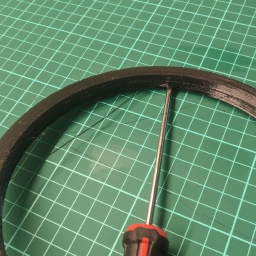
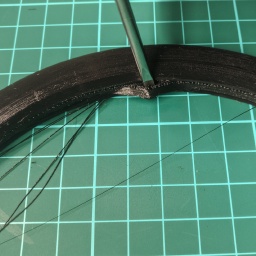
How Does it Hold Out?
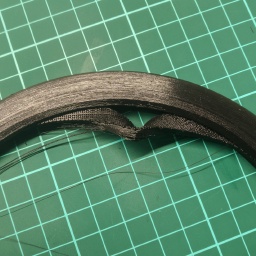
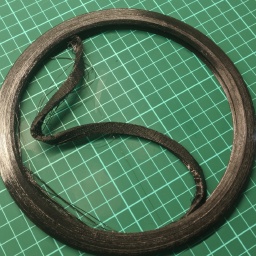
I’ve gone through a few iterations of these, mostly ruining them when practicing nose slides, where I seem to hit my heel-side rim a lot on the curb. Based on that, this model already has some sections thickened to withstand more abuse. Also the Fillamentum Flexfill TPU 98A I’m using now seems to be noticeably more durable than my previous filament.